

A concept like “states of matter” may seem too abstract to teach to kids 3-7, but there are lots of hands-on ways they can experience the ideas. Once they’ve experienced it, then we just give them the words to describe these things and the concepts to connect the ideas together.
So, first, let’s explore the activities where they experience states of matter. This is a really long post… if you go to the bottom, you’ll find more info about how to teach the concepts that explain these experiences.
If, like us, you’re teaching one two-hour session on this, there are more ideas in this post than you can do in one class. But, if you see the kids for more days, you could spread these ideas over multiple sessions.
Activities to Explore the Change from Solid to Liquid
Ice melting: We filled plastic containers with water and froze them overnight. In class, we put the ice in a tub. Next to it, we put a dish of coarse salt with a spoon, a container of water with eye droppers, and diluted liquid water colors with pipettes. Kids dribbled on substances to melt the ice.

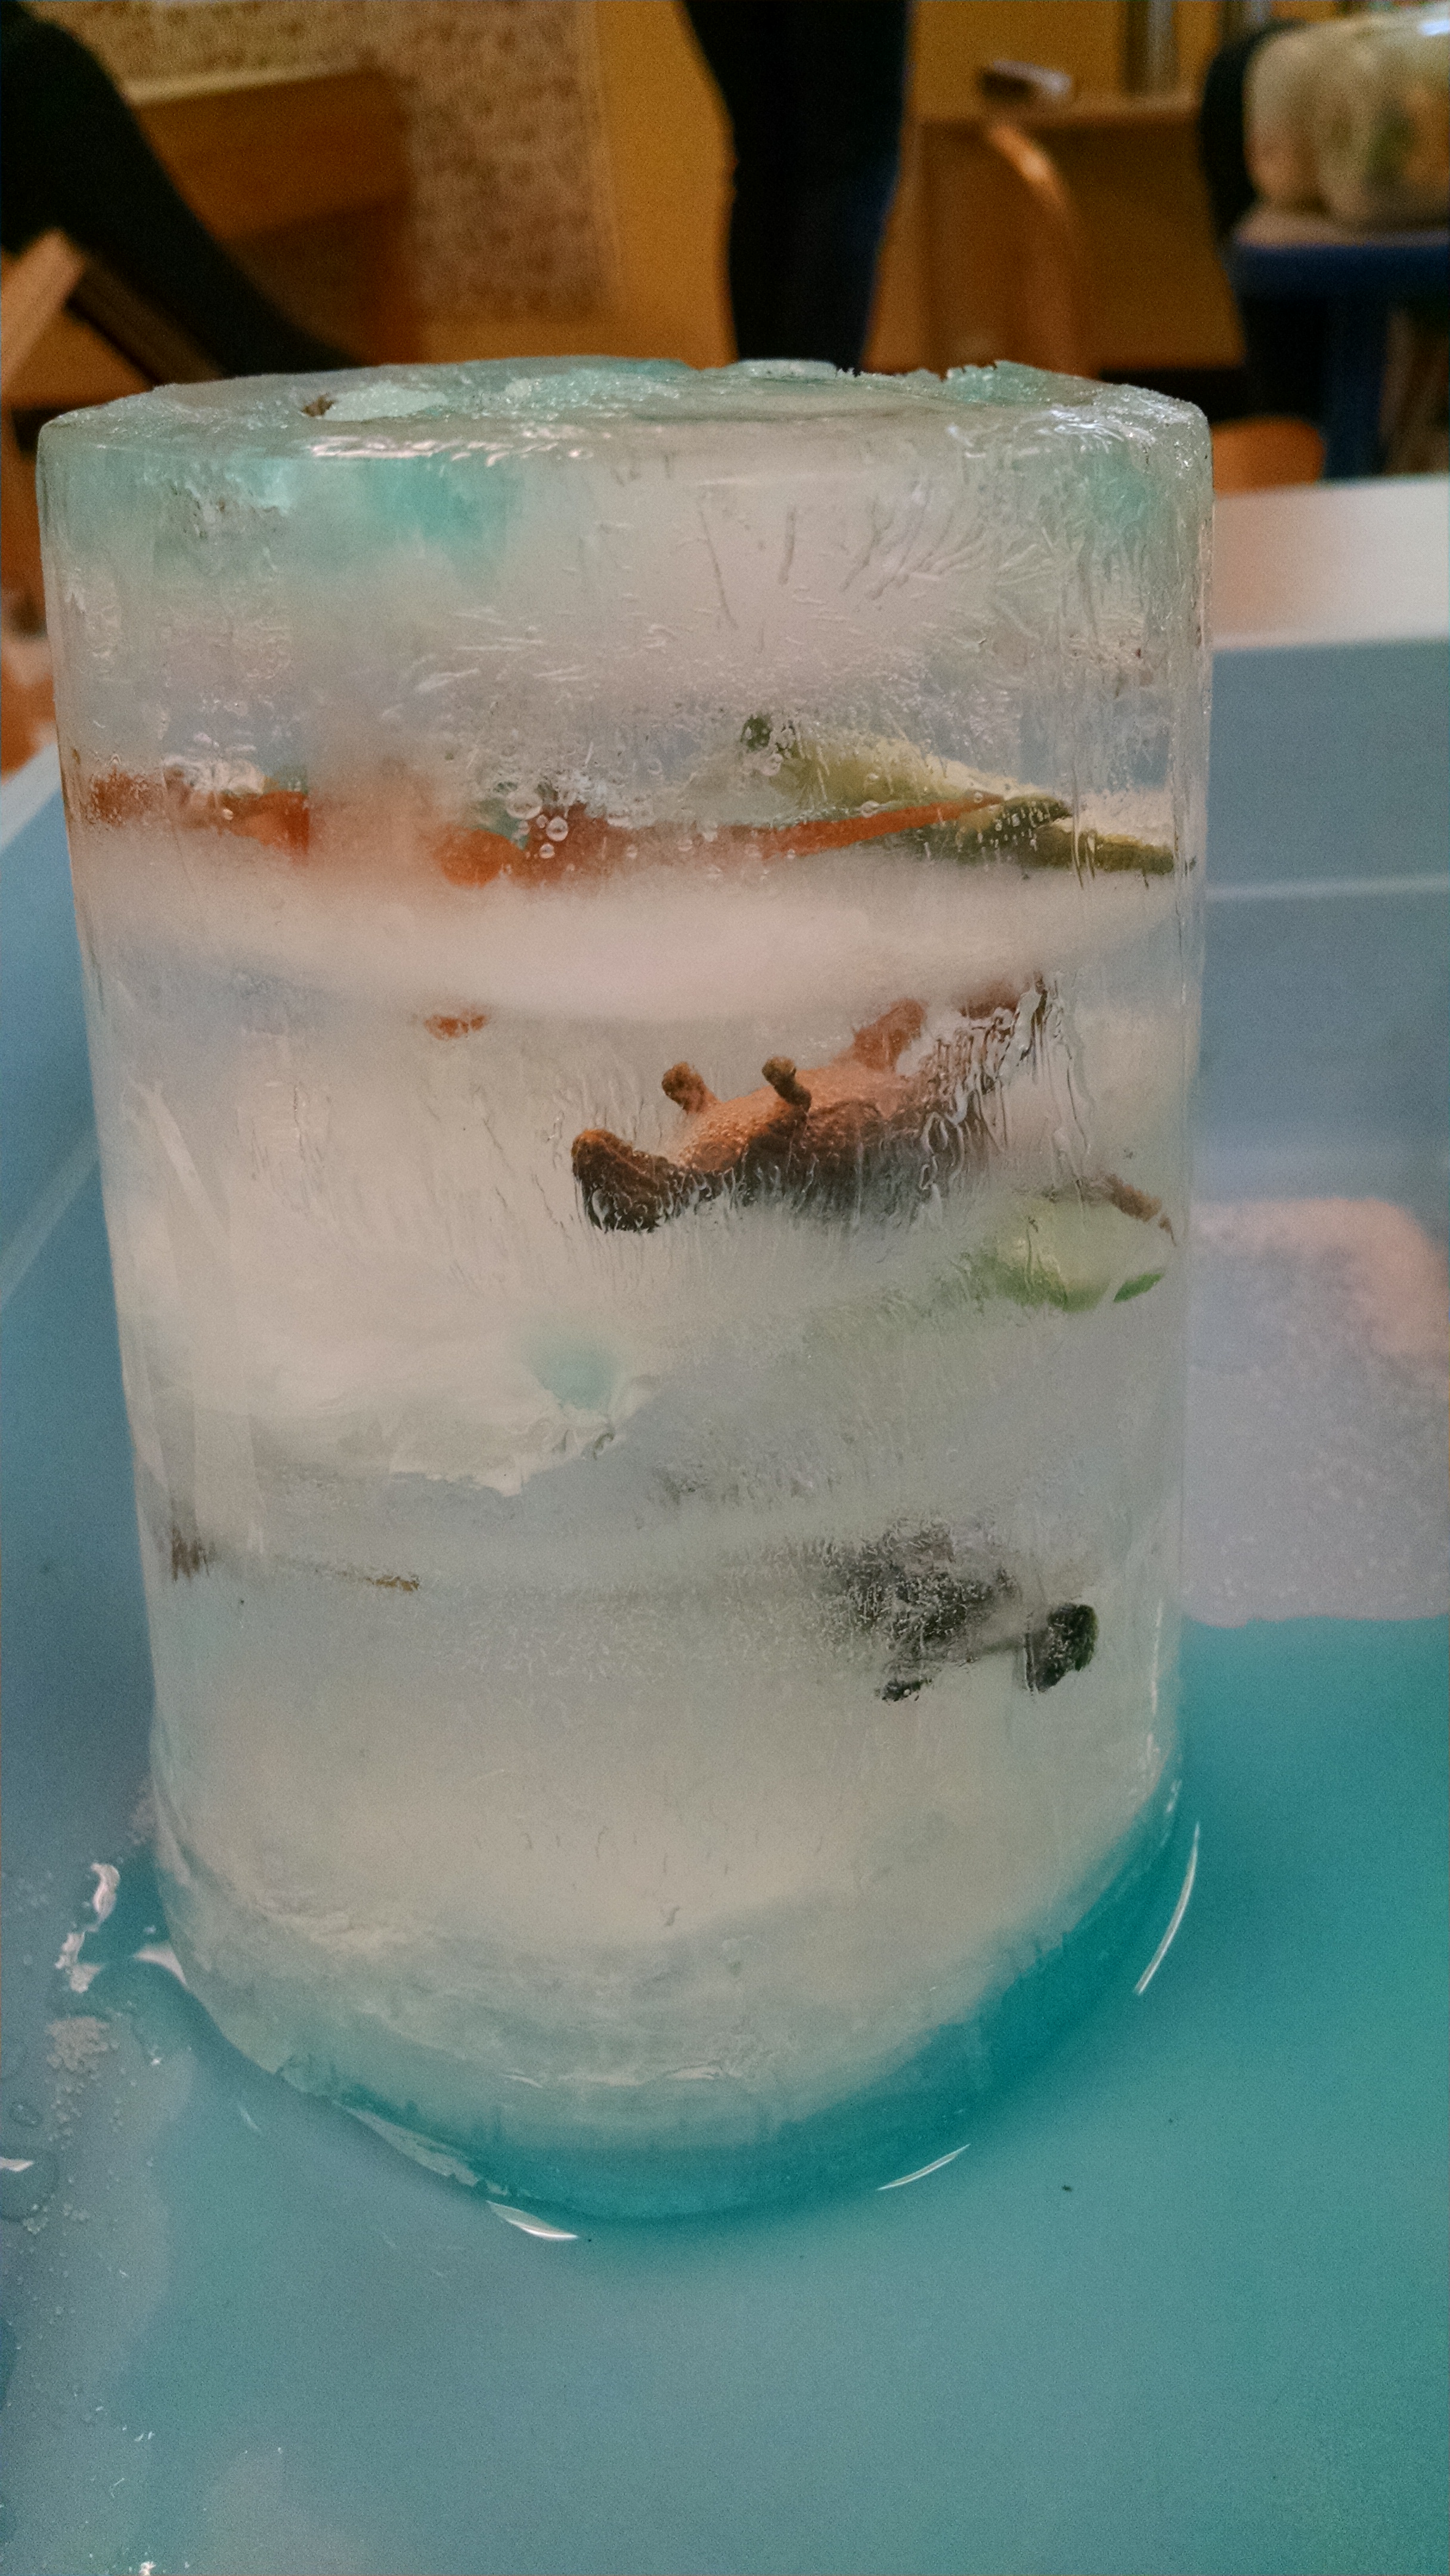
Challenge: Can you Save Captain America? Prep 24+ hours in advance: Fill a loaf pan halfway with water. Freeze it. Fill it the rest of the way with water. Take a Captain America figure, or any other toy, and drop him in – he’ll settle in the middle of the pan. Freeze it the rest of the way. In class, use it like the ice blocks, but kids have the extra motivation of trying to get the toy out of the ice. This year, we offered one ice block with plastic dinosaurs to excavate, one with pennies, and one with marbles. I did several layers during the freezing process, so the items were suspended at several levels.
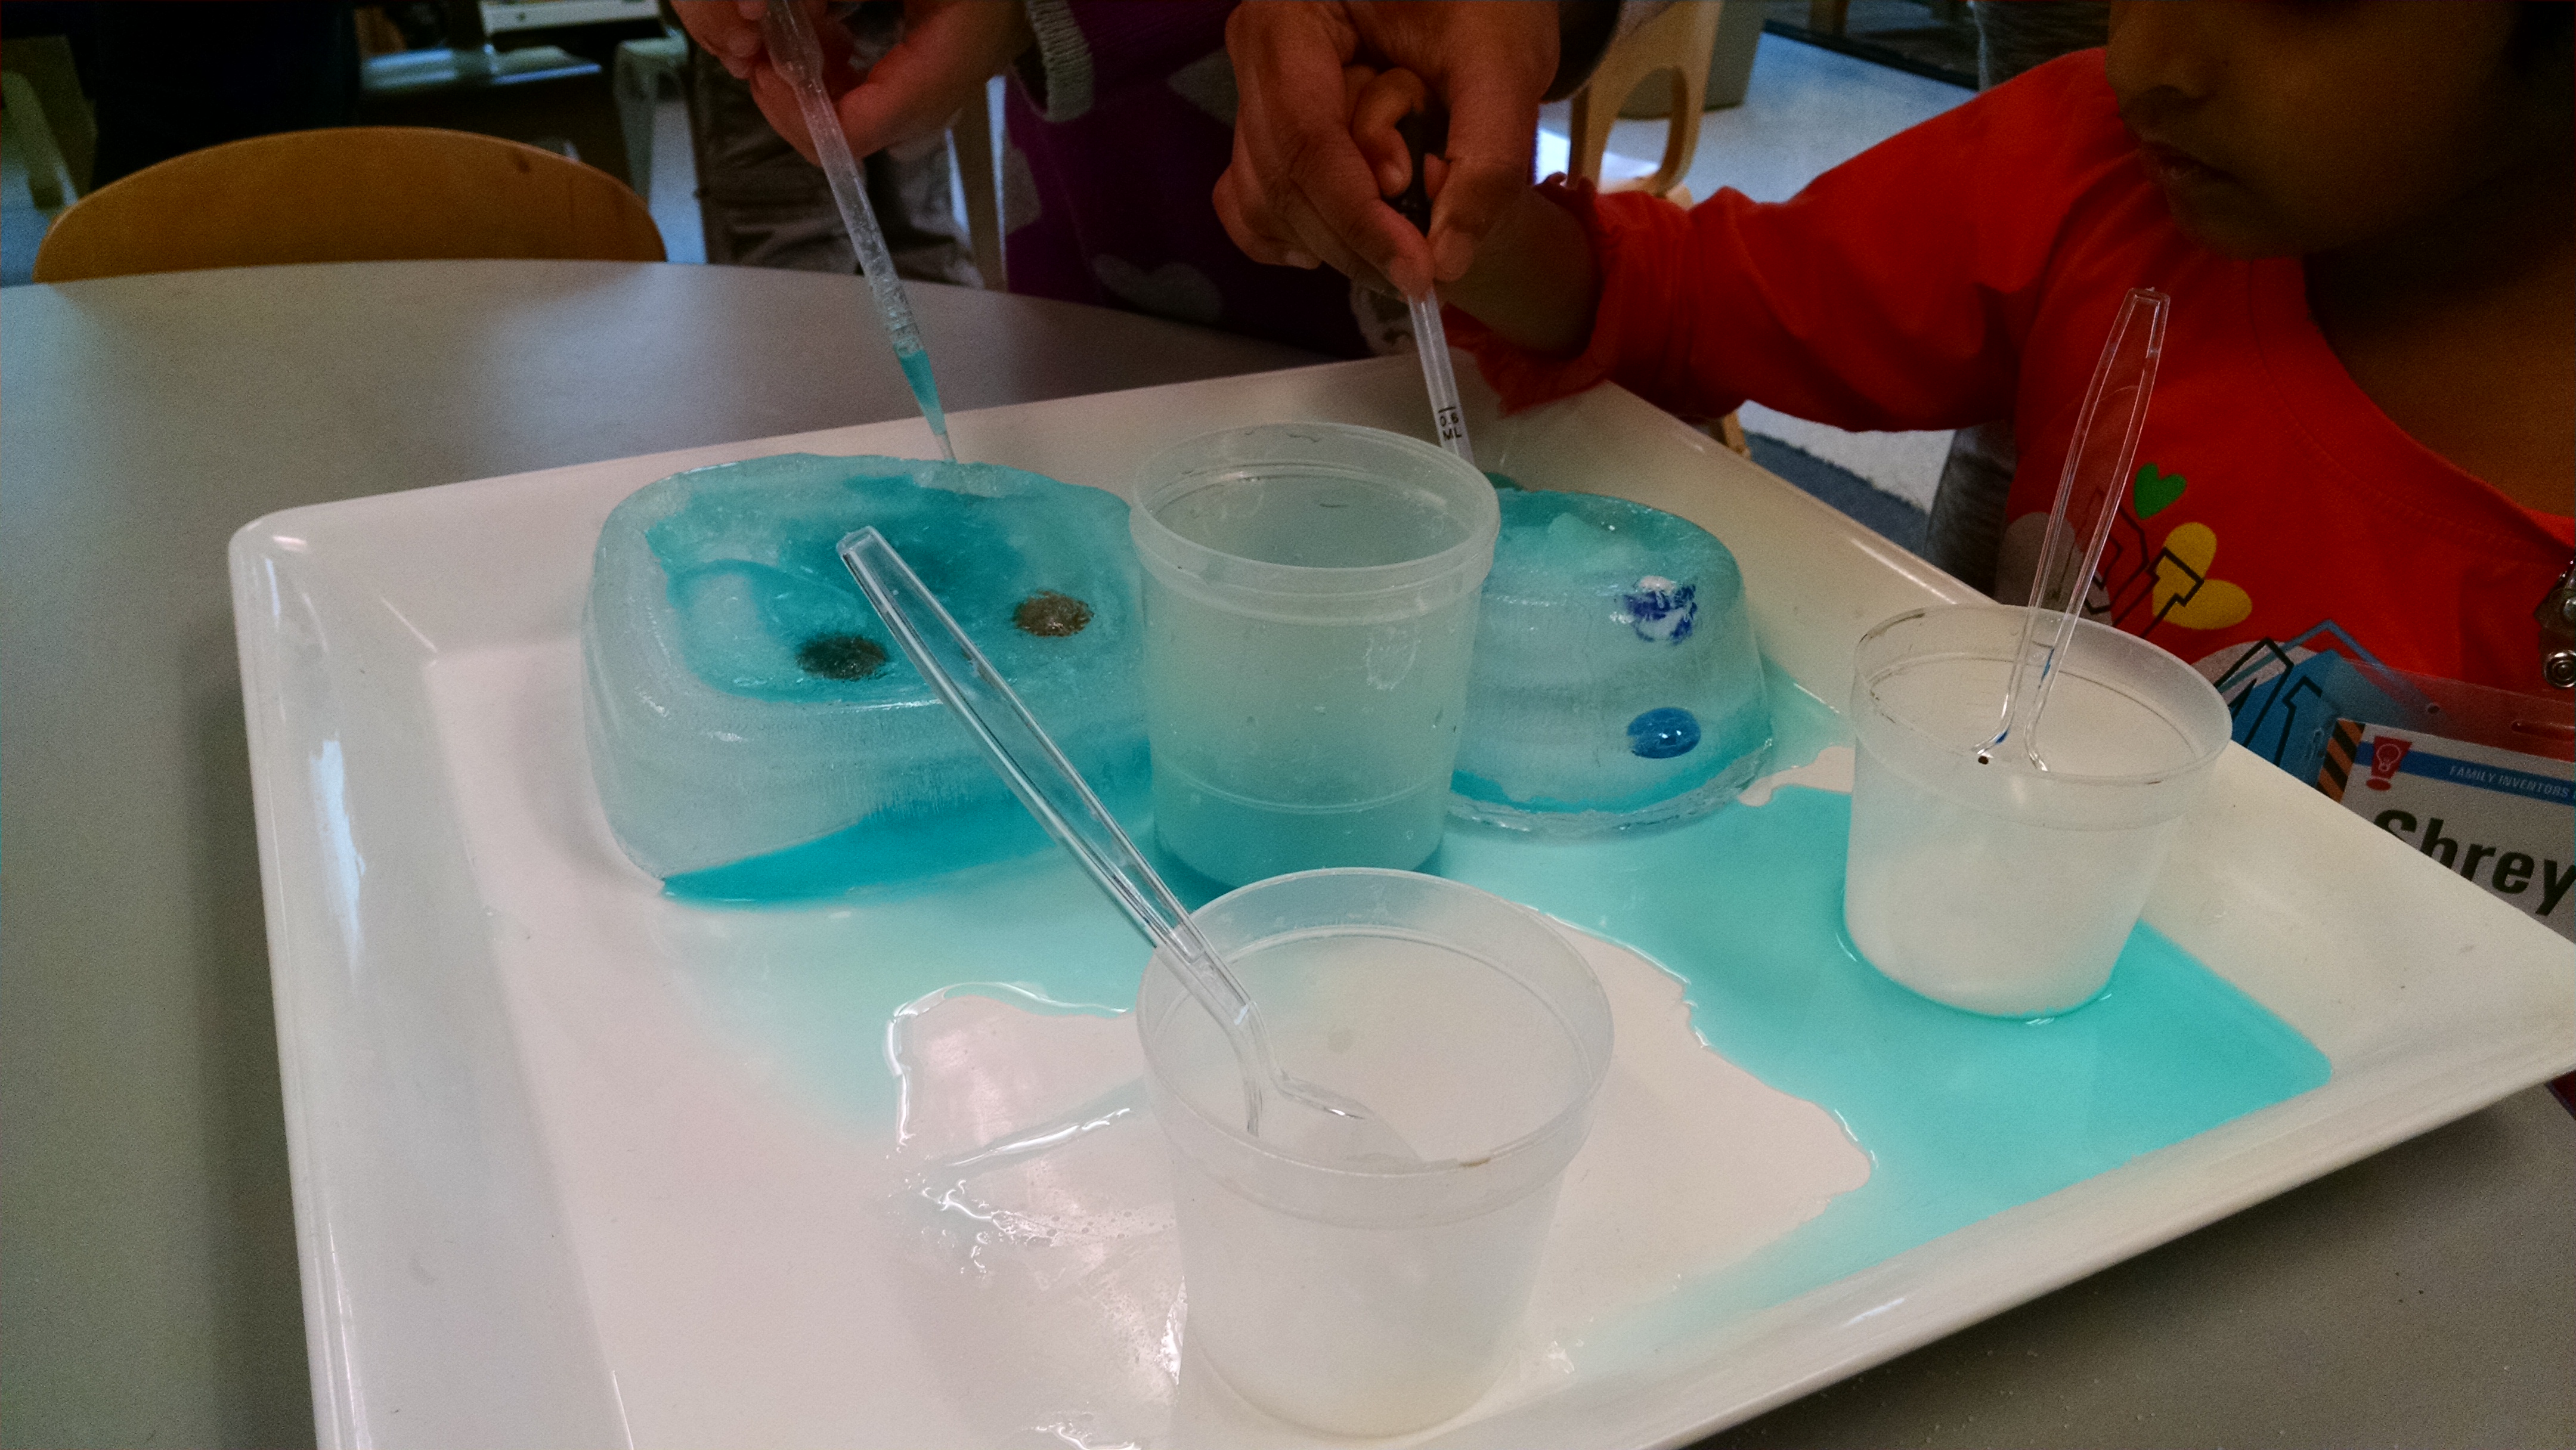
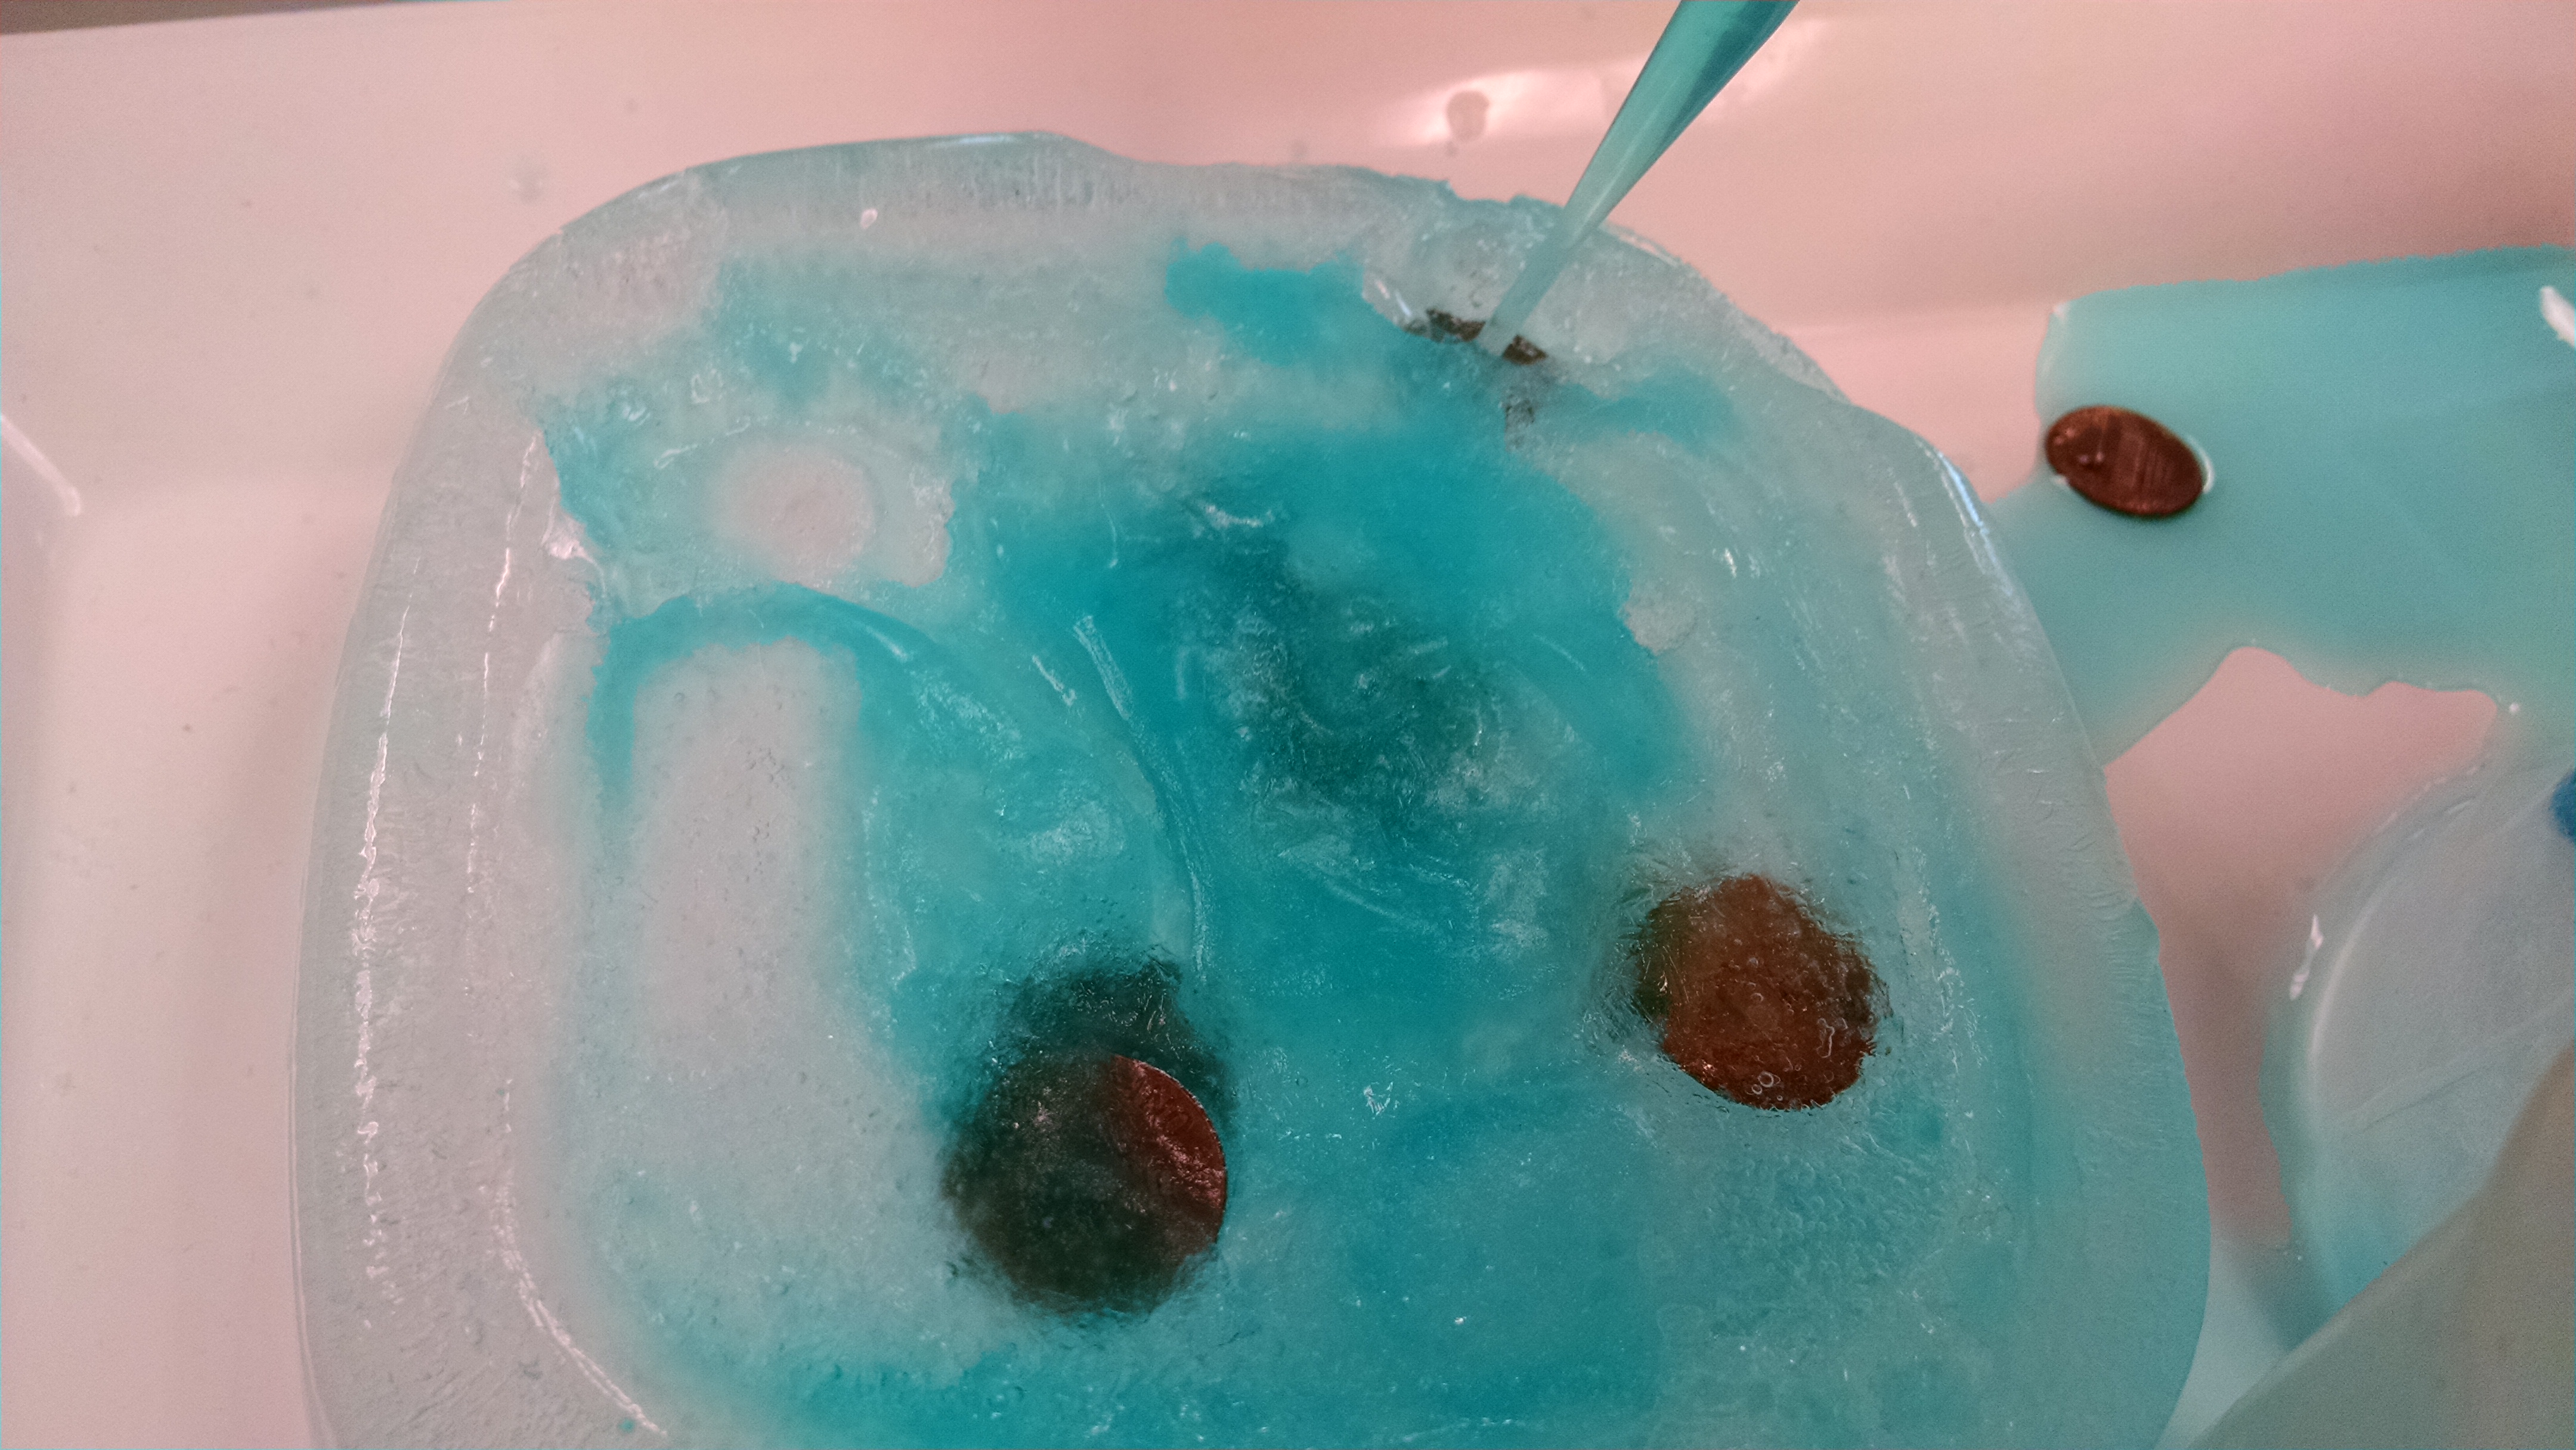
In our afternoon class, we had two girls working very hard at excavating pennies and marbles. They were very focused on choosing a penny, then putting water and salt directly over that penny until they broke through the ice and could remove it. Whenever they broke one free, they’d shout out the news and the class would cheer.
After kids have worked with the ice and the salt for a while, you could take it up to the next level. You could offer wood mallets and kid-friendly chisels. Or you could offer a hair dryer, but take precautions so it won’t land in the water from the melted ice. In our morning class, two boys were very dedicated to melting the entire block of dinosaur ice with a hair dryer.
Cooking Lessons: You could also melt butter or chocolate in a microwave or on a stove.
Activities for Exploring Gasses
Balloons: Trapping Gas in a Container. Pump and Let Go: We had balloons and Balloon Pumps. Kids could fill the balloons, and let go, and the escaping air (gas) propels the balloon, sputtering around the room.
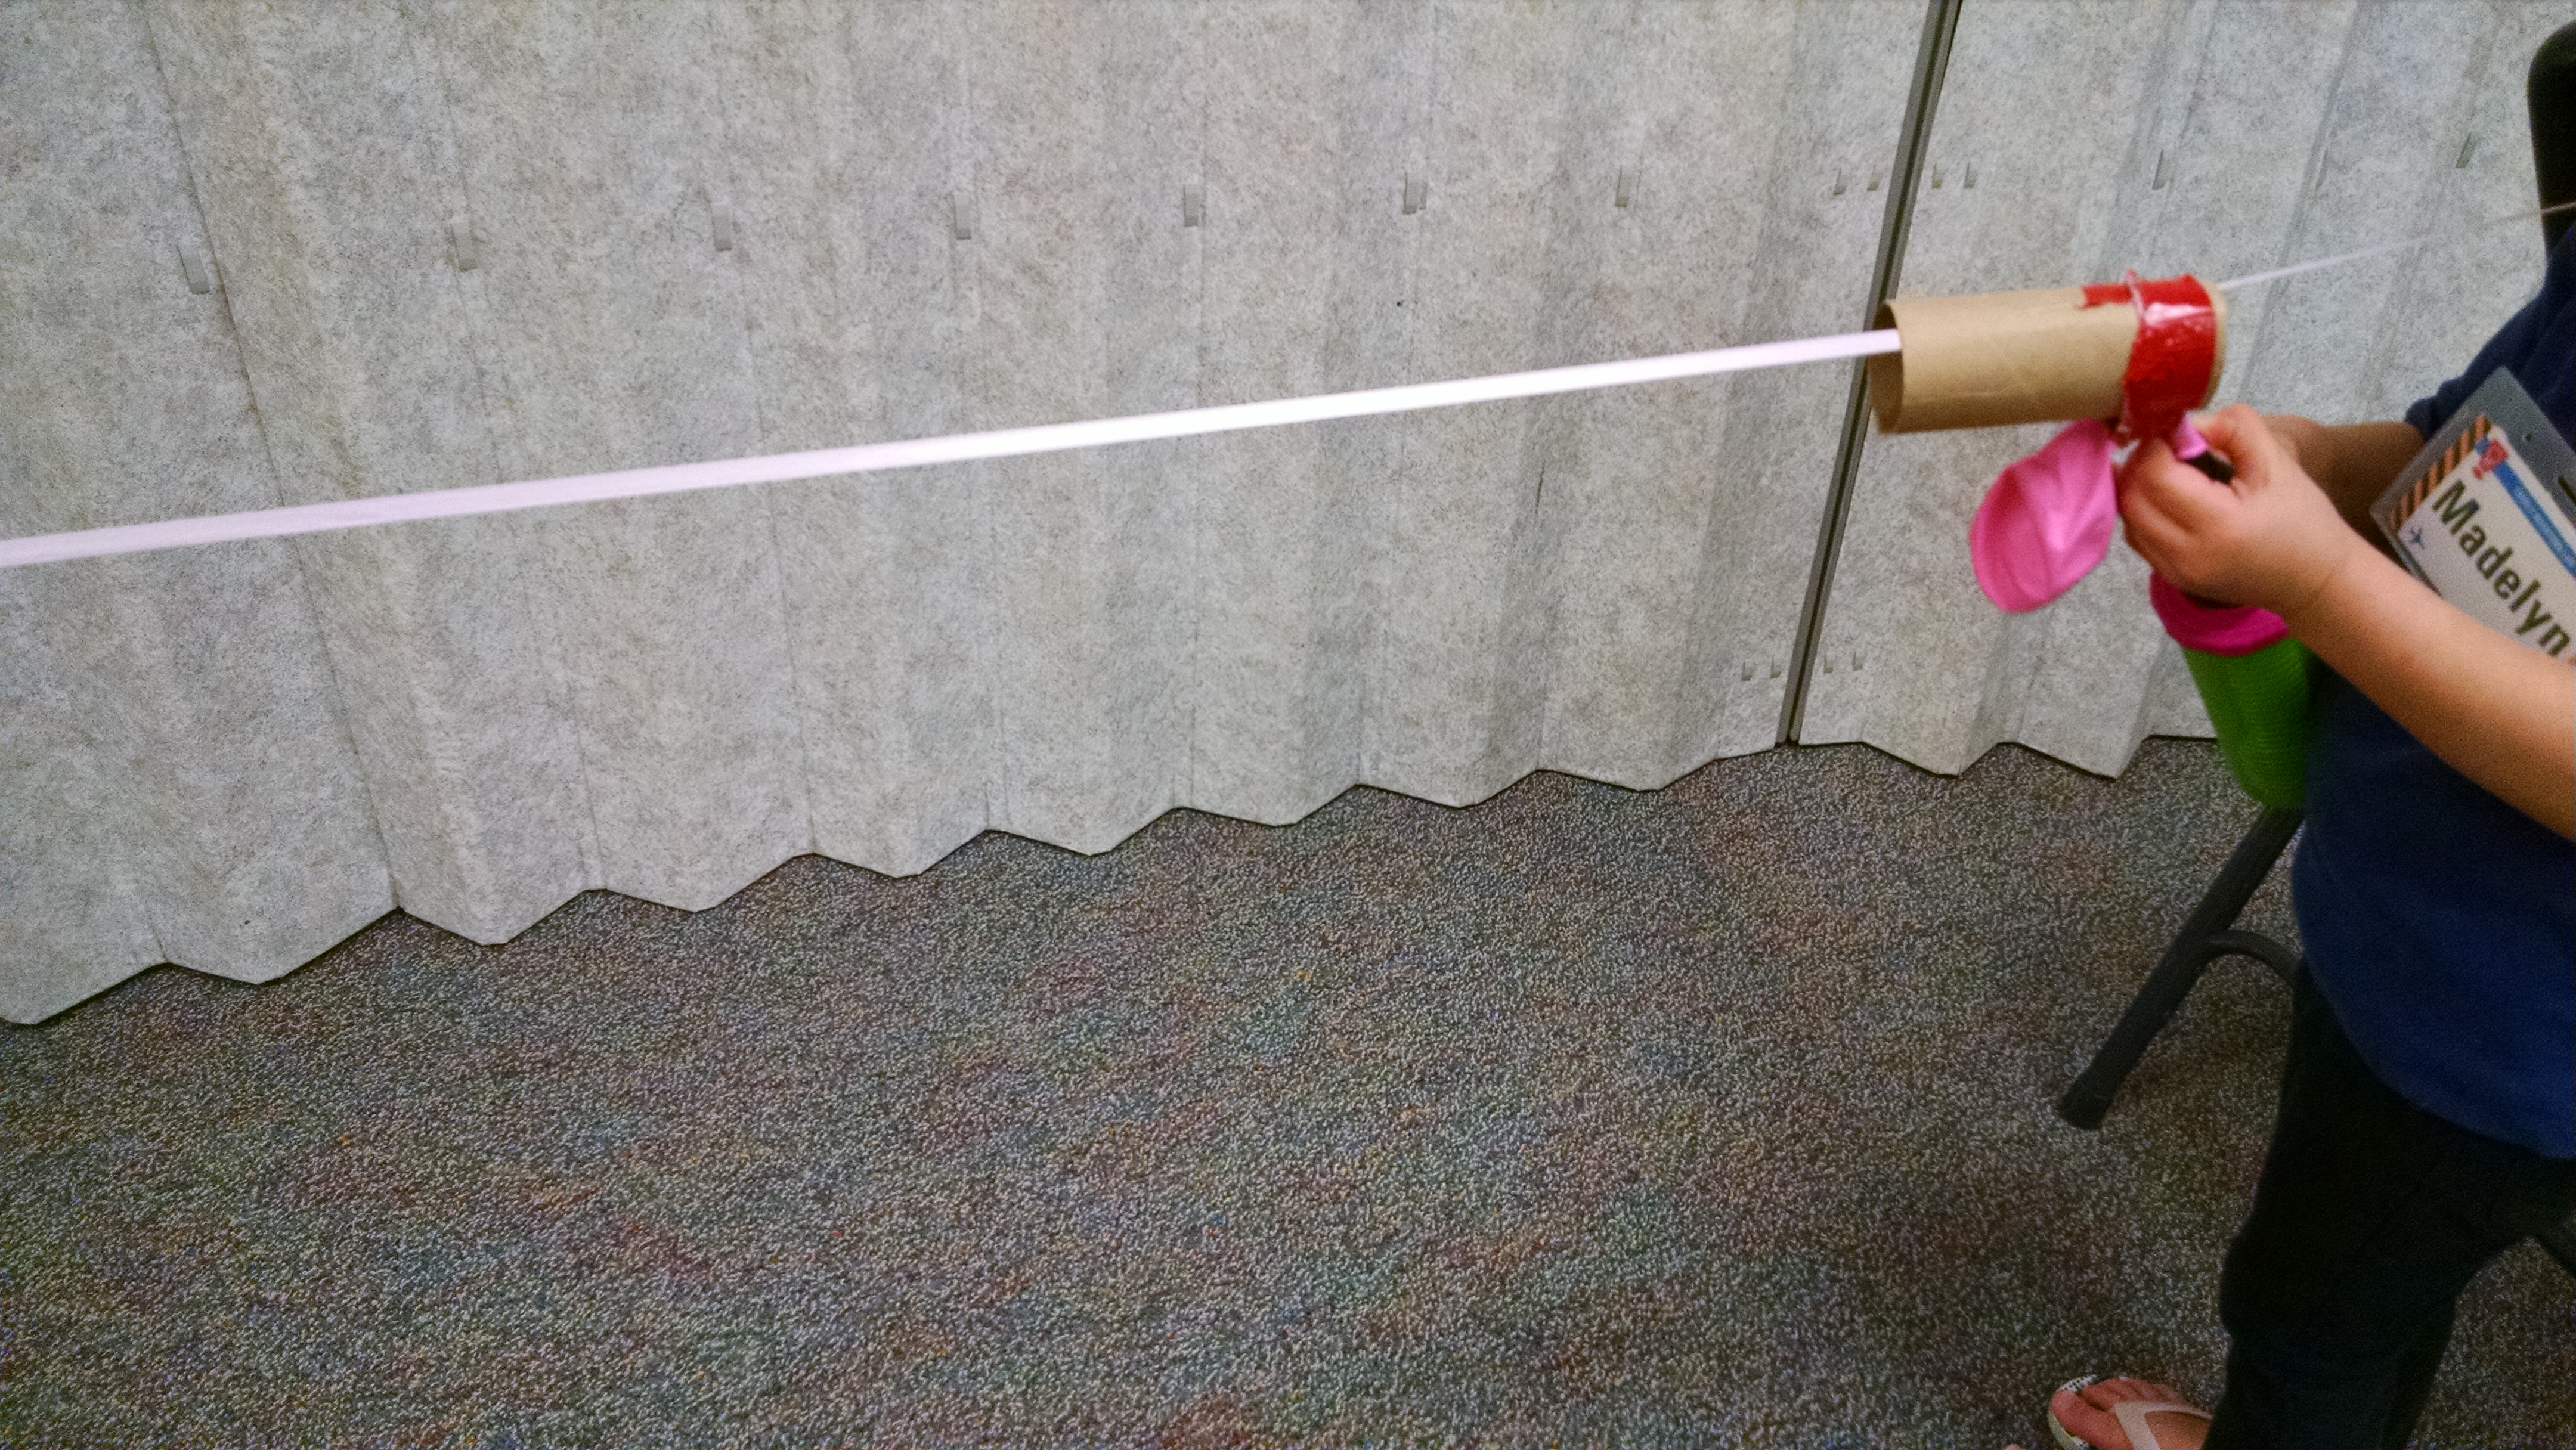
Balloon Rockets: We also set up tracks with balloon rockets: take a toilet paper tube, tape a balloon to it – you need to tape the balloon around the “neck” but you have to tape loosely enough that you’ll then be able to fit the balloon pump into the neck opening. Mount the tube on a string. Then kids use the balloon pump to blow up the balloon. Let go and the balloon flies along the track.
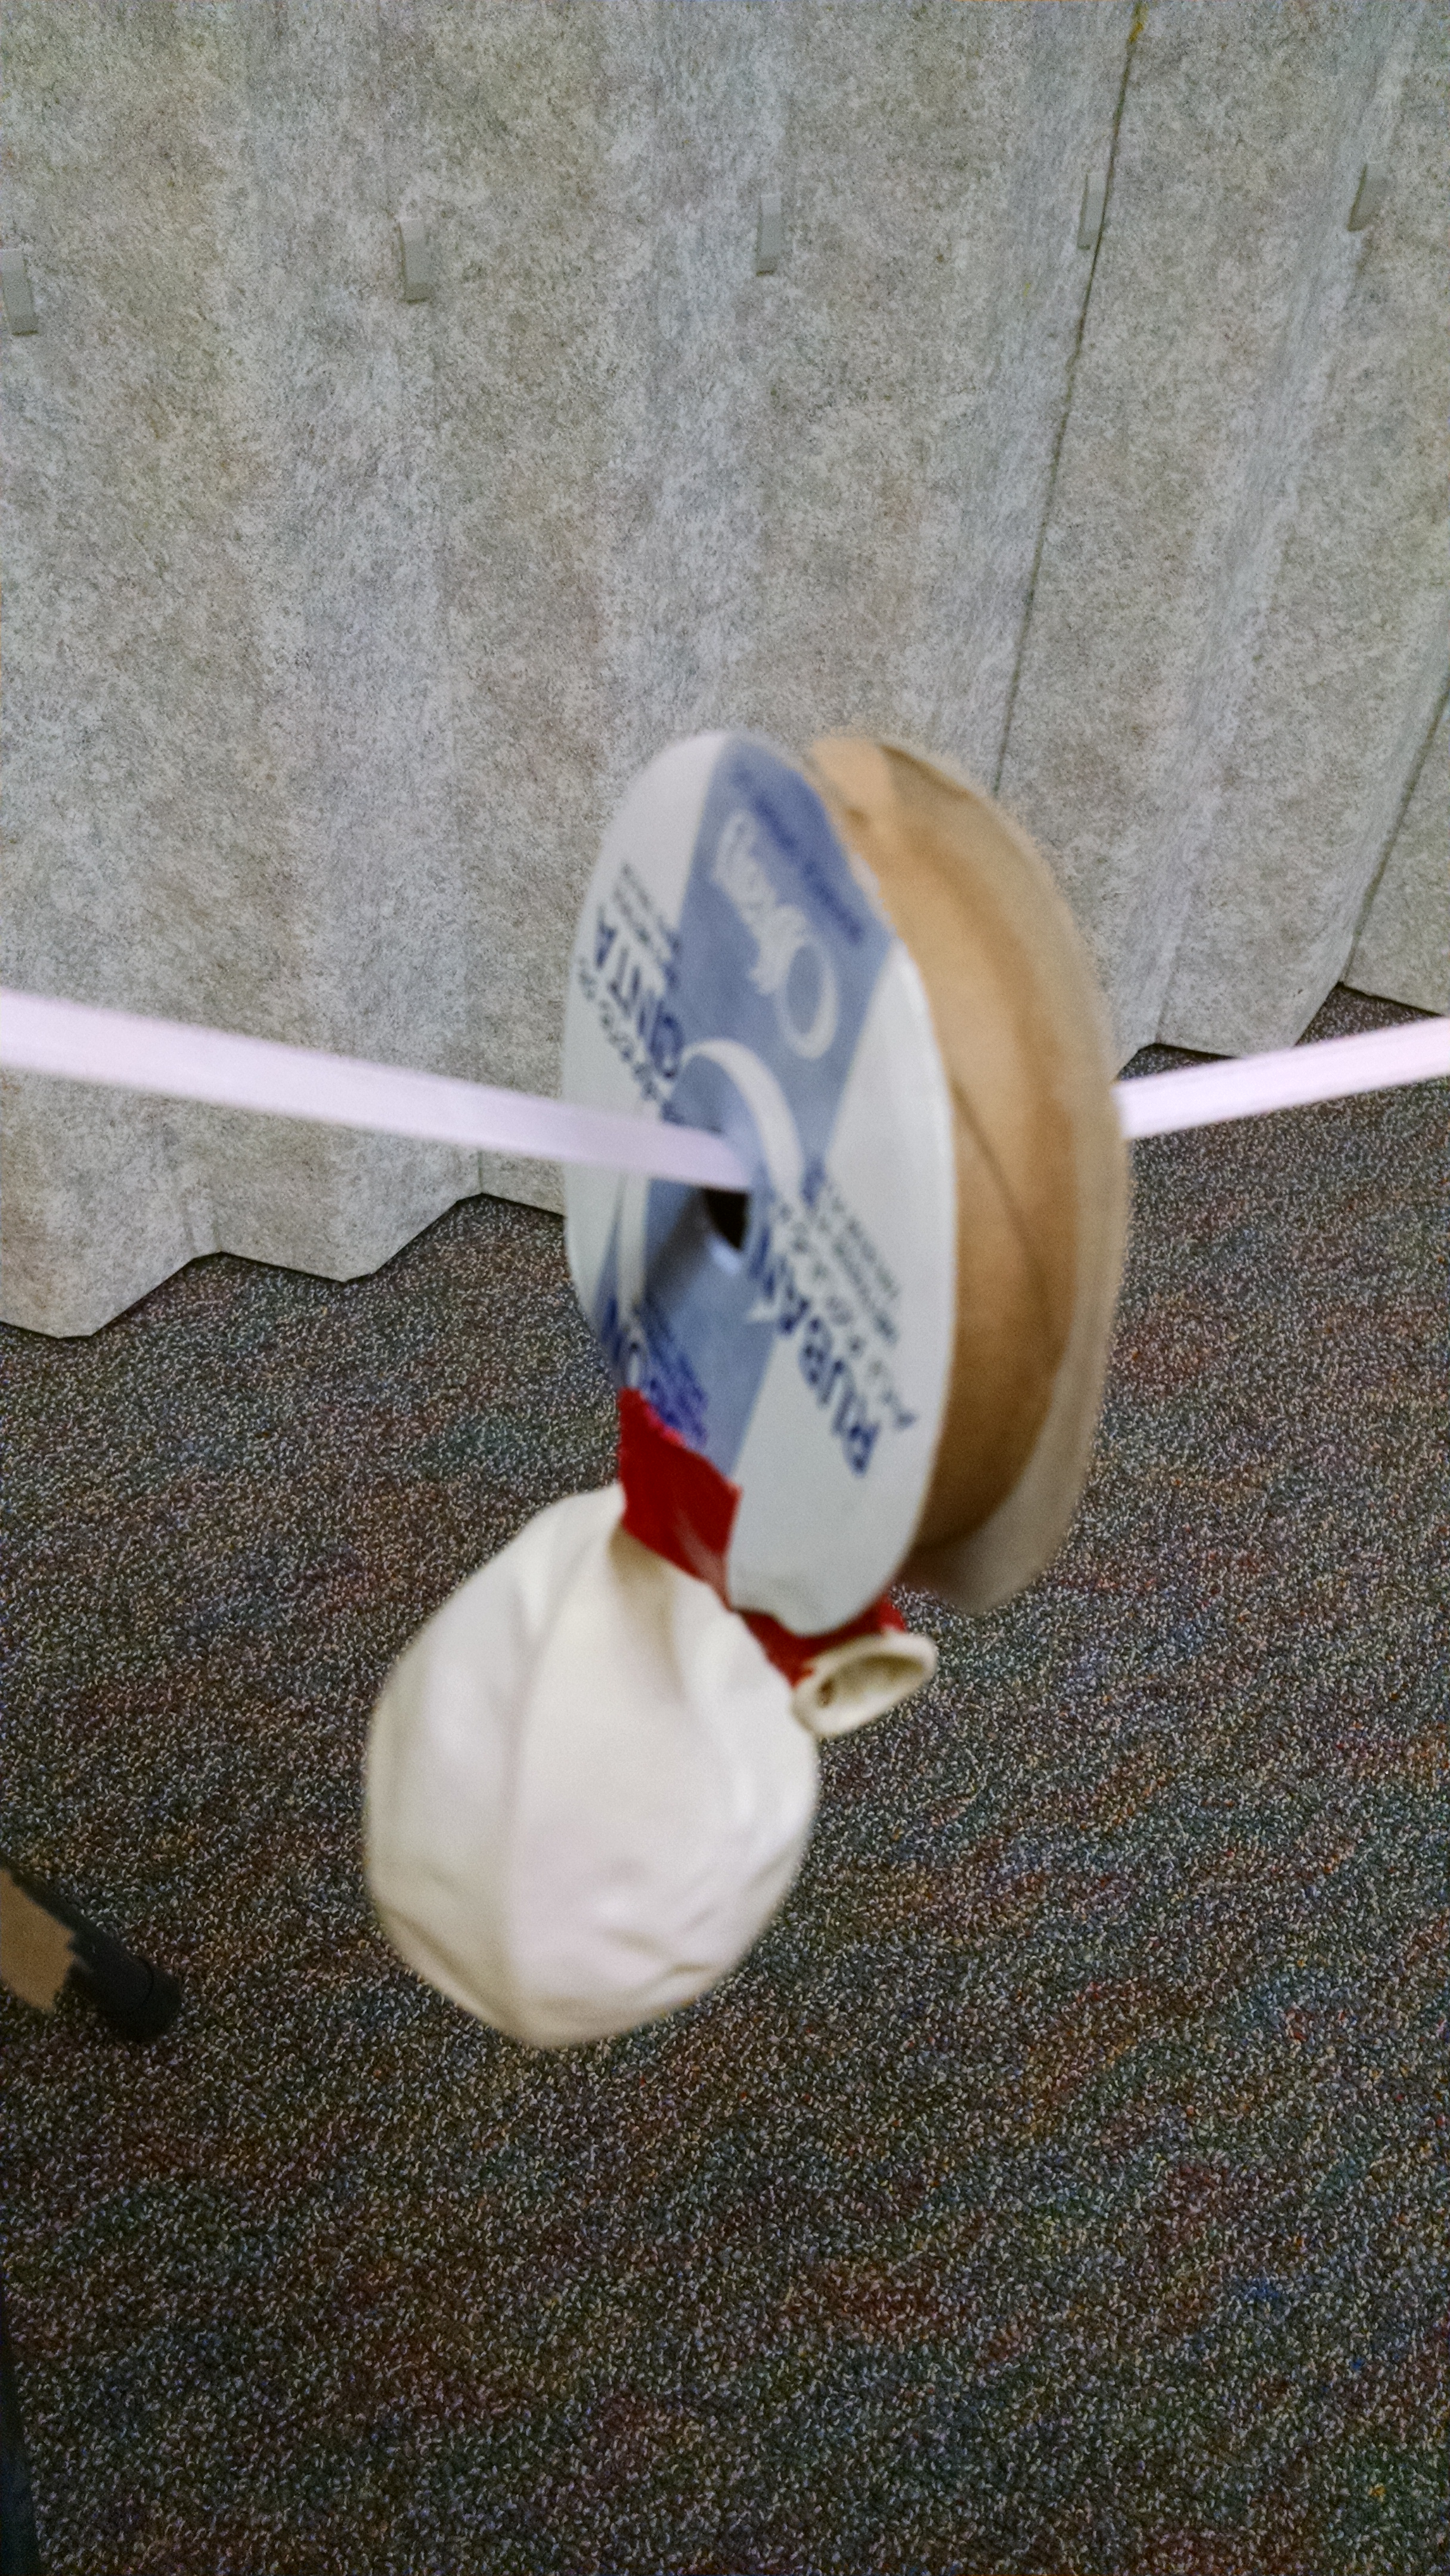
Balloon Spinner: If you mount the balloon on a cardboard ribbon spool instead of a toilet paper roll, then if you inflate and let go, the spool will spin around the ribbon.

Trapping Gas in Bubbles: Put out bubble solution and wands for free play. As kids play, you can explain that the bubble solution is a liquid which holds together as we fill it with gas (the air from our lungs).
Water table: Have turkey basters and syringes that kids can fill with air (a gas) and put under the water, and use to blow bubbles. (Gas moving through a liquid.)
Helium Balloons: You could have helium balloons and balloons you blow up yourself and kids can compare the differences between them.
Dry Ice: There’s all sorts of fun things you can do with dry ice (and careful adult supervision). Create fog, blow up balloons with gas, float a bubble on the fog, put out fire, make bubble prints and more, all while learning about sublimation – how dry ice (carbon dioxide) goes straight from solid to gas. Learn more at: https://inventorsoftomorrow.com/2017/06/27/fun-with-dry-ice/
Activities for Exploring Liquids
Surface tension: Put out pennies, pipettes, and water. Challenge the kids to see how many drops of water they can put on a penny. The first 10 or so drops just puddle out to fill the penny, but after that, it starts creating a dome of water. The bigger the dome, the slower you have to work, because each time you add a drop, the whole dome shivers and re-aligns itself. Our record was 30 drops of water! Note, the pipettes required a lot of fine motor skill to manage one drop at a time – our 6 and 7-year-olds could do it. An eye dropper might be easier for younger hands to control.
Volume comparison: You could fill the water table with measuring cups and containers in a wide variety of shapes. If they pour exactly one cup of water into each of these shapes, it can look very different – short and flat, or tall and skinny, etc. You could also have solids (e.g. Duplos or plastic counting bears) and they would see that they can’t necessarily fit the same number of bears into each of the containers, because the bears don’t mold to the shape of the vessel. (Note: our three to four year olds totally miss the science behind this experiment, but they still have plenty of fun scooping up plastic bears and floating them in containers of water.
Comparing States of Matter
3 gloves. Use latex or non-latex gloves from your first aid kit: hours before class fill one with water and freeze it. When setting up for class, fill one with water, and blow one up like a balloon and tie it off. Put the three gloves on a table, with signs explaining the three states. Here’s a PDF of the signs I used.
Sorting Game: Have children sort things into categories of Solid, Liquid, or Gas. There’s several printable sorting games available online. We used one from Have Fun Teaching. There’s also a good one on Teachers Pay Teachers. You could do physical objects instead: any solids, some containers full of liquids, a balloon full of air, and an “empty” container with an airtight lid (a container of air). If you have older kids, put some “tricky” solids… something soft and flowy like silk fabric, and something like sugar or salt that pours and molds to shape, but is really lots of little solids.
Activities for Exploring Evaporation
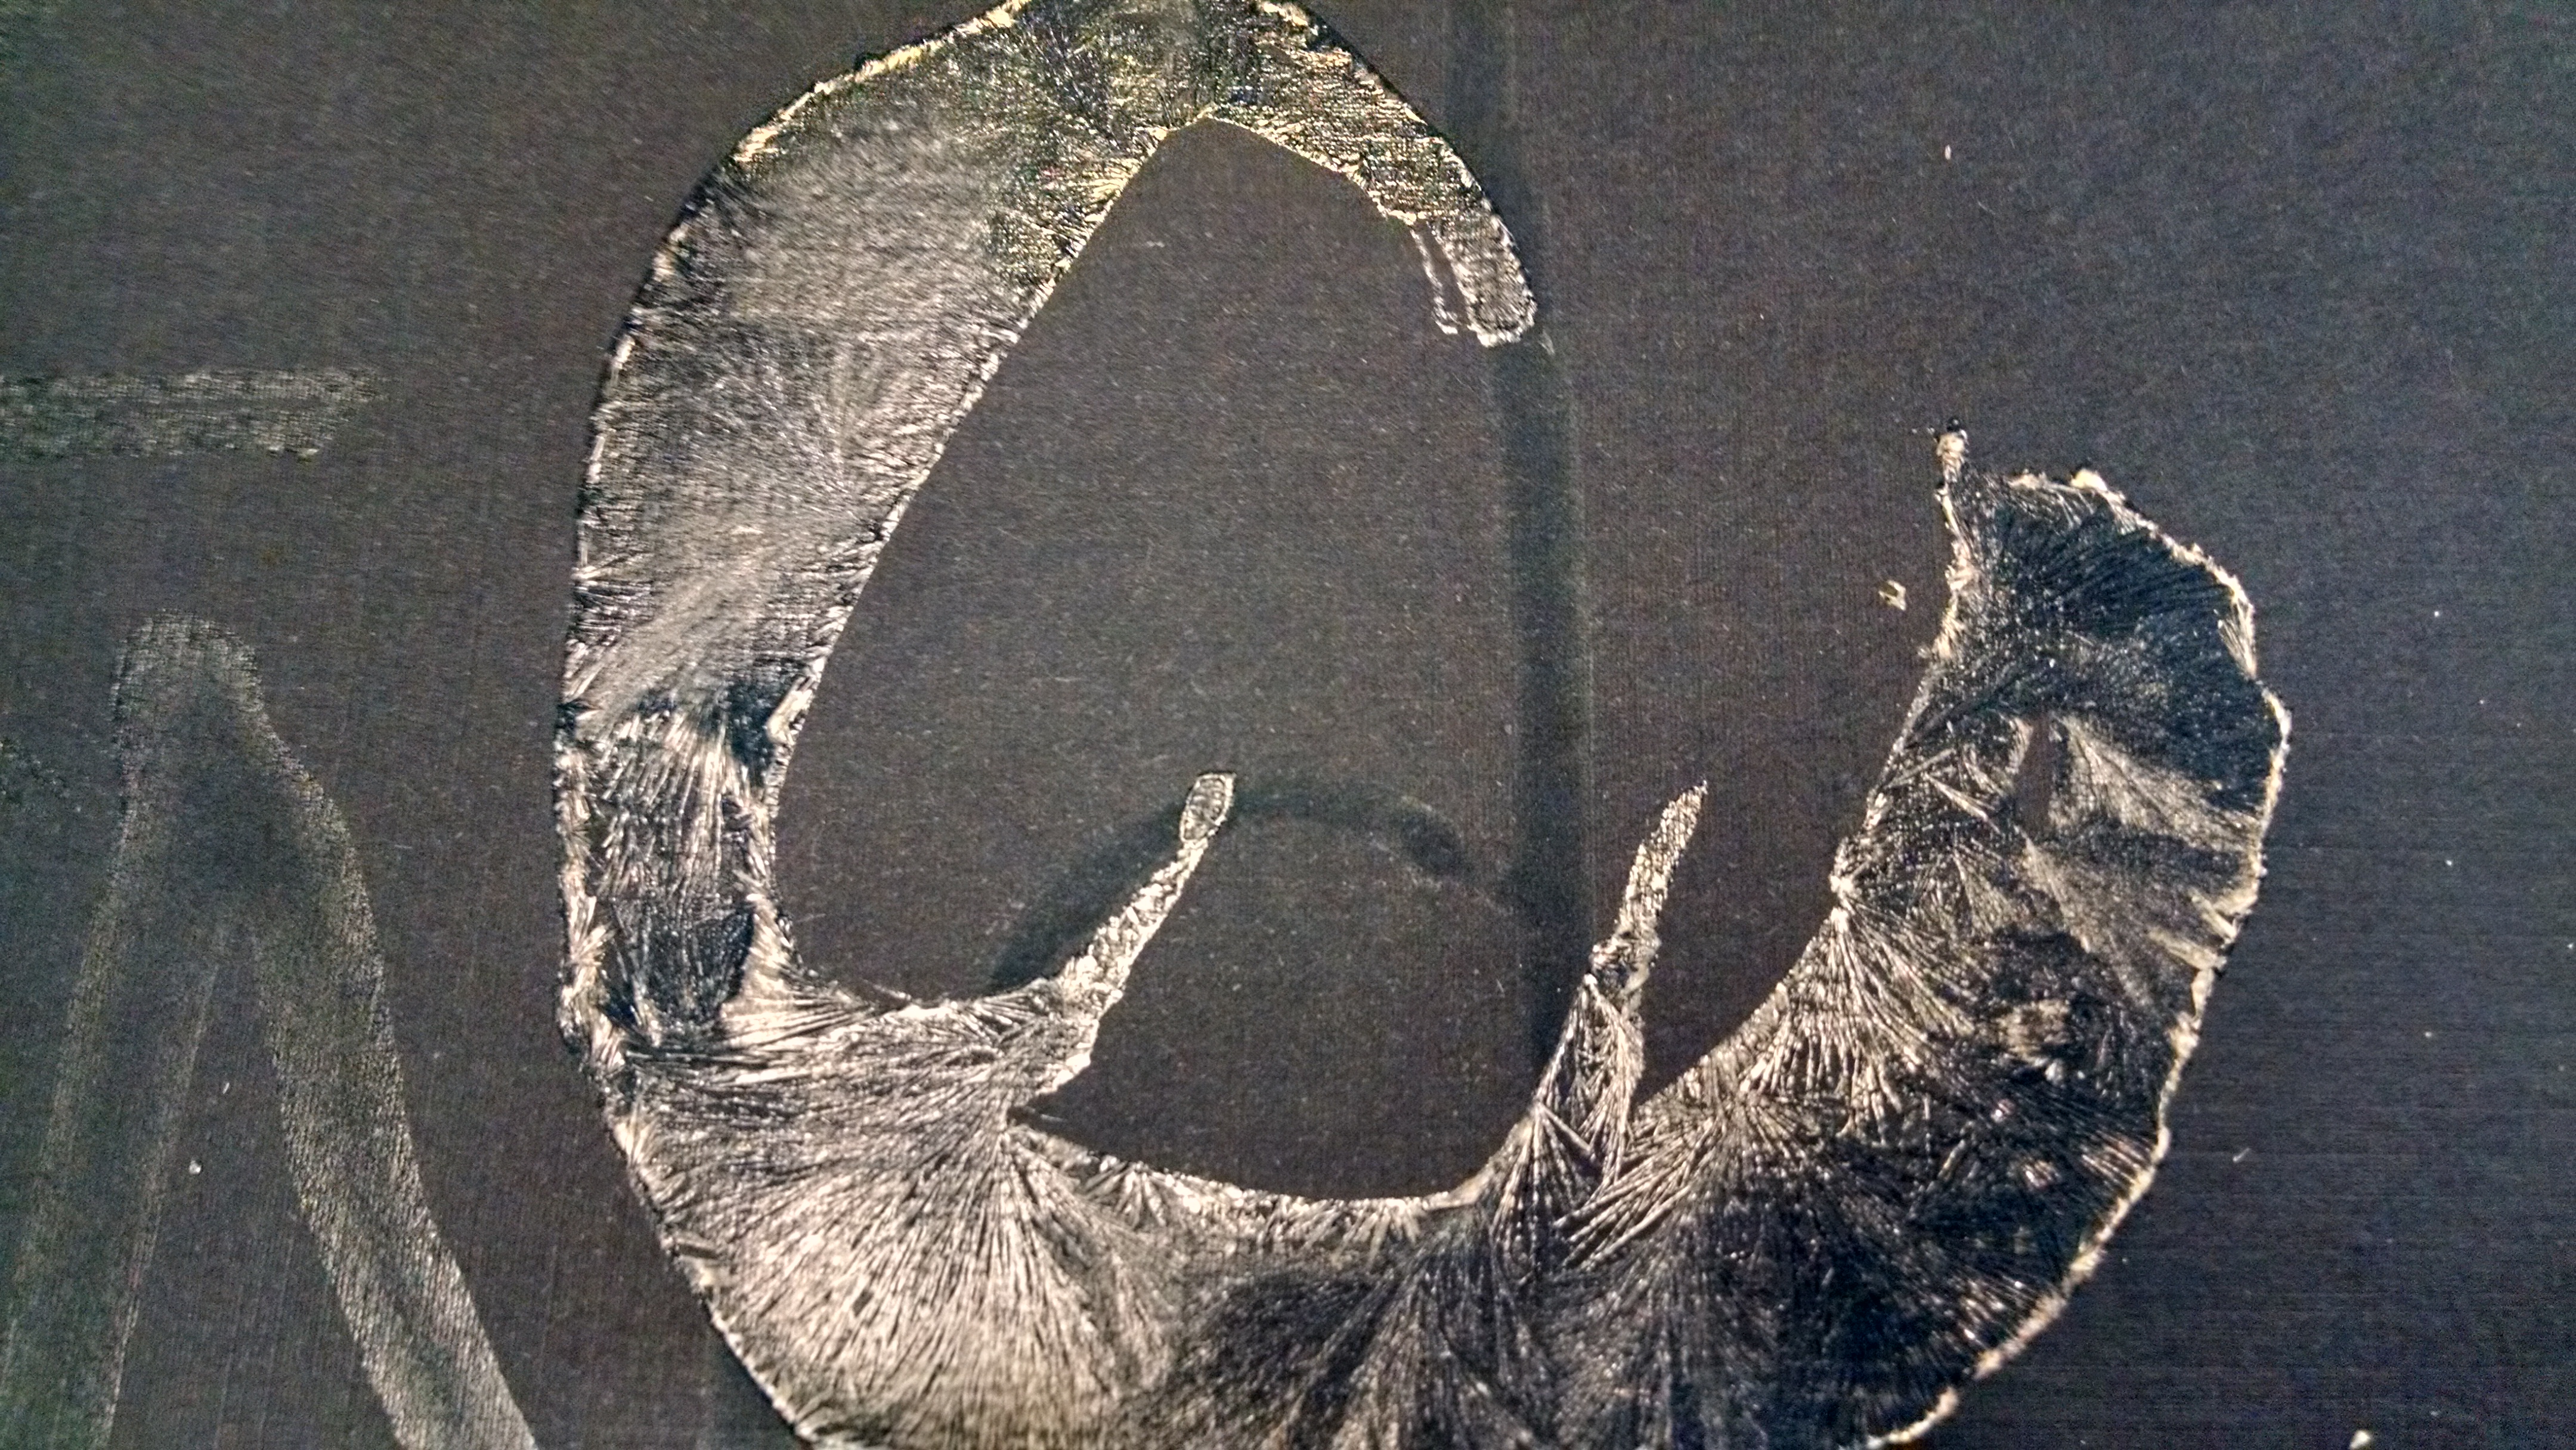
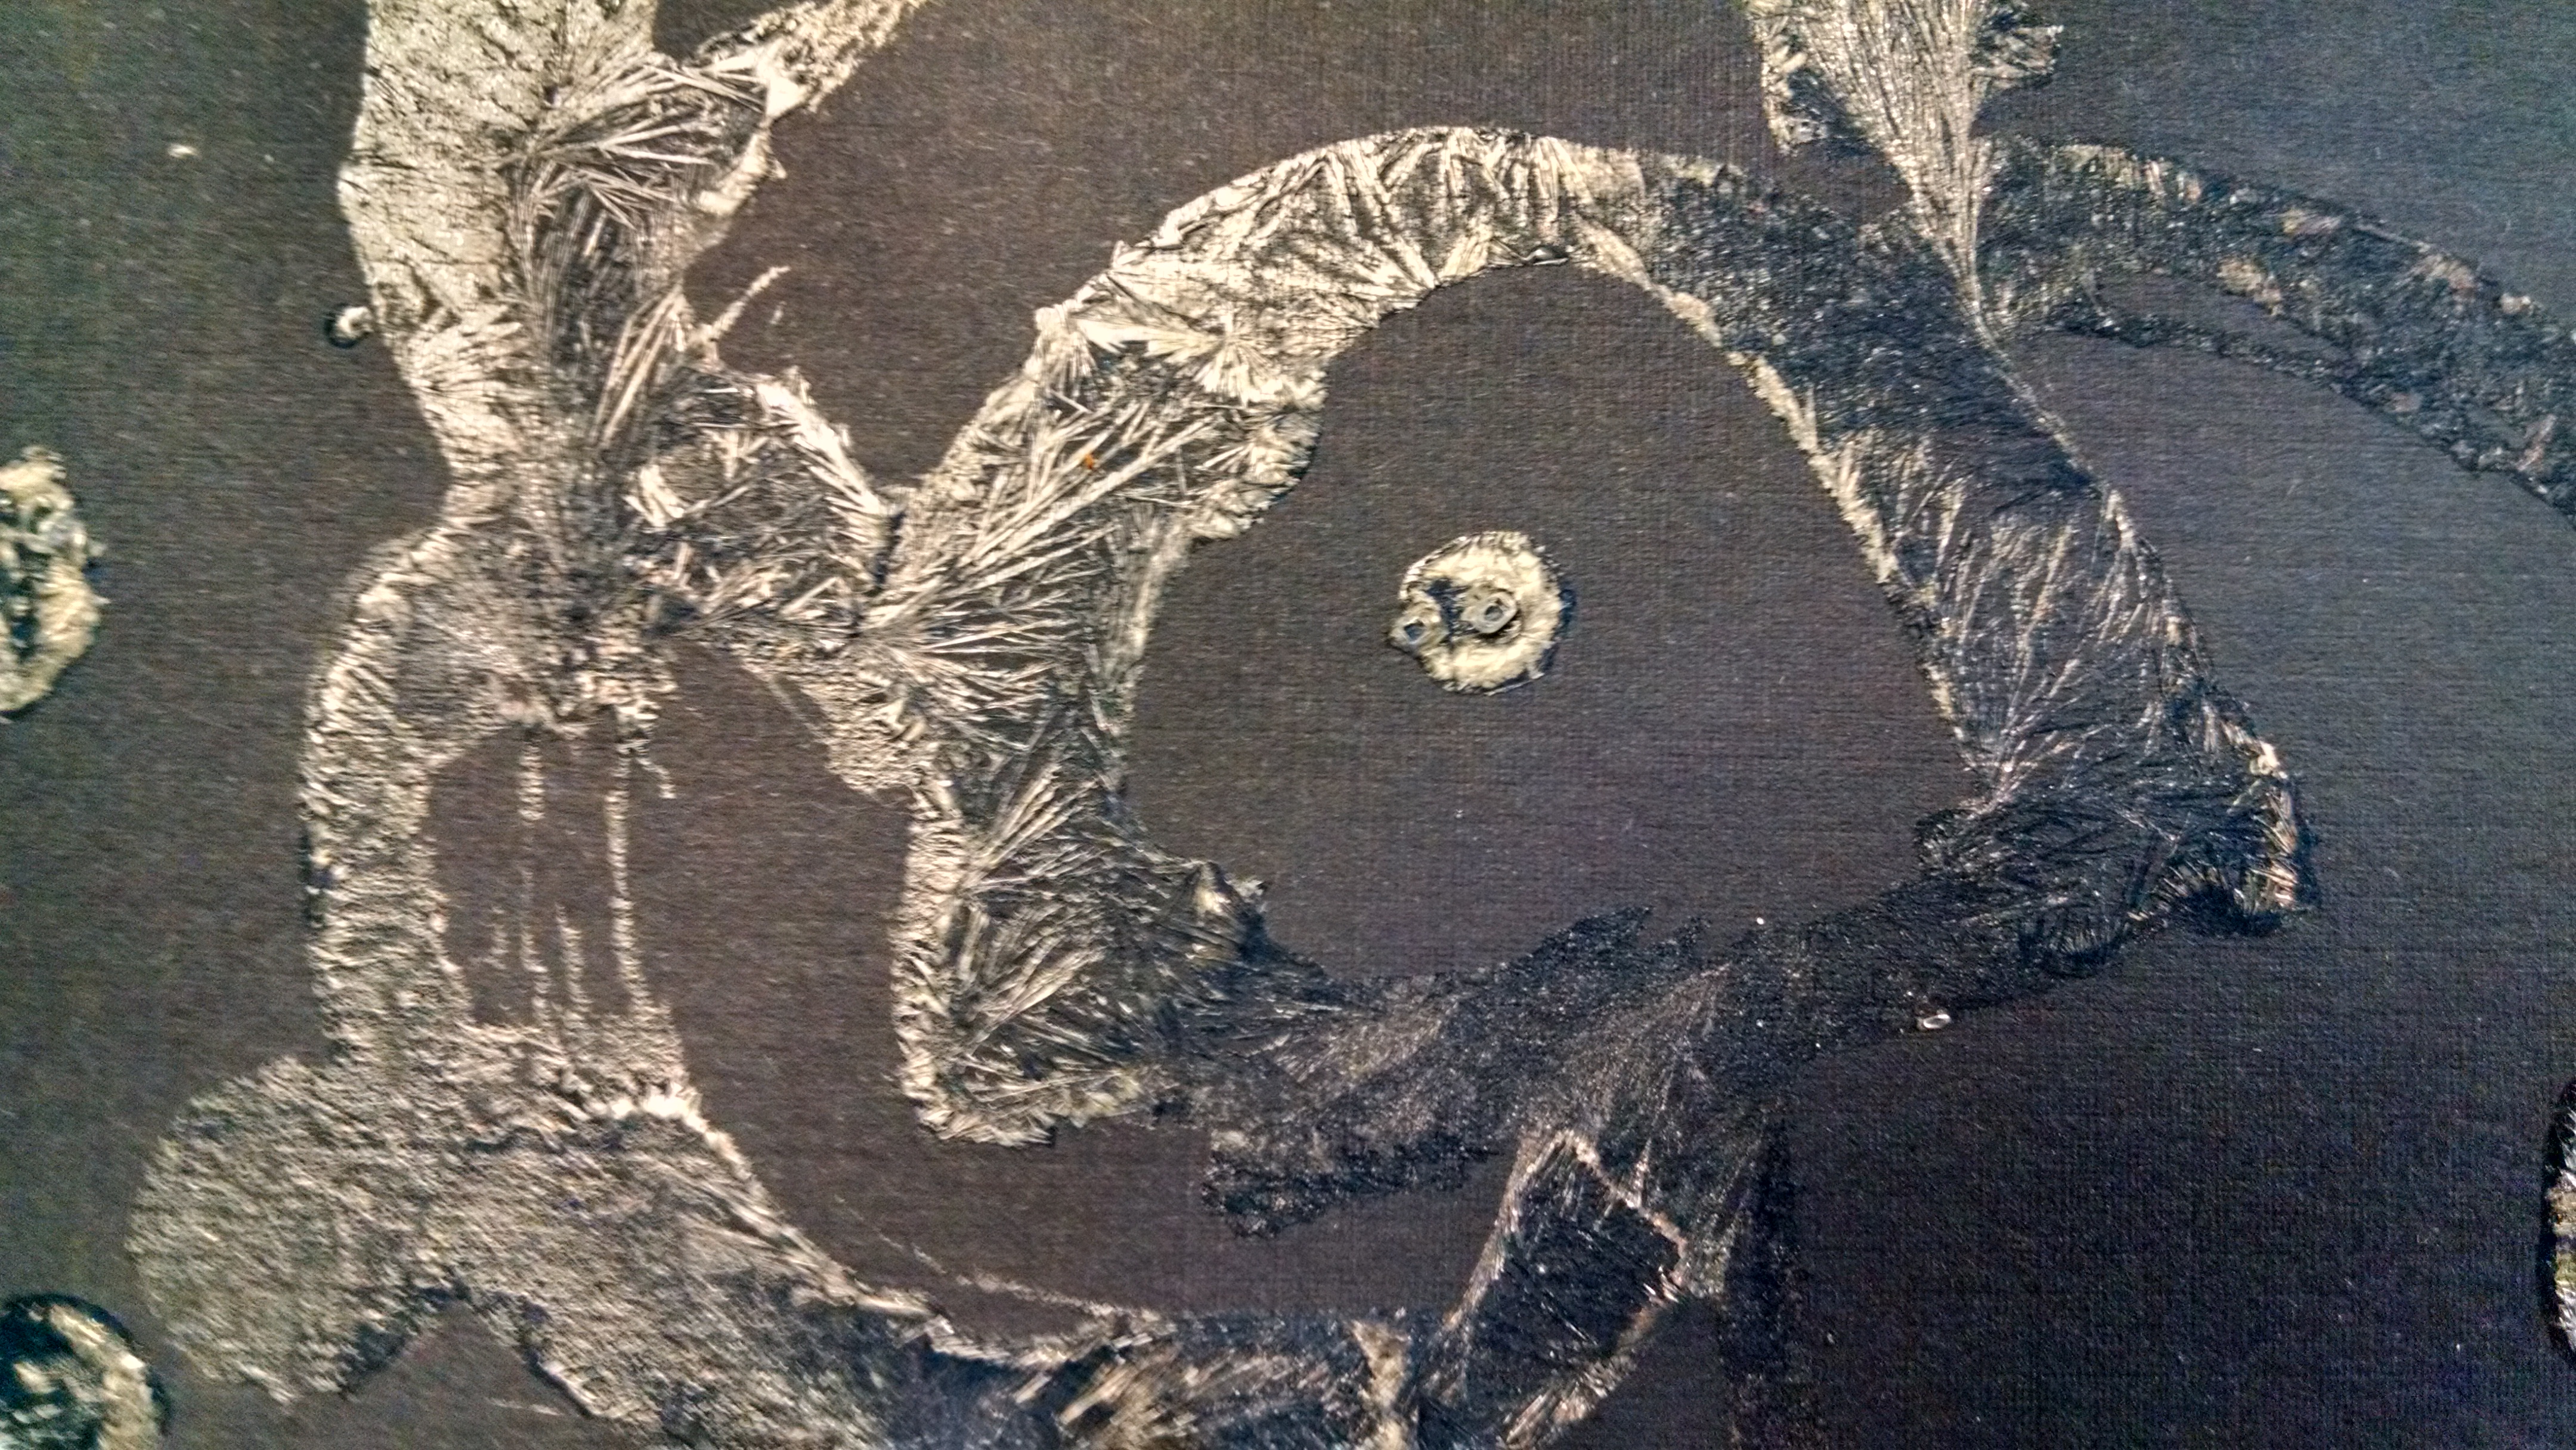
Art Activity – Epsom salt painting: Dissolve Epsom salts in hot water. Then paint with the water. As the water evaporates, the salt crystals reappear. Use a flashlight and magnifying glass to examine the crystals. (Source: www.ingridscience.ca/node/98)
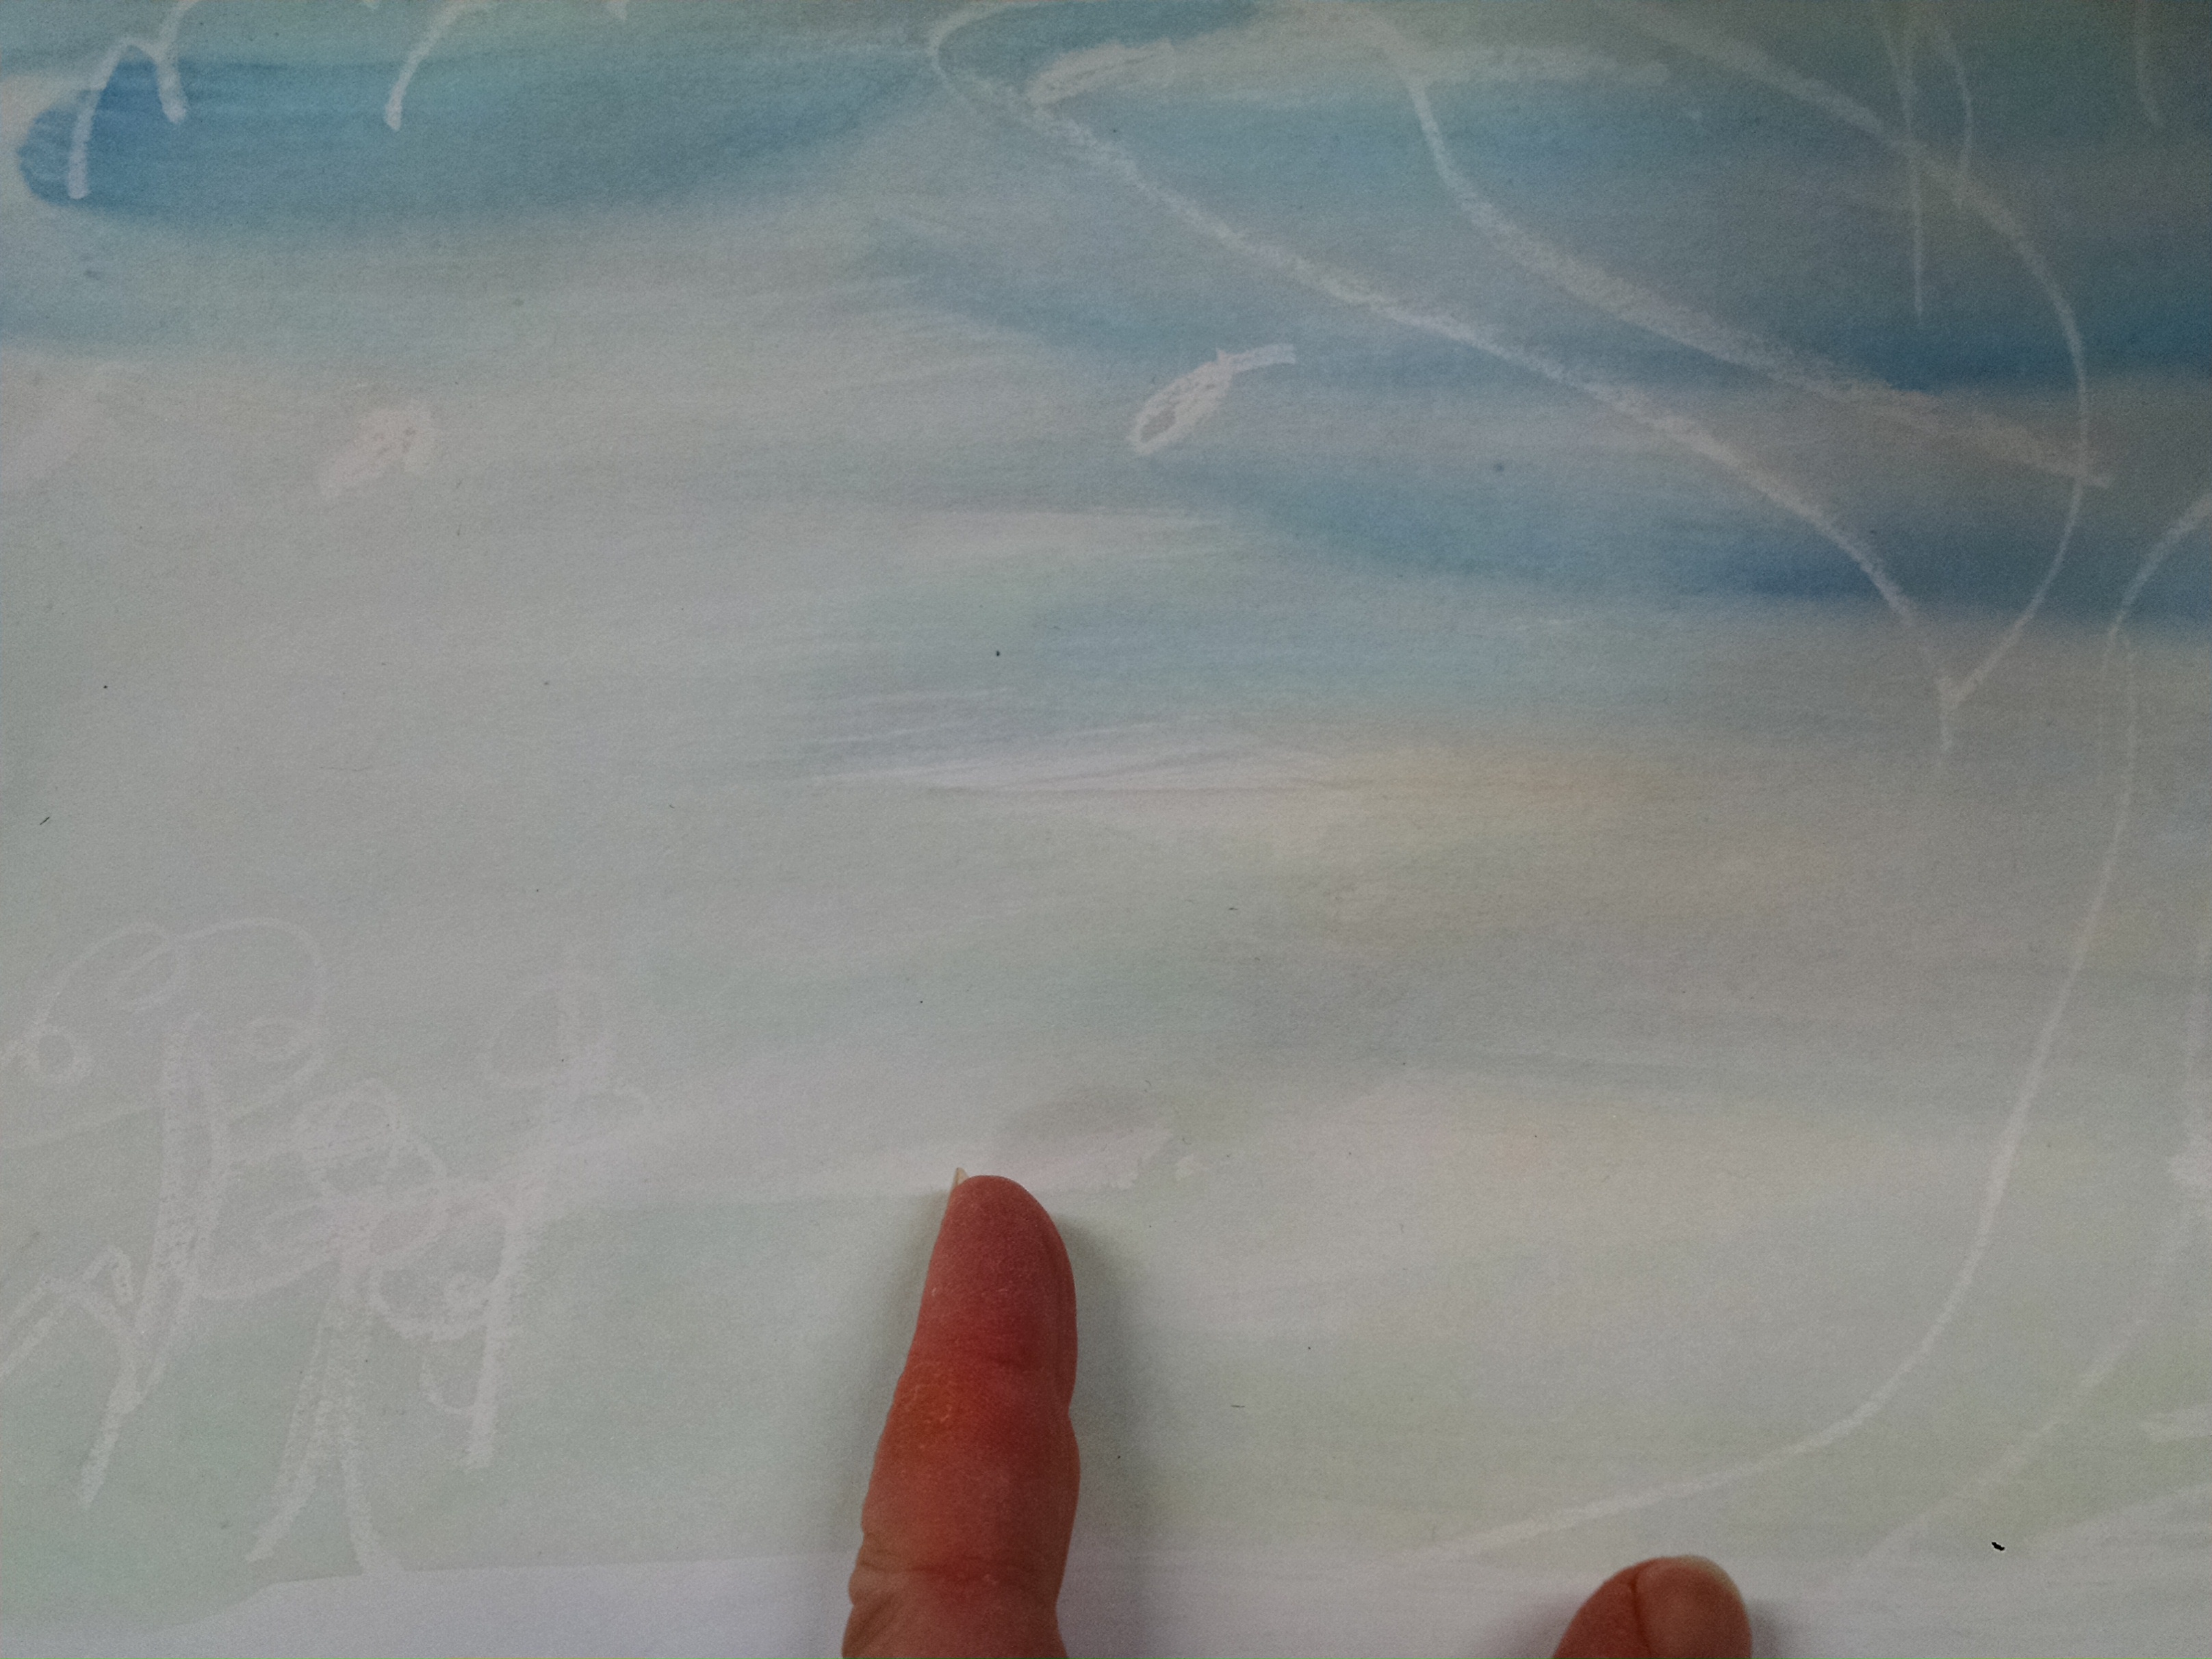
For the best crystals, use a smooth, tightly textured paper – cardstock works much better than construction paper, where the texture of the paper dominates. Note: the picture on the left is from a previous year’s class, where we got very different results, not the crystalline structures, though still fun. I’m not sure what we did differently…

You can use a similar technique to make “crystal paintings” by coloring the salt water, and painting on white paper. I’m thinking that would be a great art project for an Anna and Elsa / Frozen themed birthday party…. print a picture of Arendelle, then paint blue ice crystals all over it.
Evaporation experiment: This is a good take-home exercise, or good if you are in the classroom several days a week. Start with a spoonful of salt. Optional: stir in a food coloring or liquid watercolor paint. Then mix in warm water. The salt “disappears” as it dissolves in the water. They will then leave the container of liquid on one of the windowsills. Over the next few days, students can check the container to see if the water evaporated, leaving behind the salt and color.
Grow crystals: If you have time, you could make rock candy or Epsom salt crystals. With these experiments, you dissolve a solid into a liquid, then as the liquid evaporates, the solids gather into crystals. Learn how at the Science of Cooking or Kidz World.
Condensation
Make it Rain: prep a plate full of ice cubes, fill a jar or container a quarter of the way full with very warm water. Set the plate of ice on top. As steam rises off the water, it encounters the ice, and cools and condenses on the jar. (Source.)
Other Activities
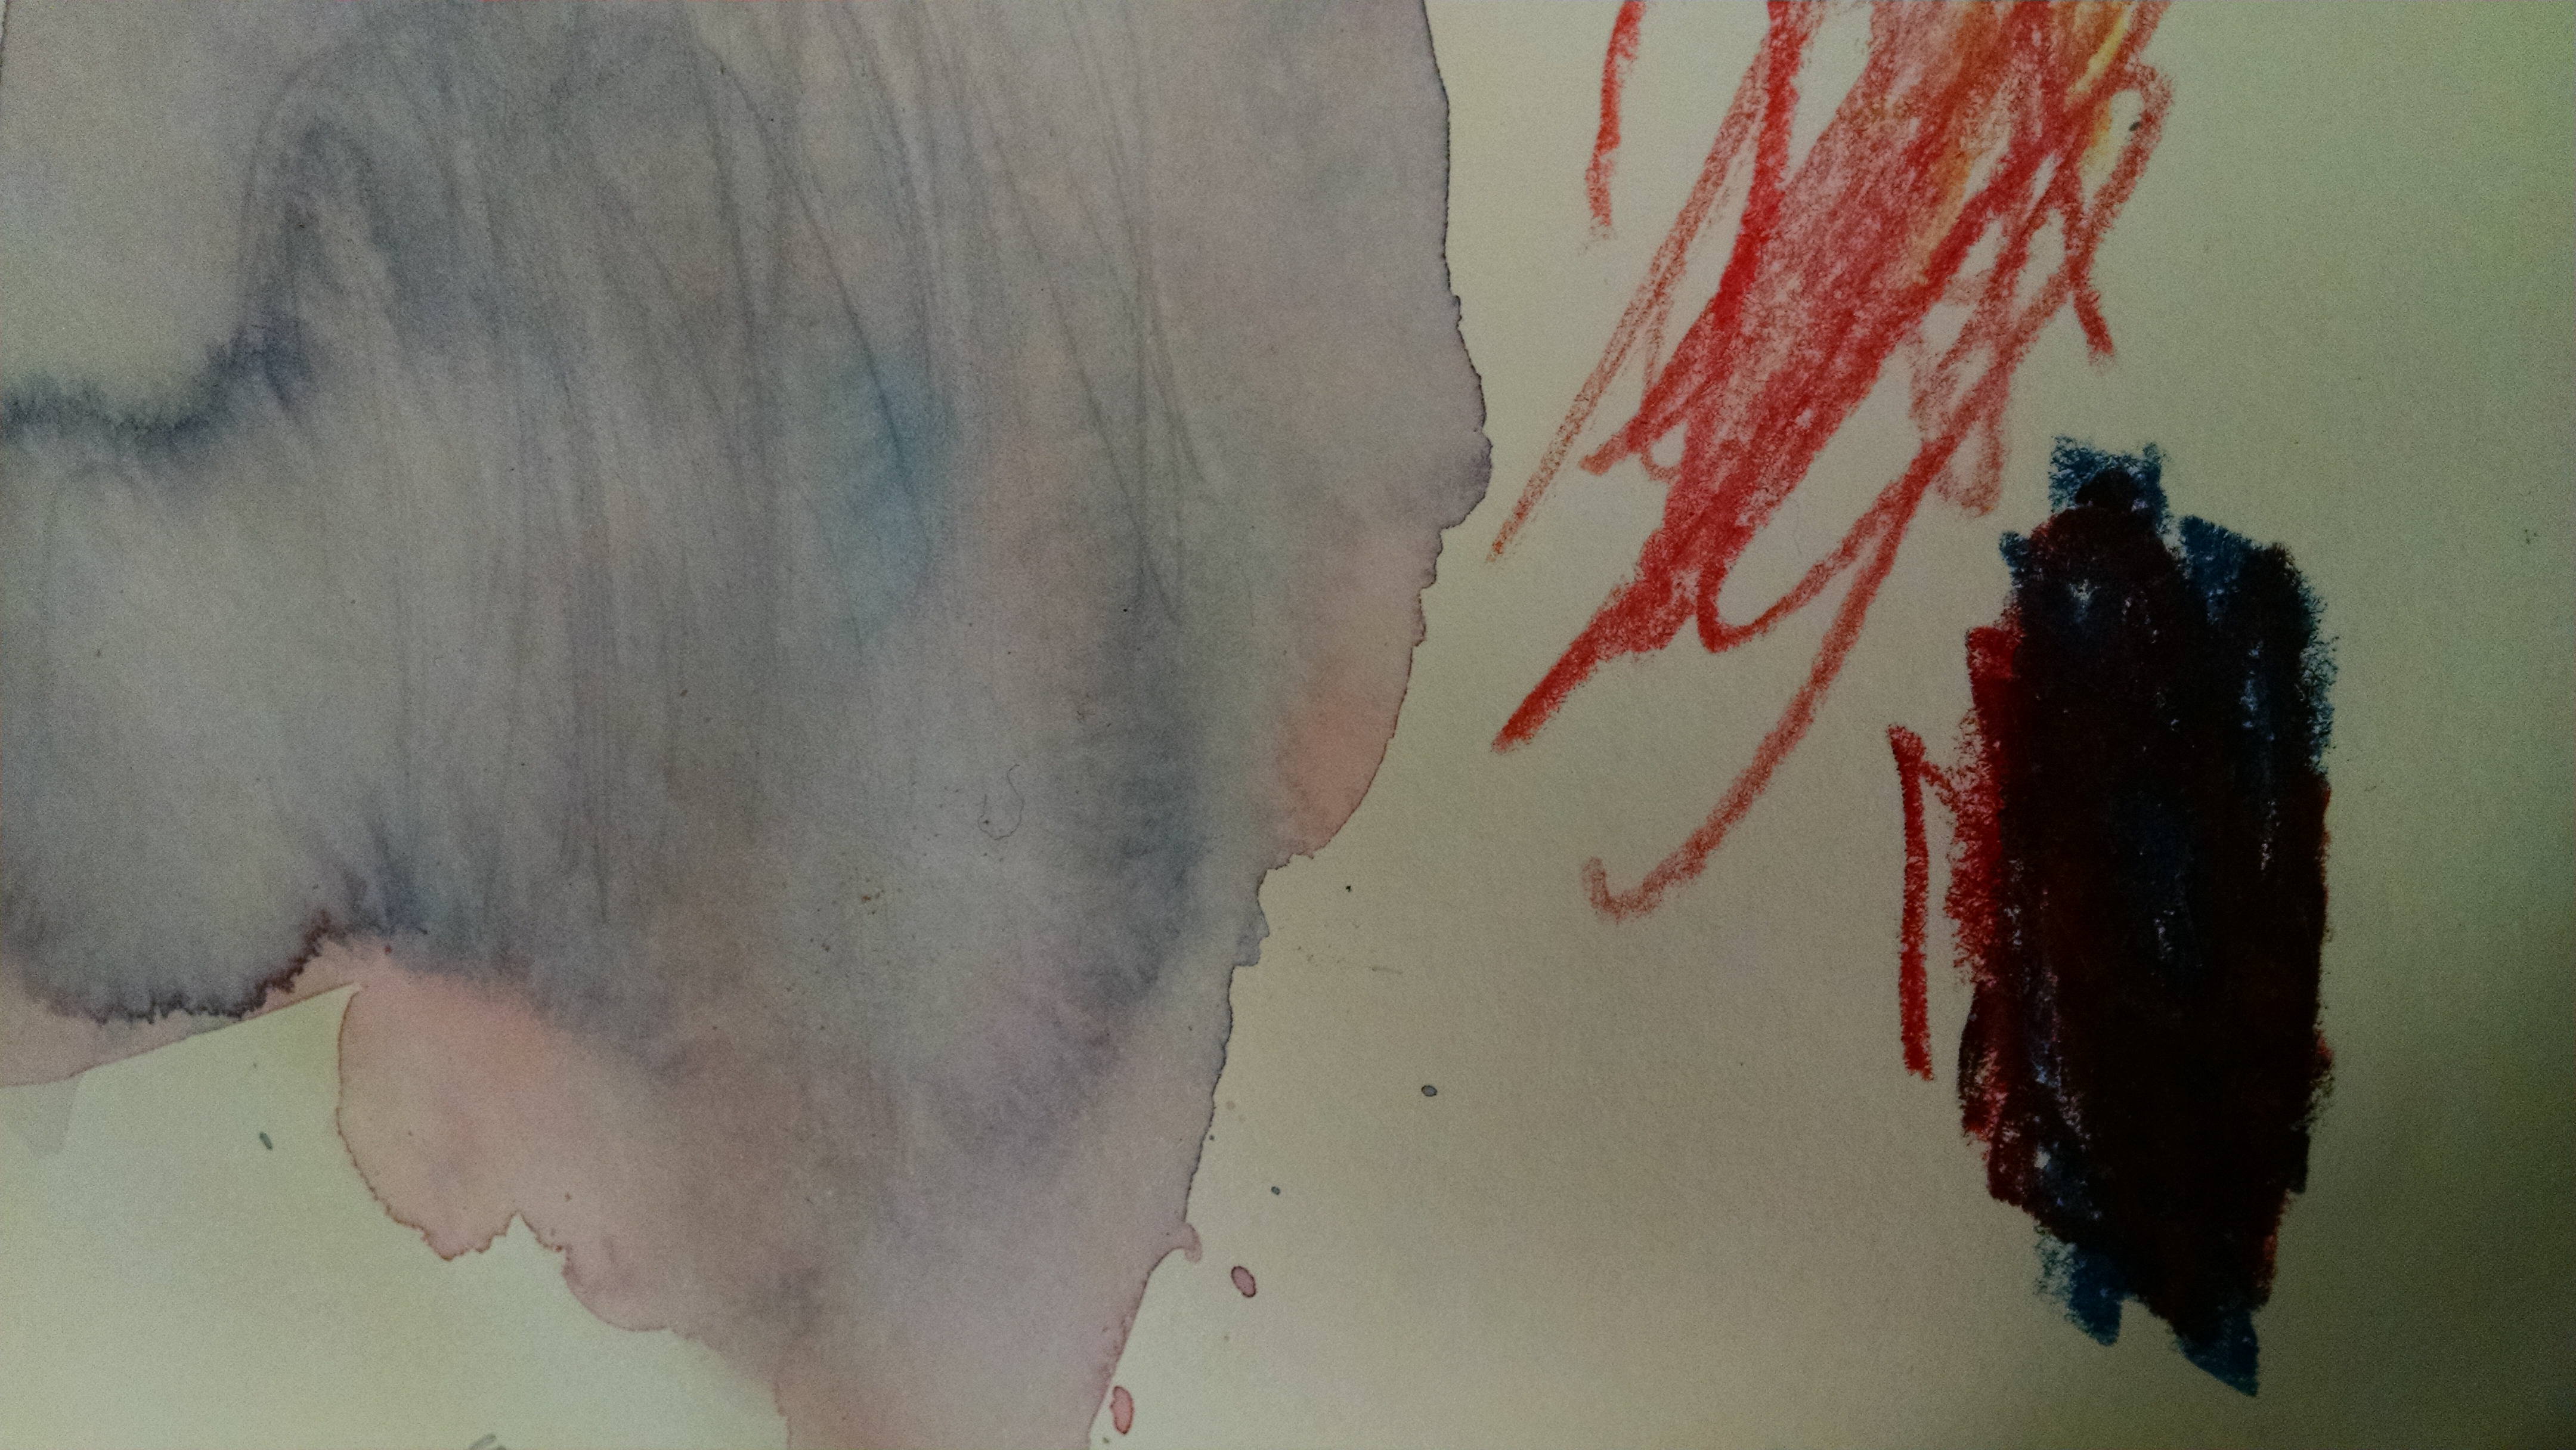
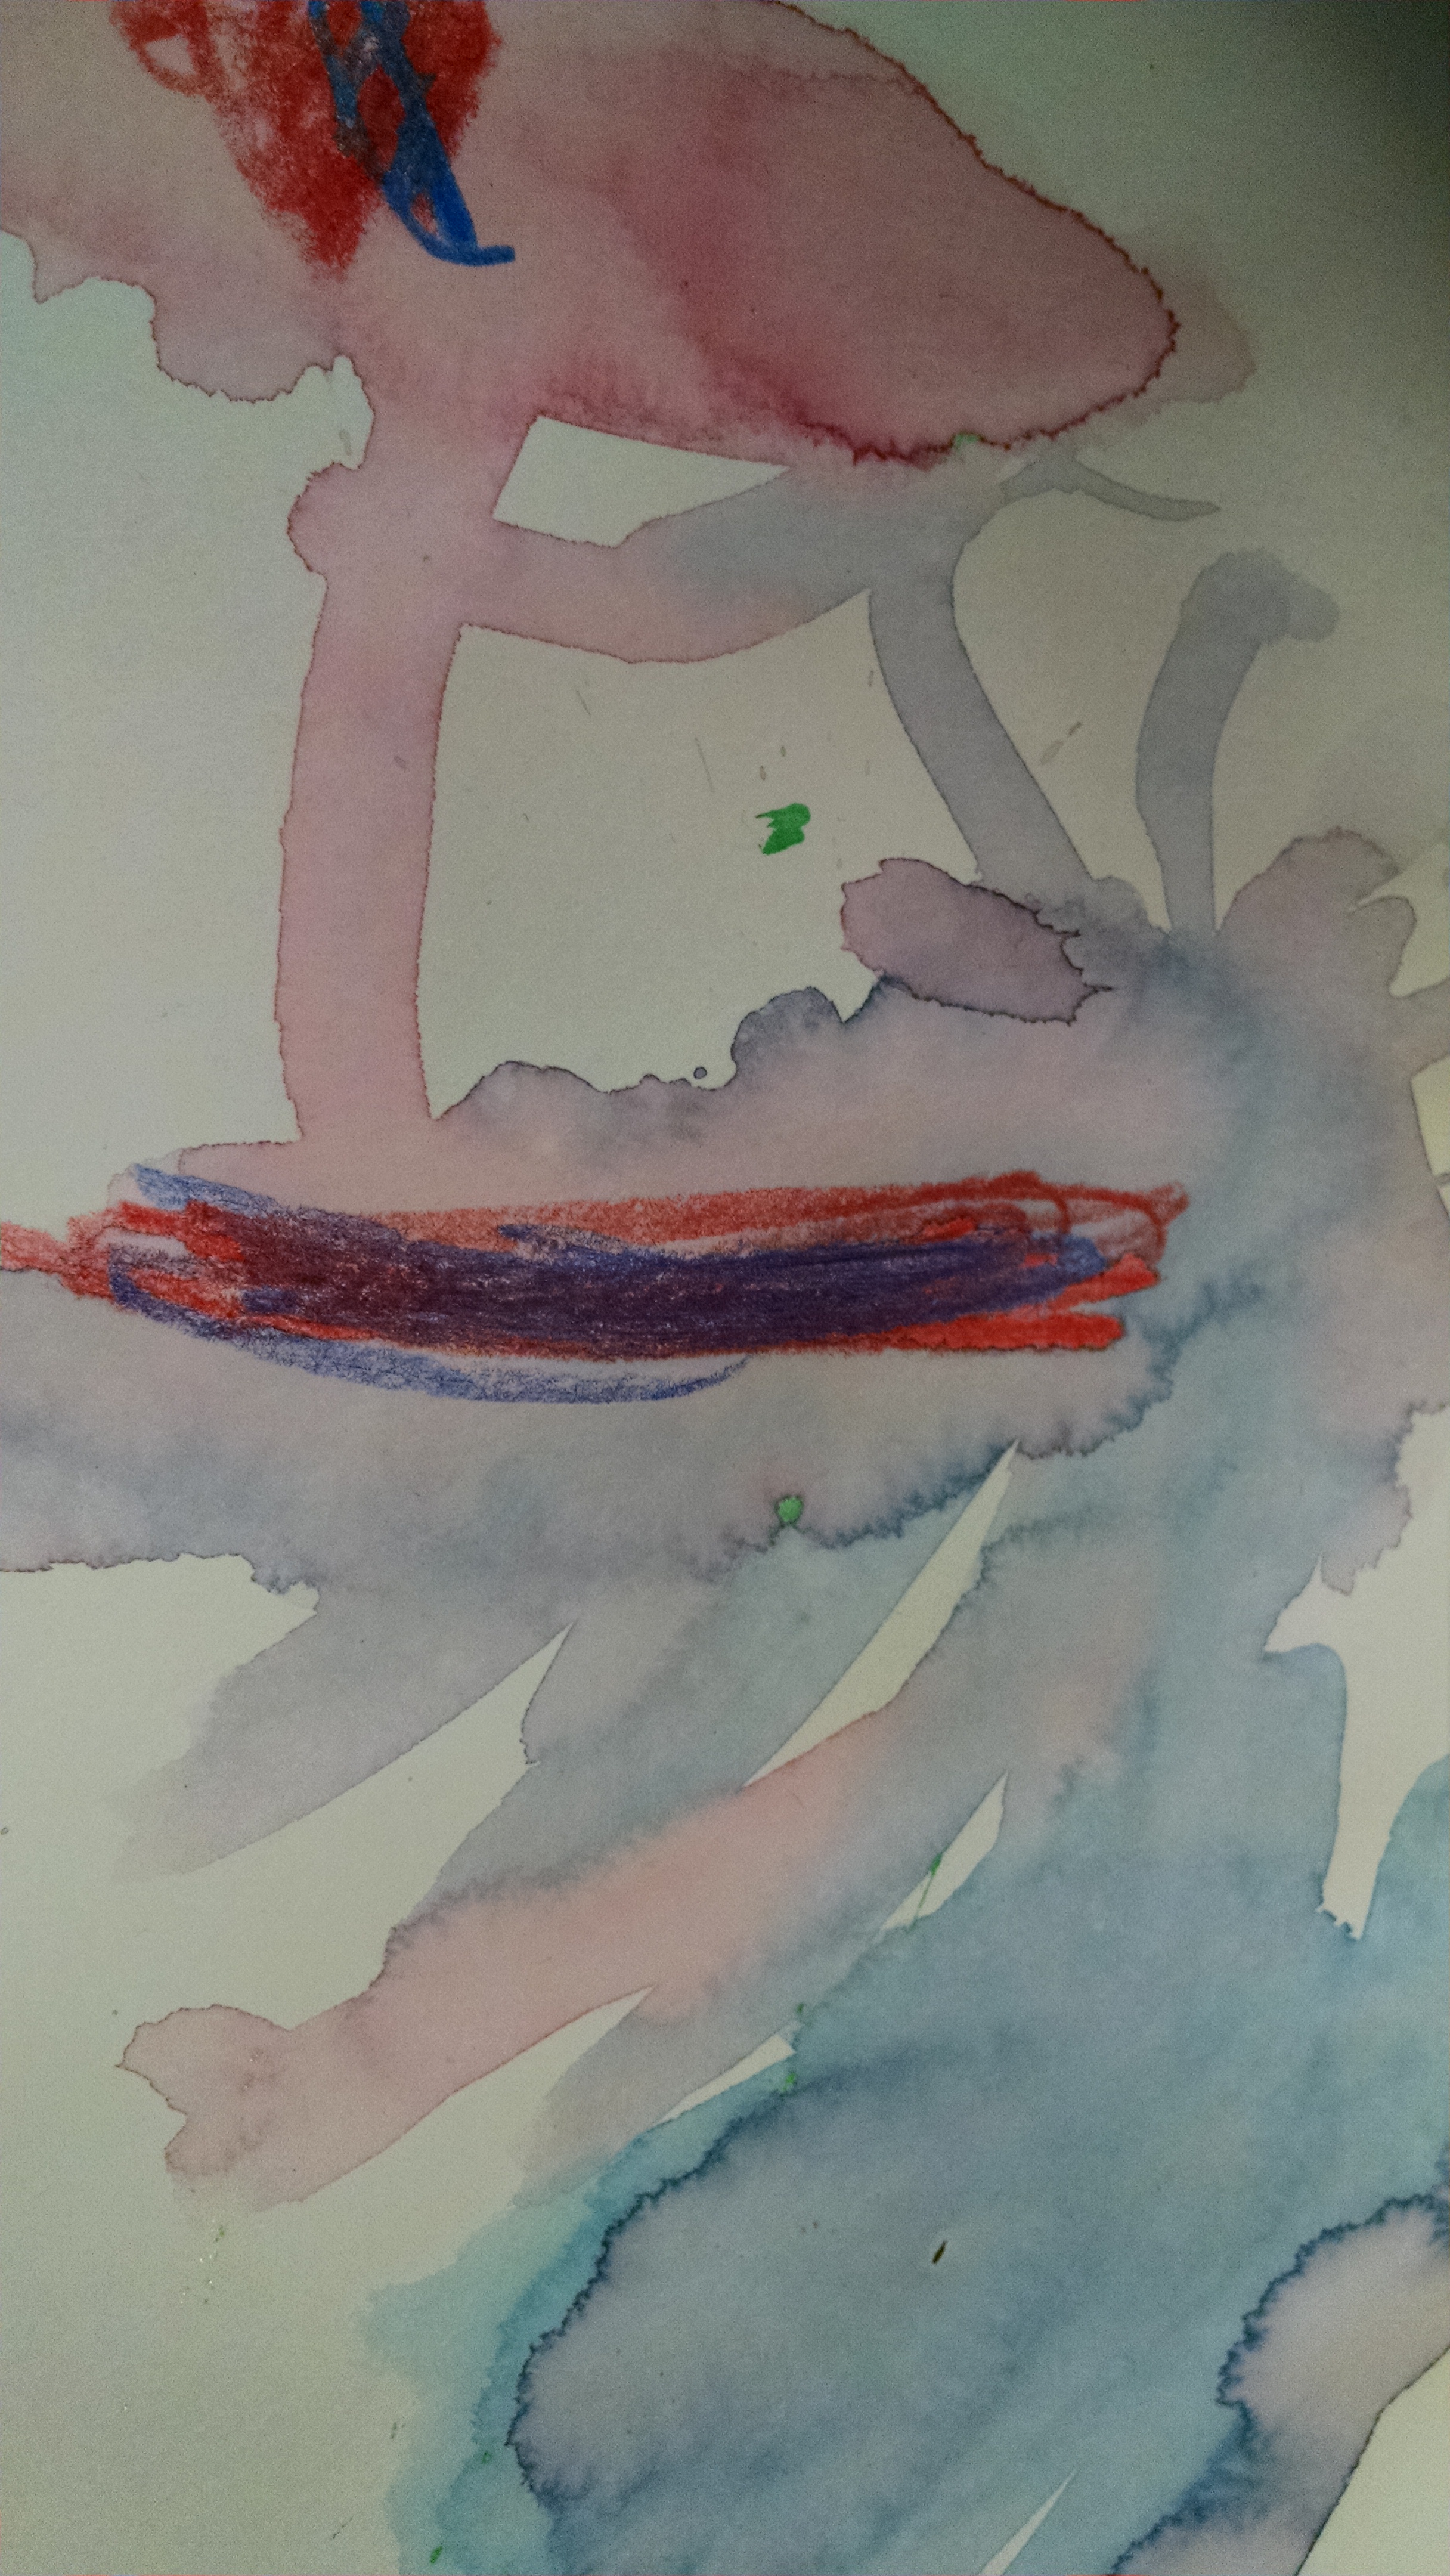
Art – Watercolor resist: We used crayons (a solid) to draw. Then painted watercolors (a liquid) on them.
Art Process – Mixing Colors: Have children use liquid colors (e.g. tempera paint or liquid watercolors) and mix colors in a painting – red and yellow make orange. Then have them use solid colors (crayons, pastels or chalk) and try to mix them. Instead of orange, you end up with red scribbles with yellow scribbles laid over the top of them. The solids do not mix as well.
Tool of the Week: Thermometers. We always have a tool of the week, and since so much of the states of matter experience is about temperature, we wanted to use thermometers. We filled three containers of water at varying temperatures – ice water, room temperature, and our hottest tap water (120 degrees). We put them in an insulated coffee cup so they would hold temperature as long as possible – the ice water was still filled with ice four hours later!
Kids use their fingers to test the water and to guess what is the warmest and what is the coldest, then measure with a thermometer. This experiment worked better for the older kids with a good grasp of numbers (so they actually understand that 72 is warmer than 48). You could place one slower-to-read thermometer in each cup so they could just look at the numbers and read them out (some kid-friendly thermometers for this experiment are the Learning Advantage Thermometers or ETA hand2mind Thermometers) or you could use an instant-read digital thermometer like this one
. My instant-read thermometer from my kitchen wasn’t the best option, as it’s not watertight, and the kids tended to submerge it… it survived somehow.
Outside time: Last year, it happened to be below freezing the day we had this class. (Not typical for Seattle, even in January.) So, we went outside, and found that lots of the sandbox buckets and scoops were filled with ice. We used warm water to loosen it, broke the ice free, then had fun breaking ice into bits.
Clouds: Show pictures of the same location on a clear blue-sky day, on a partly cloudy day and on a rainy day. Discuss how clouds are water vapor. Discuss how they form [evaporation] and what causes the rain to start. You could do water cycle in detail unless you’ll do this in another session of class. If there has been frost recently, you can share with the children that this is when the water vapor in the air (gas) gets so cool that it first turns to liquid (dew), and then freezes into a solid (frost).
More activity ideas (and ways to explain states of matter) at Mommy Lessons 101.
We share our classroom with others, so aren’t able to leave projects in process. However, if you’re teaching chemistry at home or in your own classroom, I highly recommend trying a Crystallization Experiment, where you grow salt crystals or sugar crystals (i.e. rock candy.)
Class Projects
“Not liquid, not solid” aka “Oobleck” aka “non Newtonian fluid” This involves mixing water and cornstarch. (Or potato starch for a silkier dough.) It creates a unique substance. If you pick it up in your hands, you can roll it around quickly and make a solid ball, but when you stop moving your hands, it melts into liquid and dribbles out of your hand. You can stir it slowly like a liquid, but if you smack it with the spoon, it acts like a hard solid. If you make a plastic animal “run” quickly across it, it doesn’t sink in. If you move the animal slowly, it sinks into the “quicksand.” If it moves quickly in a struggle to get out, it stays stuck, but if you pull it out slowly, it breaks free. Learn more at Steve Spangler Science and SciFun.
To make it: I used a 16 ounce container of corn starch – I added water a little at a time (Spangler says the ratio is about 10:1 – 10 parts corn starch, 1 water, but that’s an error. It’s more likely something between 2 parts cornstarch to 1 part water). Your goal is to create something that feels like a stiff liquid if you stir slowly, but solidifies when you tap on it. On the Ellen Show, they made a giant vat of this stuff that Ellen DeGeneres runs across. See it at www.youtube.com/watch?v=RUMX_b_m3Js.
Other interesting substances you could make:
Flubber. [Should not be eaten! Don’t make this if you have kids likely to eat it.] Mix 3/4 cup warm water, 1 cup white glue or clear Elmer’s glue. In separate container, mix 1/2 cup of warm water and 2 teaspoons of Borax (can find in the laundry aisle at the grocery store. DON’T use boric acid which is a pesticide and very toxic. Just because the name is similar doesn’t mean it’s the same thing!!). Then combine the two mixtures. Knead. Drain excess water. Put in sensory table or tub and let kids play. Store in baggies. If it dries out at all, just rework in some warm water to get back to the right consistency. (Source: Explore! Ice Worlds which also has a great lesson plan for turning this simple flubber exploration into a full experiment on the movement of glaciers.)
Other recipes for similar substances:
- Not liquid or solid. 1 cup cornstarch, one cup baking soda. 1/2 cup of water. Mix. it will harden, then soften… will drip from your hands.
- Gak: 1 cup Elmer’s glue and 1 cup liquid starch. Add starch to glue slowly, mixing it in with a spoon then kneading it as it thickens.
This post explains the science of polymers: http://www.stevespanglerscience.com/lab/experiments/glue-borax-gak/
Snack – Make Your Own Ice Cream **I have not play-tested this yet.**
Supplies: Small Ziploc bags. (Sandwich size is big enough, but the quart size comes in freezer bag style – the freezer bags are sturdier). Optional tape. Gallon size Ziploc bags. Half-and-half, vanilla, sugar, salt or rock salt, ice cubes or crushed ice, spoons, gloves or washcloths. (Quantity depends on how many kids will be making ice cream – the directions below are for one child’s serving.) Recipe and directions written in kid-friendly language to be placed on table. (laminating these will help them survive better)
- In small Ziploc bag, mix the following (Older kids can measure their own ingredients, younger children will need help.)
- 1/2 cup of half and half
- 1/2 teaspoon vanilla
- 1 – 2 tablespoons sugar
2. Seal small bag – it’s important to squeeze all the extra air out! Tape the bag closed OR place inside a quart size Ziploc.
3. In a gallon size Ziploc, put several ice cubes or scoops of crushed ice and about 3 tablespoons of salt or rock salt*. It should be filled about halfway.
4. Put small bag inside big bag, nestled down into the ice.
5. Seal the big bag – it’s important to squeeze all the extra air out!
6. Give kids gloves or a washcloth to wrap bag in. Then have them shake and/or rub the bag for five or more minutes till the milk mixture is slushy. (liquid turns to solid!)
7. Remove little bag from big one. Wipe the salt off the top of the little bag before opening.
8. Give kids a spoon and let them eat ice cream out of the bag.
Explain to the older kids why we use the salt: The salt lowers the freezing point of water from 32 degrees to 20 degrees or less. This very-cold ice makes an environment where the ice cream can freeze.
To learn more about the science of this snack, see “Ice Cream in a Bag Lesson Plan.”
Another method for ice cream is: Mix 1 cup of whipping cream, 1 cup of half and half, 1 tsp vanilla and ¼ – ½ cup sugar. Put in a small container with an airtight lid. (If it’s not watertight, seal with tape.) Put it inside a bigger round container (like a coffee can.) Fill the large container with layers of ice and rock salt. Roll the can back and forth between students (or up and down a slide) for about 15 minutes till ice cream hardens. Then eat it!
Another snack option is a root beer float, which also demos the states of matter.
Science Demos: We had a couple experiments to do that required very close adult supervision to avoid steam burns, so we did those as demonstrations during snack time when all the kids were seated. If you’re working with just one or two kids, they could easily participate with appropriate caution.
Changing states with heat: have a hot plate, small pot (clear glass would be great), and ice. Show the children the ice, explain that it is water in solid form. Put it in the pot – ask what will happen as you heat it. Show how as it heats, it turns to liquid. Continue to heat. As the steam starts to rise and they can see it, ask them what the steam is – it’s water in gas form (although to be really technical, gas is invisible… what we’re seeing that we call steam is actually tiny suspended drops of water) Ask what would happen if we turn off the heat and let it cool down. Ask what would happen if we put the pot in the freezer.
Teach vocabulary as you do the demo: melting, boiling, evaporation, freezing. If you have readers in your group who love big words, you could print a poster of this graphic, from www.ck12.org (This site also has a good description of key concepts of states of matter.)

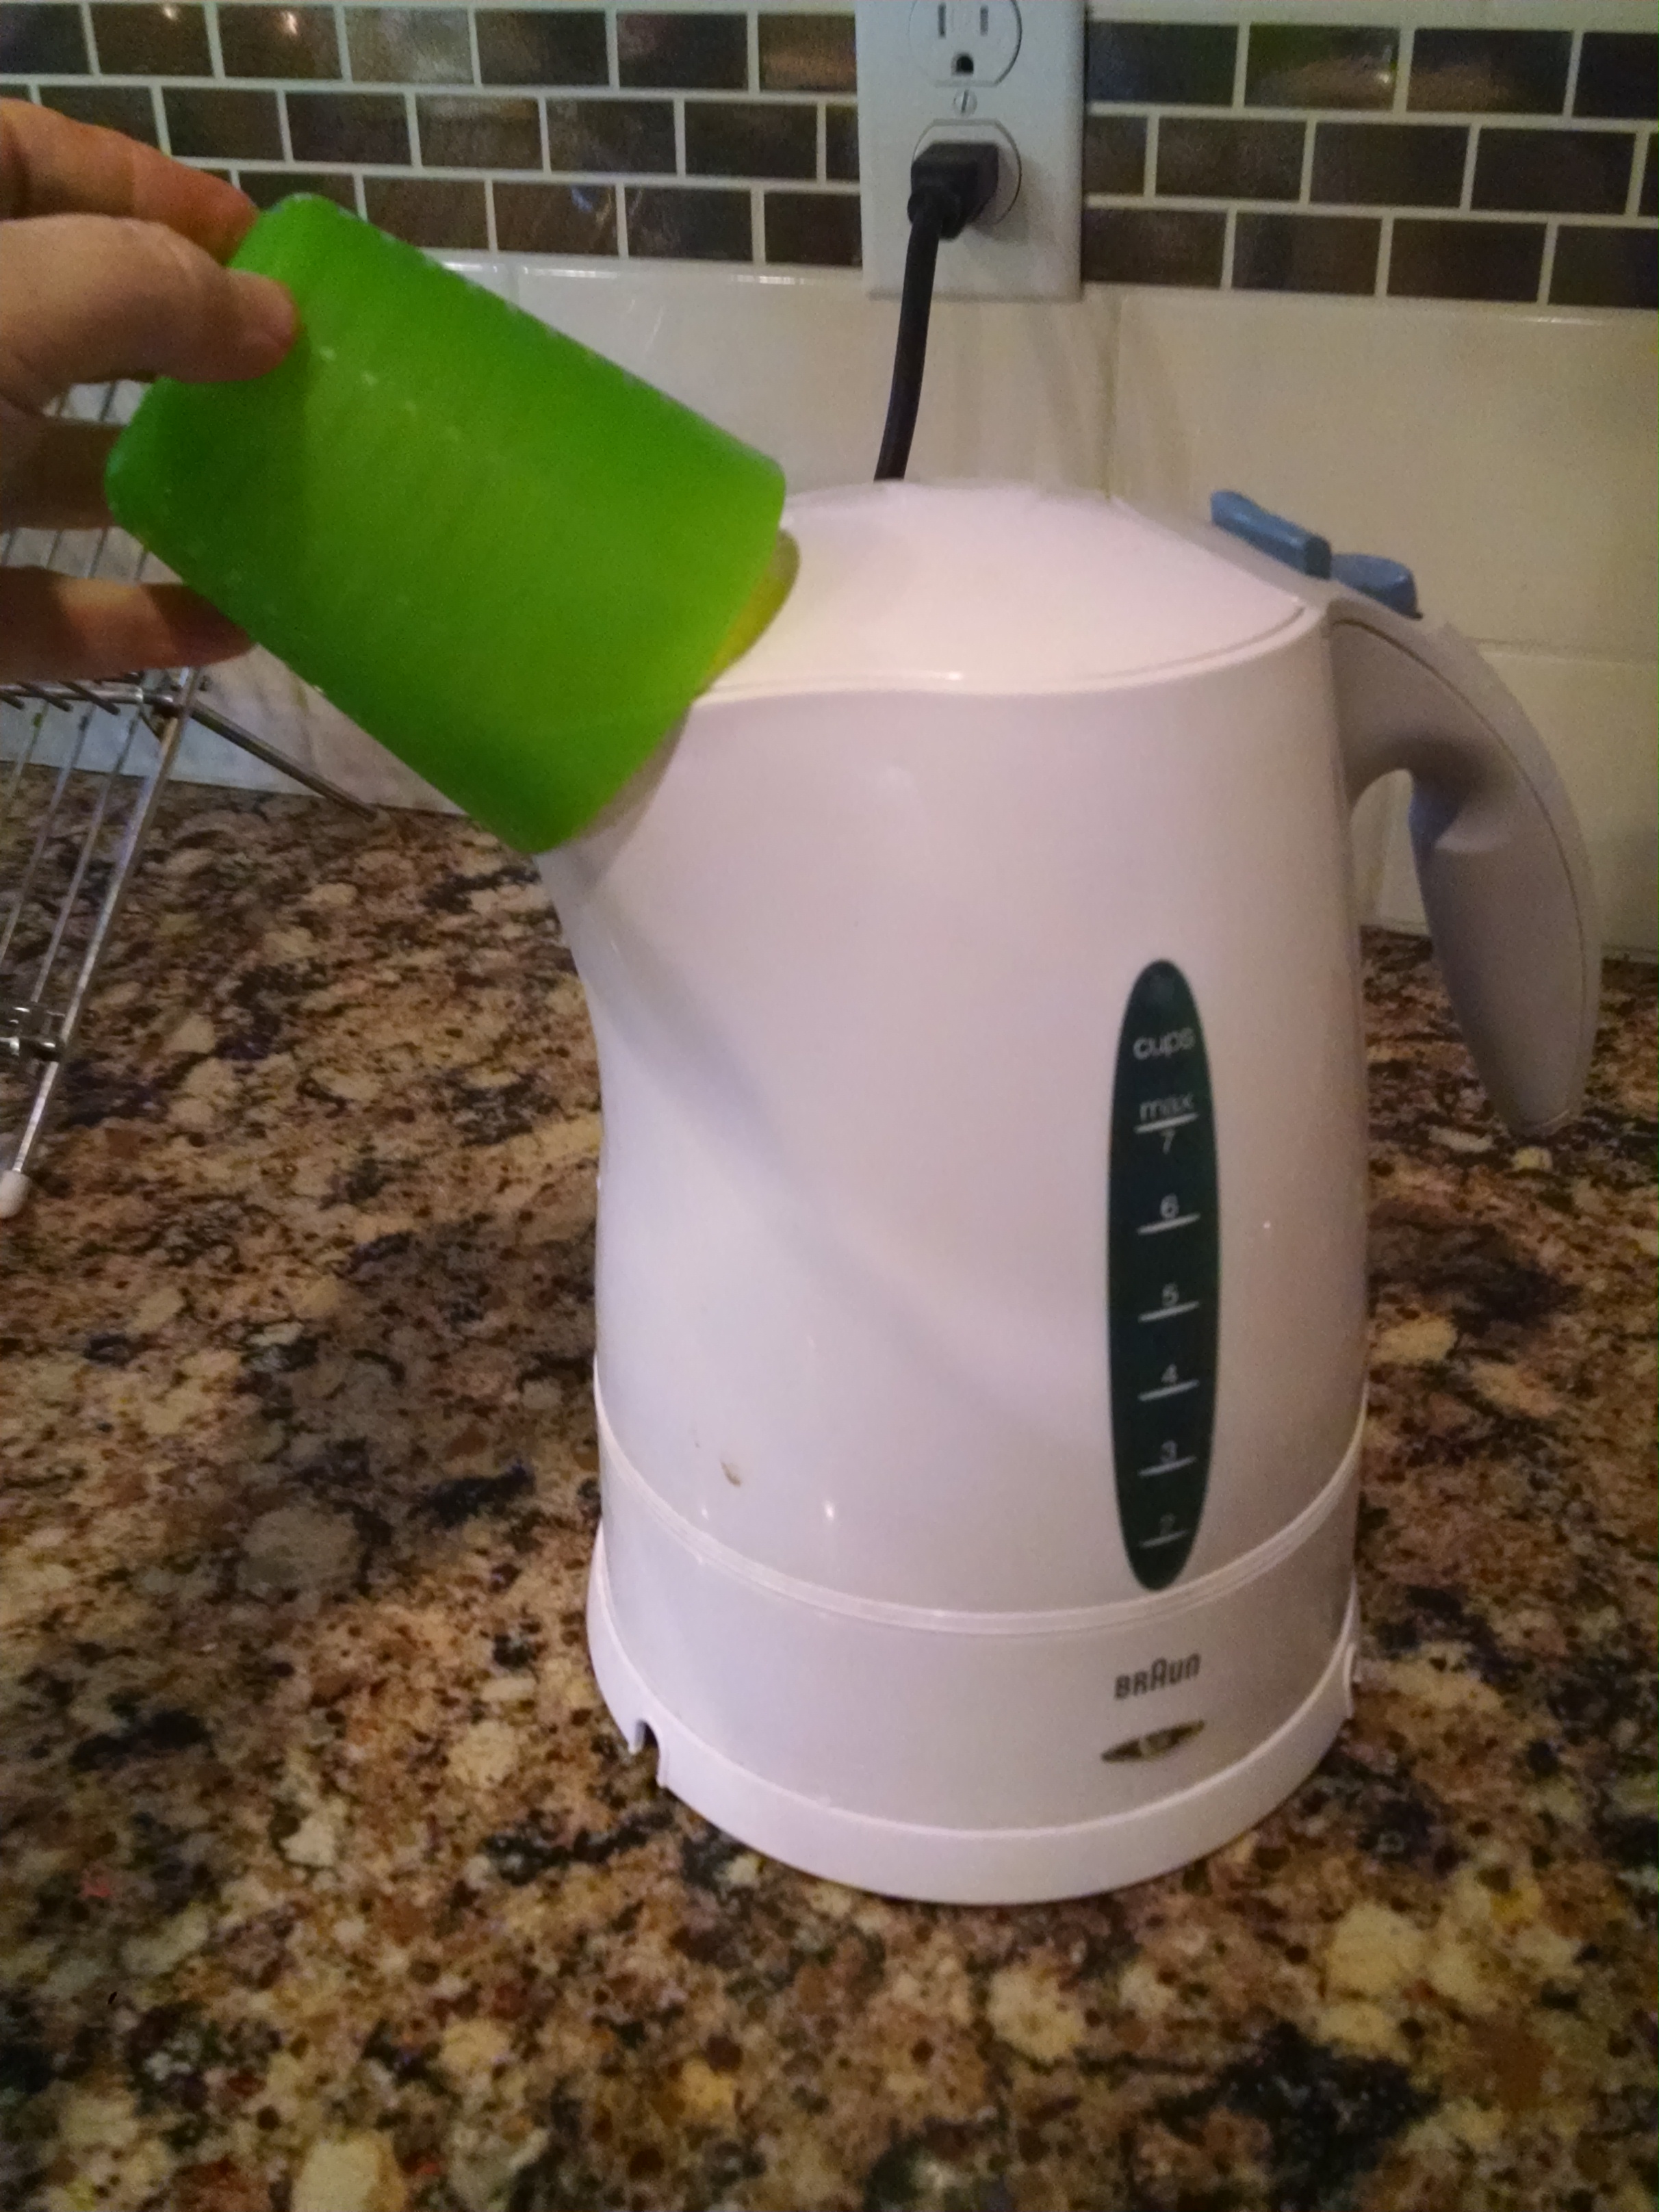
We used a closed electric kettle for this demo, which releases steam in a concentrated location, which allowed us to demonstrate condensation as well:
Condensation – gather gas and observe as it changes to liquid: As the water boils, ask the child to watch for steam (gas). As soon as they see it, hold a clear plastic cup upside down over the spout. (With close supervision!) When the kettle switches off, count to five, then turn the cup over and look inside. What do you see? (Liquid water.) Explain that as the steam cools, it turns back to water.
The microwave demo: Take a quart size freezer bag, Ziploc style. Ask a child to put in a few ice cubes – solid water – seal it well. Ask them what happens when you put things in the microwave – they get hot. Put it in the microwave for one minute. What’s happened to the ice – probably partially melted, part still ice. Have them touch the outside of the bag to see what temperature it is. Still cold. Put it in for another minute or so. Now it’s all liquid – touch the bag (VERY carefully at first to test temperature!!) – now it’s hot. Tell the kids that’s the last time they’re allowed to touch the bag. Heat it then in 20 second intervals – you’ll see the bag inflating like a balloon. Explain that is the liquid water turning into gas and expanding. You can take it out of the microwave when it’s expanded (carefully!!) and show how quickly it deflates as it cools. Do NOT open the baggie of steam, and DON’T let them touch it. If you run the microwave long enough, and there’s enough steam, it will pop the bag open. I don’t really recommend this, but it happened to us, and didn’t make too much of a mess…
Communicating the Big Idea – in Opening Circle
Three states of water, hands-on:
- Solid: Pass around a cup with an ice cube in it. Ask them if they know what ice is made of (water). Have them touch the ice. Ask them to describe the ice – it’s cold, it’s hard. Ask if it changes shape if they pour it out of the container into their hand. Show how that it doesn’t change shape. Pick up a few other objects from around the room. Show how you can pick them up and set them down and they stay the same shape. Ask the kids for examples of other solids.
- Liquid: Then pass around a cup of water. Ask them to describe it – cool, wet, liquid. Pour some from the cup onto a flat dish. Did it change shape? Then pour it into a test tube or other tall skinny container. Did it change shape? Demo a few other liquids: maybe vegetable oil and honey or molasses. You could either leave them in a closed bottle and just show how they move differently, or, you could squeeze out a little and let the kids touch it so they could see how different each of the liquids is. Ask for other examples of liquids.
- Use a plastic syringe (or pipette) to pull up some water and show them how the syringe has water in it. Then squirt the water back into a container.
- Gas: Ask if there’s any gas in the room. Tell them the room is full of air, which is a gas. Hold up a plastic syringe and draw it open, filling the cylinder with air. Say “this container is full of something. What’s it full of? (Air) Can you see it?” Push the air out – ask if they saw it come out. Then pull in more air and hold it close to a child’s hand, and blow the air out on their hand – did they feel it? Then fill the syringe with air, hold it under the water, push out the air and ask them what they see – bubbles of air moving through the water. Ask if we can trap a gas, and then blow up a balloon or show them a helium balloon so they can see how the gas is trapped in an airtight container.
Book: We read I Get Wet by Vicki Cobb (my new favorite author of science for young children!). It does a nice job of exploring the liquid water and explaining why it makes us wet. We demoed the ideas from it as we went along, pouring water into different shape containers, using a pipette to show how a drop of water forms into a ball and drops, putting water on waxed paper and on a paper towel.
Song: We used the Matter Song from Teachers Pay Teachers, but I made some changes to the lyrics in the liquids verse, and we also changed the order to solids, then liquids, then gas. Other options at: https://www.youtube.com/watch?v=Bn3v_LUVIOI or https://www.youtube.com/watch?v=fhhFwdJqvfw
Closing Circle Time
Note: I made up a set of posters which teach the vocabulary of melting, boiling, condensing, and freezing. They’re in this states-of-matter-vocabulary PDF. There’s a different set of worksheets on this at: http://fivejs.com/changes-states-matter-free-printable-worksheets-solid-liquid-gas-plasma/. I used a little of their illustration in making my posters.
Book: We used What Is the World Made Of? by Zoehfeld. However, it’s too wordy, so I wrote a much shorter version of the words, printed it and taped it to the back of the book so I could read that version as I flip through the pages. Talks about solids, liquids and gas and has some silly ideas: “have you ever seen anyone walk through a wall?” or “have you used milk for socks?”
Matter and Duplo molecules: Talk about matter and how everything that they can see, hear, touch, smell, or taste is made of matter. Explain that matter comes in three forms: solid, liquid, gas. (We’re not going to get into plasma with this age group.) Explain that matter is composed of molecules – very tiny pieces.
We reminded them that a few weeks ago, when discussing electricity, we talked about atoms. We explained that molecules were made up of clusters of atoms, but they were still so tiny we can’t see them. We showed them a Duplo and said we would use this as a “model” and pretend it was a molecule of water.
Demo-ing States of Matter with Duplos and a kettle

Solids: Show a container holding 10 – 15 Duplos, all stuck together. Say these water molecules are all packed tightly together right now – they’re a solid – so we’re pretending that this is water in a solid state – ice. Shake it around in the container a little – see how the solid retains its shape? Pick up a few other solids at random – a book, a marker – whatever you have handy – have the kids notice how you can pick up and move solids and they hold their shape.
Show the kids one ice cube. Explain that it’s water in solid form. Put it in an electric kettle (you can cheat and have a little water already in the kettle to make the next step of the demo easier.) Ask what will happen when you heat it.
Melting: As you heat the ice a bit, go back to the Duplo demo. Let’s pretend to heat up our solid molecules. The heat adds energy. The molecules get excited. They loosen their bonds and drift farther apart. (Break up the Duplos and spread them across the bottom of the container.) “See how they flow across the bottom of the tray, taking the shape of the container like a liquid?” Pour them into a different shape of container like you used with the containers of water when you read I get wet. Remind them of the other liquids you looked at. Then pour a little water from the kettle – “look, the ice has melted. It’s turned from solid to liquid. What happens if we heat it more?“
Boiling / Evaporating
As you heat the water in the kettle more, go back to the Duplos. As we heat it, the molecules get really excited – they start bouncing around. (Shake the container to make them jump.) When they get really excited, they turn into gas that dissipates around the room. (Shake them so hard they fly out of the container – the kids love this!)
Go back to the kettle – point out the steam that’s coming out of the top. “Look, it’s boiling. Liquid water is turning into water vapor – a gas.”
Condensation
Use a plastic cup to capture some steam. Tip it up, count to 5 and show them what’s inside. Some liquid water will have condensed from the steam.
Take your container of loose Duplos and put a lid on it (or seal the bag if you’re using a plastic bag.) You’ve captured some gas. Shake it fast to show how the molecules can’t escape. Then shake it slower, say it’s cooling down, shake it slower, letting all the molecules settle to the bottom of the container – it’s liquid again.
Freezing
Ask what would happen if we put our cup of liquid water in the freezer. It would freeze to solid. Build the Duplos back into a solid mass.
Solid, Liquid, Gas game: If we called out “solid”, they grab hands with all the other kids, squeeze in tight, lock their elbows and freeze in place. If we try to move them, they all stay in the same shape as we shove them around the room. If we call “liquid”, they still held hands, but loosen apart from each other, moving and flowing around the room. If we push them, they flow out of our way. If we say “gas”, they let go and move away from each other to fill the space, moving around the room. This could a movement game, or it could also be done to music as a “states of matter dance party.”
Use the vocabulary as you play: “it’s getting colder, you’re freezing, get close to all the other molecules and hold on for a tight bond.” “It’s warming up, you’re melting, loosen up your bonds, and flow.” “It’s really hot, you’re boiling, let go of your bonds and dissipate around the room.”
Will they understand?
Our three to four year olds should get at least some grasp of the three states of water. Over the next few days, try quizzing them about whether something is solid, liquid or gas, and they’ll get it right more times than wrong.
You may notice the kids playing with the ideas for the next few days. They may mix the ideas around in their brains. When they do, it’s easy to reinforce what they’ve got right, and add corrections as needed to solidify their knowledge. (Read about my process of teaching my then 3-year-old about states of matter. At first, I thought he didn’t get it, but then observed how he processed the ideas over the next few days.)
This kinesthetic game really reinforced the learning for the kids. Last year, three days after the class, I listened to my then-5-year-old describe states of matter to his preschool teacher. As he described each, he was moving his body just like we did in this game. As a 6 year old, he can repeat back to me what we taught about molecules.
Optional Preview/Review: You may send a link to a video to parents before class that they can preview with their child to set up the week’s activity, or it could be sent as a follow-up. Here are some options, from the one I like best to least:
- This site offers a review of the concept and then a game where you sort things by category: http://www.abcya.com/states_of_matter.htm
- Matter Chatter Song: https://www.youtube.com/watch?v=C33WdI64FiY
- States of Matter: www.youtube.com/watch?v=wclY8F-UoTE (better for older kids)
- This video has a few interactive games as follow-ups: http://www.science4us.com/elementary-physical-science/matter/states-of-matter/. But it doesn’t correct you if you make mistakes… I chose “wet, drippy and melted” as three ways to describe a solid, and it didn’t say that was wrong.
More Books
We read our favorite books in circle, so see info on those above. Here are other options:
Matter: See It, Touch It, Taste It, Smell It by Stille. This is a preschool – first grade appropriate book that describes the basics about states of matter. We only read about half the pages in circle. Each page included “fun facts” for older readers, which we skipped in circle. Sample content: “Can you pour it? Does it spill? It must be a liquid…. You cannot hold a liquid. A liquid runs through your fingers.” (Small quibble – one of their examples of a solid is a glass window. There is some debate whether glass is a solid or a liquid.)
Change It!: Solids Liquids Gases and You by Mason. Age 4 – 7. Each state is introduced with a brief description, everyday examples, and a challenge – “can you find three more solid objects in this picture?” There is also a simple activity for each state. (Making play-dough for solids, putting water in different shaped containers for liquids, etc.) Good.
What Is a Solid? by Boothroyd.(Also has a Liquid and a Gas book.) This would be a fine series to read with ages 3-5. Simple words, familiar examples, pictures are fine.
What Is a Solid? by Peppas. (Also has a Liquid and a Gas book.) For first grade and up. Good descriptions, engaging photos, “what do you think?” sidebars on every page that encourage kids to make their own observations and try their own experiments. Good, just too advanced for many of our students.
Splat!: Wile E. Coyote Experiments with States of Matter by Slade. This is aimed at 3rd-5th graders, but my five-year-old loves it because of the Wile E. Coyote theme. I certainly wouldn’t use it in a group of 3 to 6-year-olds, but it works one on one if the young child is interested in it and you can stop to explain and give more details.
What Are Solids, Liquids, and Gases? by Spilsbury. 4th grade and up.
Solids, Liquids, and Gases by Stille. 4th grade and up.
States of Matter by Mullins.
Way over the head of our students. Of the three, I like Spilsbury best. But, even though you wouldn’t read these to young kids, they might still be useful to YOU. General hint for those of you are feeling uncertain of your grasp of science concepts: if you’ll be teaching preschool age kids, it may be really helpful to you to read a 4th grade level book to yourself in advance. It explains the concepts at a slightly higher level than what you’ll be covering in class, which means if kids have questions, it can help you to answer them.
Experiments with States of Matter, by Cook. Has good directions for some classic kids’ science experiments, many of which have any direct relation to states of matter: baking soda and vinegar volcano, chromatography, invisible ink, etc.
Material World the Science of Matter by Jay Hawkins (non-fiction, has some nice descriptions of activities, nice photos, the activities are mostly too complex for our class, some of the info is a bit advanced)
More about Matter
Be sure to also check out our lesson plan for learning the basics of what matter is, and learning about different materials and their properties in our Matter and Materials Lesson Plan.

[…] States of Matter – Chemistry for Kids […]
LikeLike
[…] States of Matter – Chemistry for Kids […]
LikeLike
[…] States of Matter – Chemistry for Kids […]
LikeLike
[…] are organized around weekly theme, but almost all the themes include a sorting activity! Examples: Solid, Liquid, or Gas? Can the Wind Move It? Rock sorting and dinosaur […]
LikeLike
[…] We didn’t do this activity in our dinosaur class because we had a similar project in States of Matter […]
LikeLike
[…] Dinosaurs – Sc… on States of Matter – Chemi… […]
LikeLike
[…] it. (We reminded them of how we used Duplo blocks and our bodies to symbolize molecules in our states of matter lesson a few weeks […]
LikeLike
[…] what does that mean?” They knew air was escaping because of experiments we did in the States of Matter week. I showed them the holes in the egg, then I said… “if water is going out, […]
LikeLike
[…] Theme – Chemistry: States of Matter […]
LikeLike
[…] Theme – Chemistry: States of Matter […]
LikeLike
[…] activities could be done in a States of Matter unit, or as a stand-alone […]
LikeLike
[…] Chemistry: States of Matter, Mixtures and Solutions, Dramatic Reactions – Things that go boom! […]
LikeLike
[…] States of Matter – Chemistry for Kids […]
LikeLike
[…] States of Matter. Make your own ice cream. Recipe here: https://inventorsoftomorrow.com/2016/1/05/states-of-matter/ Add ice cream topping that’s liquid when you pour it and then hardens when it hits the ice cream. Or make popcorn. (When you cook it, the liquid in the kernel turns into a gas, which expands, and causes the “explosion” which turns the kernel into popped corn.) […]
LikeLike
[…] non-Newtonian fluid aka oobleck aka quicksand […]
LikeLike
[…] to sprinkle on to melt the ice and toothbrushes to scrub ice crystals away. (We do this in our States of Matter class – first we freeze “treasure” into the ice that they work to […]
LikeLike
[…] Ice Excavation. Freeze toys in a block of ice. The kids excavate them by figuring out how to melt the ice. […]
LikeLike
[…] water and bubble bath in a sippy cup – neither of us expected this result. We demo this at States of Matter […]
LikeLike
[…] States of Matter – Chemistry for Kids from Inventors of Tomorrow […]
LikeLike
[…] what does that mean?” They knew air was escaping because of experiments we did in the States of Matter week. I showed them the holes in the egg, then I said… “if air is going out, […]
LikeLike
[…] mixing in the color. When the paint dries, you can see the sparkle of the salt. (See examples in my States of Matter post, or […]
LikeLike
[…] Ice Excavation: You have to prep it the day before, but it can keep kids occupied for an hour! Find a container, toss in some small toys or coins or baubles, add a couple inches of water and freeze it. A few hours later, throw in a couple more toys and a couple more inches of water and so on, till the container is full. The next day, set it out on a tray. Add water with eye droppers or pipettes or a medicine syringe, and a container of salt with a SMALL spoon. Challenge your child to excavate all the toys. […]
LikeLike
[…] colored black, to sink small plastic dinosaurs in the “tar pit” (see quicksand idea in States of Matter […]
LikeLike
[…] More hands-on chemistry experiments. […]
LikeLike
[…] our chemistry unit, when we study States of Matter, our most popular activity is always ice excavation. It takes some time but little effort to prep, […]
LikeLike
[…] are lots of great hands-on ways to explore chemistry with kids. (I cover them in these posts: States of Matter, Mixtures, Reactions.) Here are two of our favorites. (And be sure to check out Oil and […]
LikeLike
[…] also have a lesson plan for States of Matter. Check it out. And in our Sink and Float, we talk a lot more about one particular property of […]
LikeLike
[…] States of Matter: describes similarities and differences between solids and liquids, compares and categorizes solids and liquids. […]
LikeLike