

We’ve just completed a three-week series on Chemistry, starting with States of Matter, then Mixtures and Solutions, and then Reactions.
Here’s how we described the big picture of chemical reactions to the kids in class (age 3 – 7): When some chemicals mix together, they “react” and the substances change in some way. Some of the signs of a chemical reaction are changes in color, texture, shape, or smell, or the mixture becomes warm or cold, or it makes sound, light, or bubbles.
Discovery Time: For the first 25 minutes of class, we wanted them to experience reactions, before we explained them in opening circle. So, we started with some hands-on fun. (For a bigger version of any of the images, just click on it for a closer look.)
Jar of Bubbling Goo (Vinegar, Baking Soda, and Oil): This is really cheap and simple, yet really dramatic – check out the video on YouTube! Some of our students loved this so much they wanted to do it over and over.
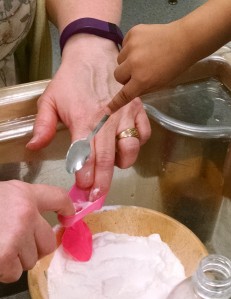
Prep baking soda ice cubes: Use water, baking soda and blue food coloring to make a thin paste. Freeze in ice cube trays.
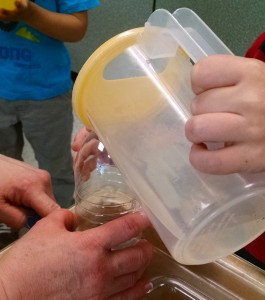
At class: Take a jar. Pour in one inch of white vinegar, two inches of vegetable oil, and a few drops of yellow or red food coloring. Point out that the oil and vinegar don’t mix, and that the food coloring doesn’t affect the oil – this is a flashback to last week’s class and immiscible liquids. Then drop in a baking soda ice cube. Sit back and observe. As the baking soda and vinegar react, they release lots of bubbles that rise up through the oil, pop and sink back down. It looks sort of like molten lava bubbling. When the reaction stops, add more vinegar and another ice cube, or start a new jar.
Note, since the photo shows a lid…. you can set a lid on top of the jar but don’t screw it down – you want the gas to be able to escape, not build up pressure.

“Lava Lamps.” Another bubbling bottle activity is to pour oil, water, and food coloring into a jar or water bottle. Then add an alka seltzer tablet. The bubbles attach themselves to the blobs of colored water and cause them to float to the surface. (Learn more.)
Fizzing Powder: Fill a shallow tray with baking soda. Then mix liquid watercolors with vinegar. Let the children use pipettes, eye droppers, turkey baster, or spray bottles to drip colored vinegar on the baking soda and watch it fizz. (Note: we tried taking coffee filter prints of the product, but it wasn’t a very interesting art project, so we decided to just leave it as the basic tray of fizzy powder activity.) See more pictures of this at Hands on as we grow and here.
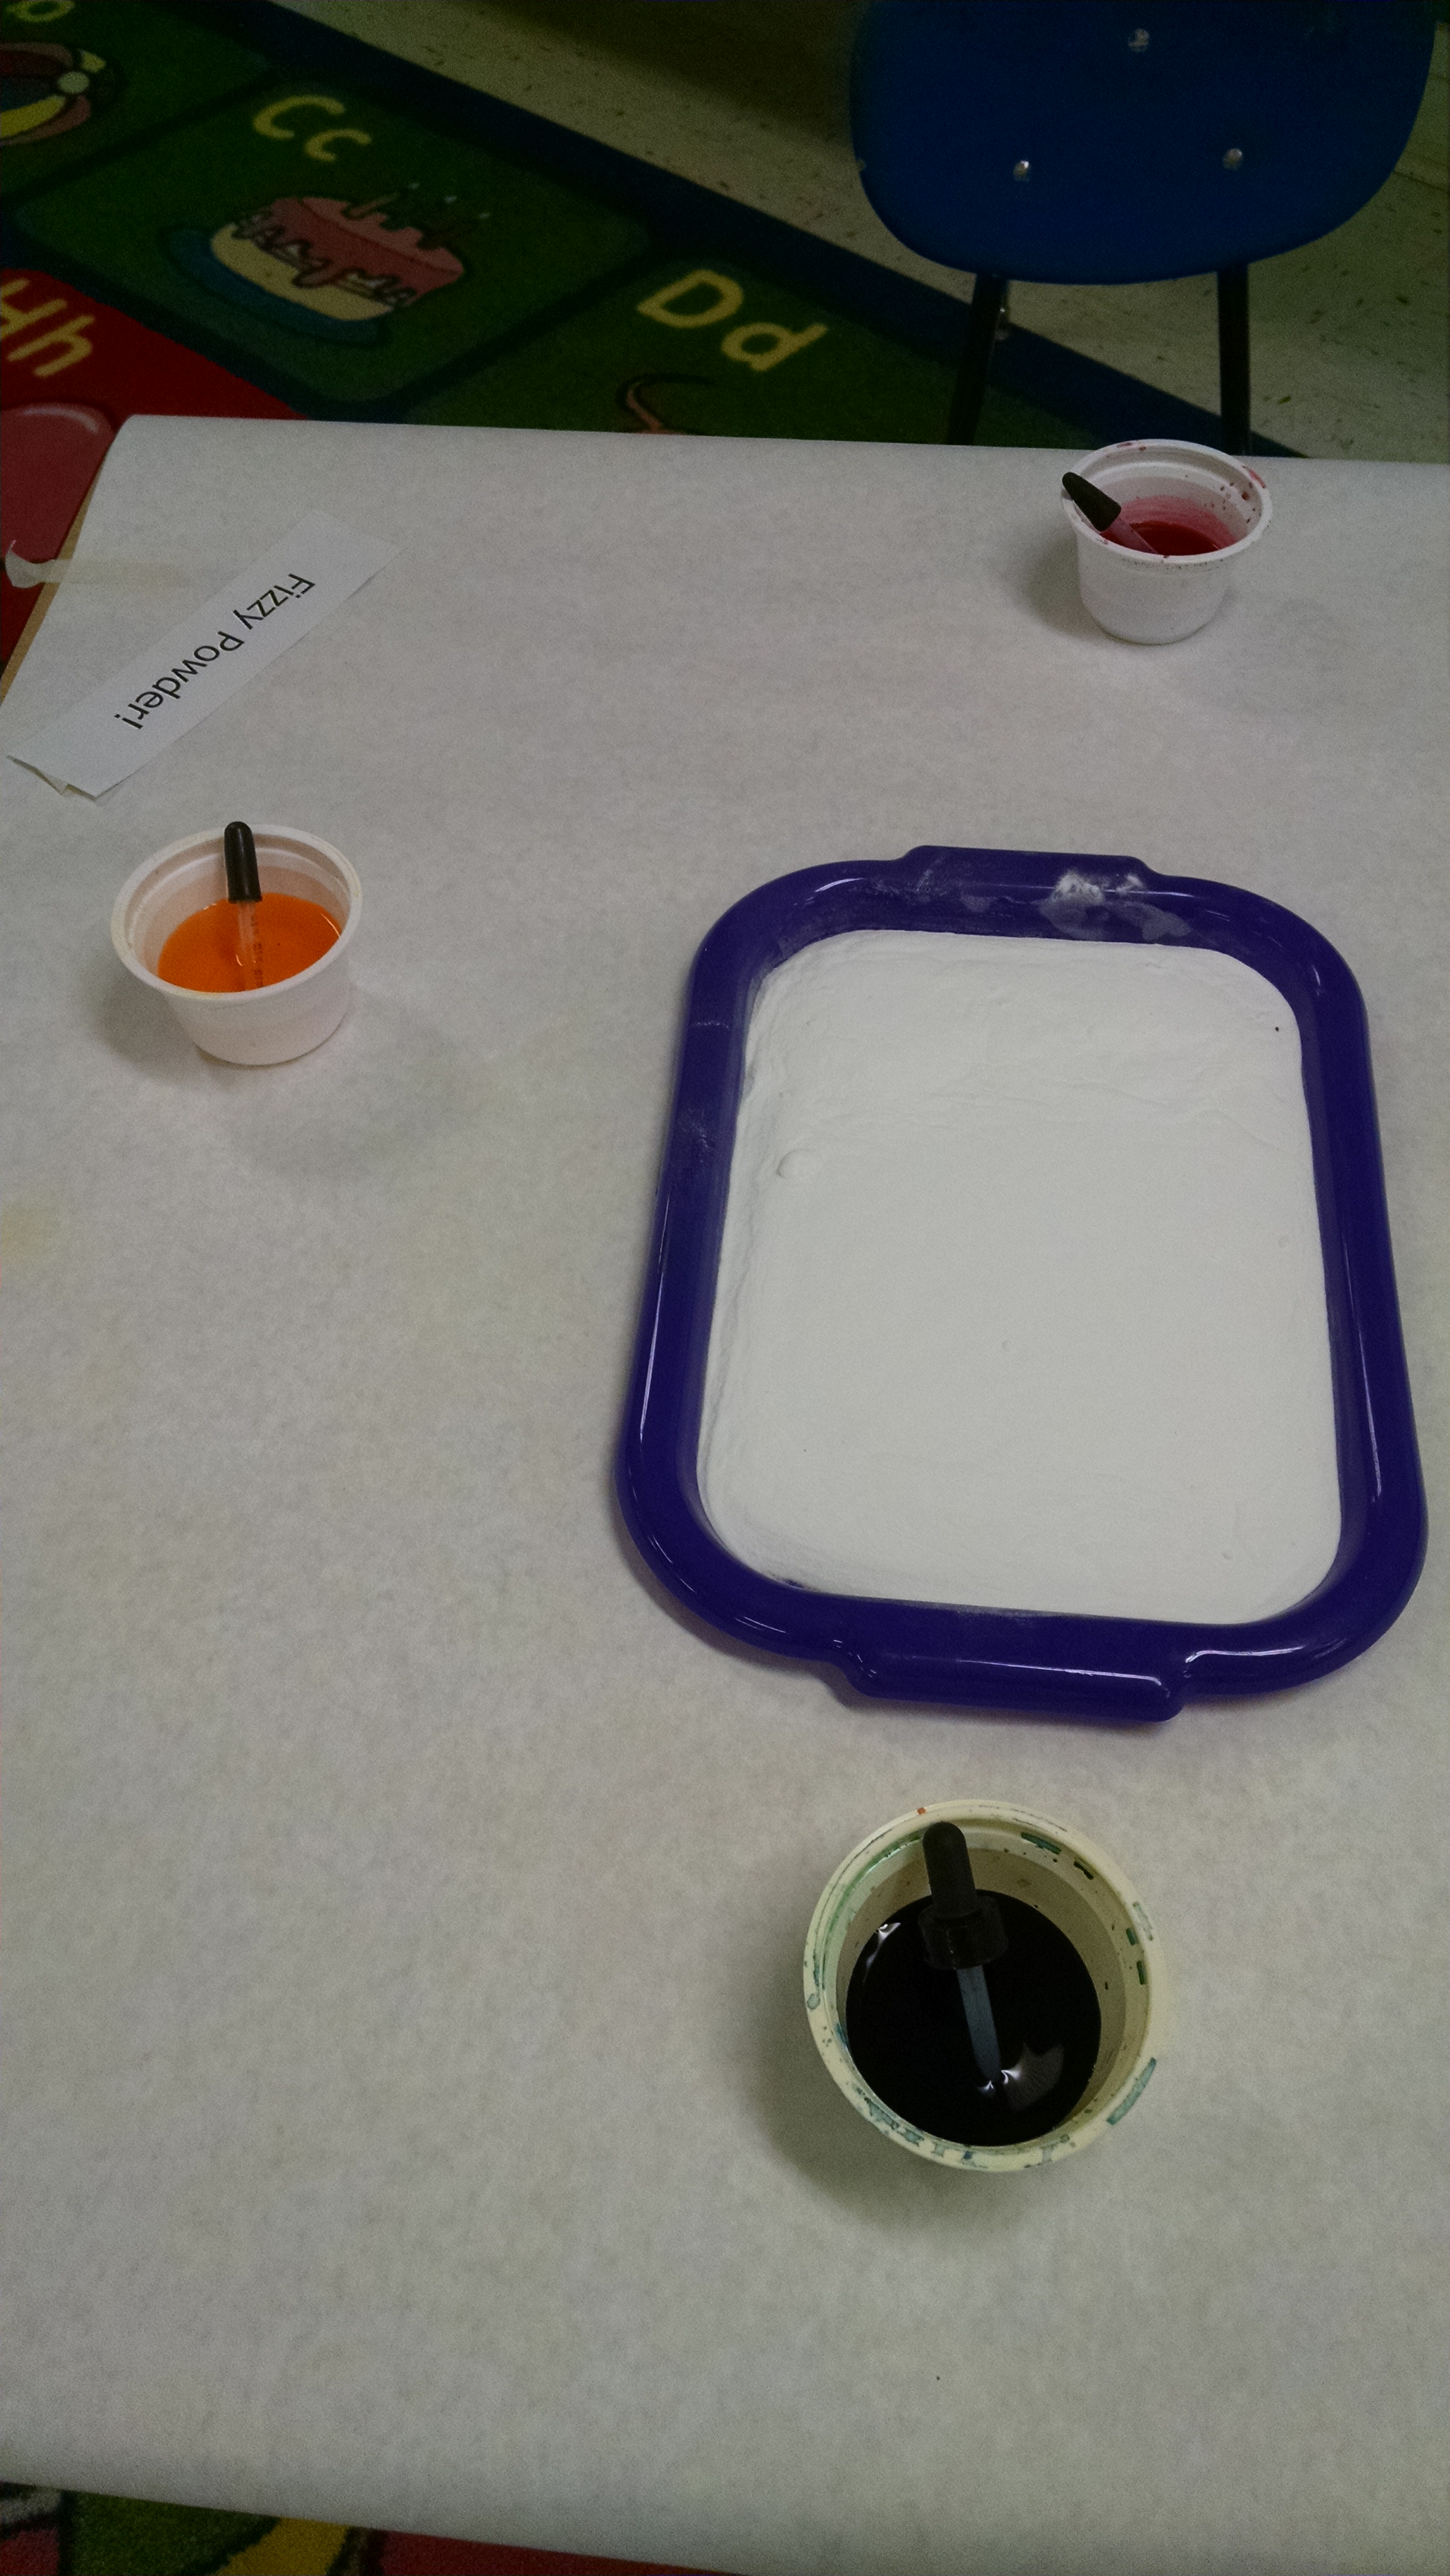
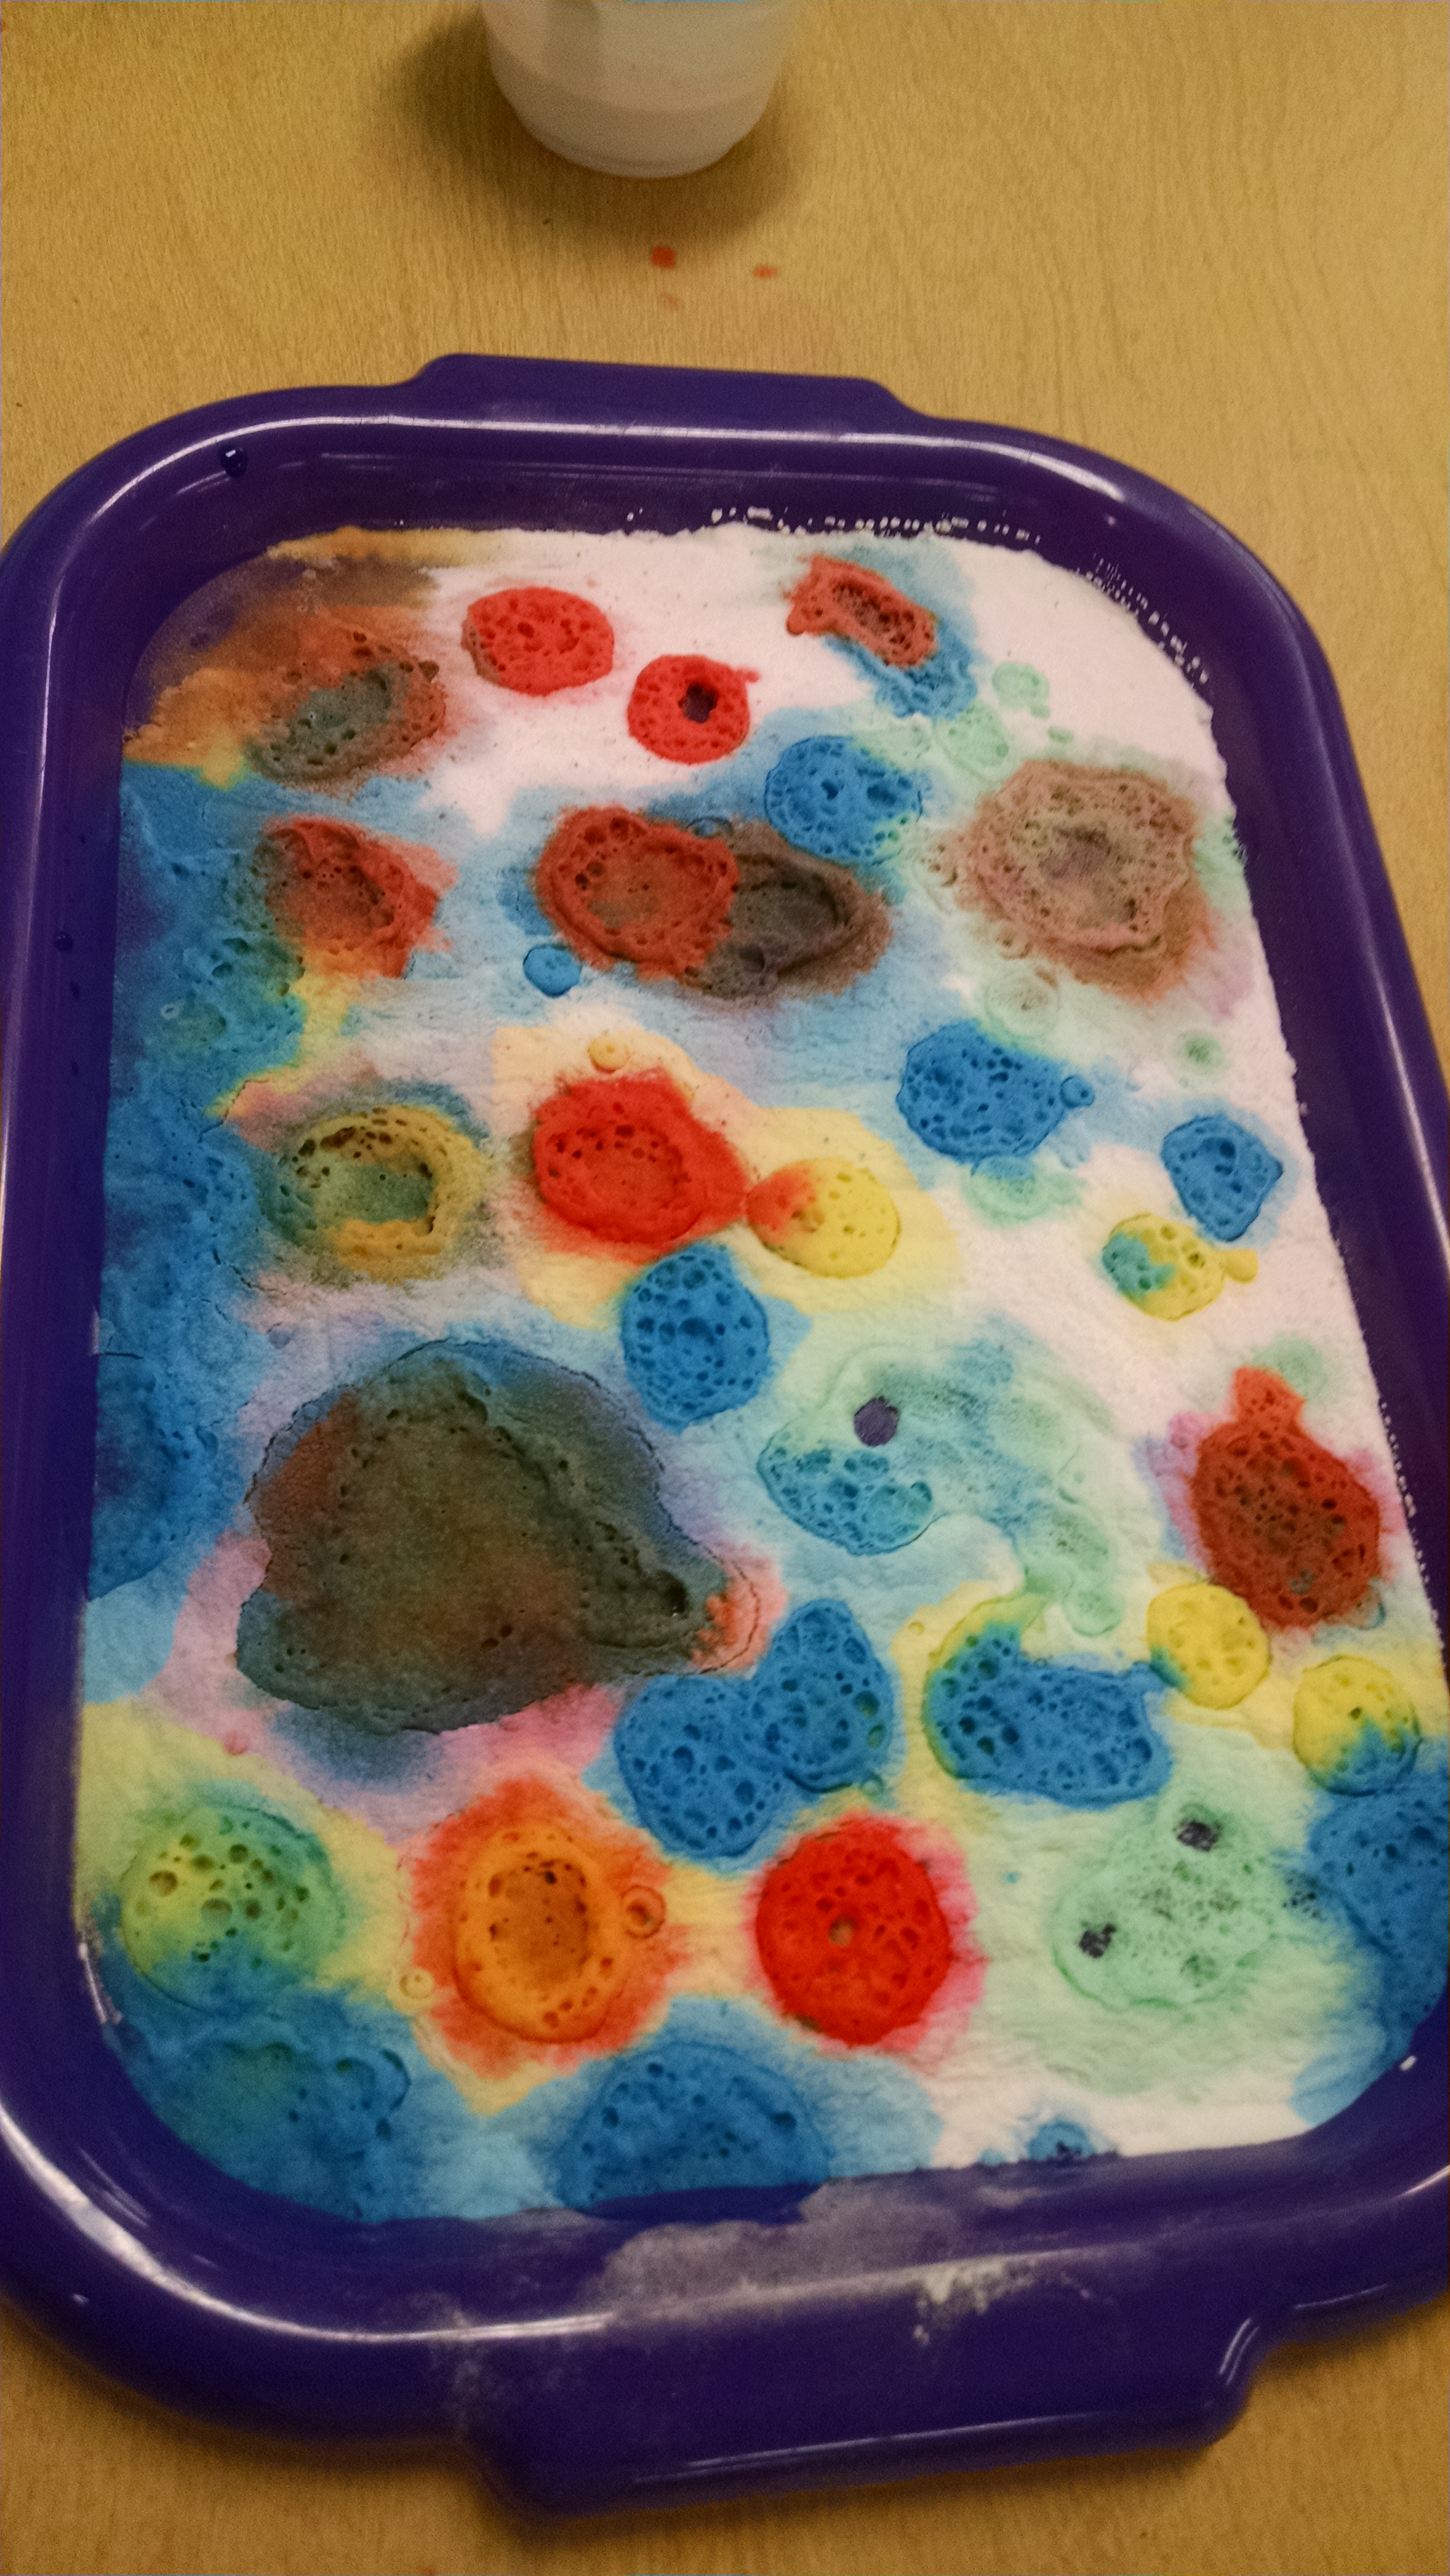

This is simple, cheap, easy to clean up, a great exposure to chemical reactions, a fun art process activity, and great small motor practice.
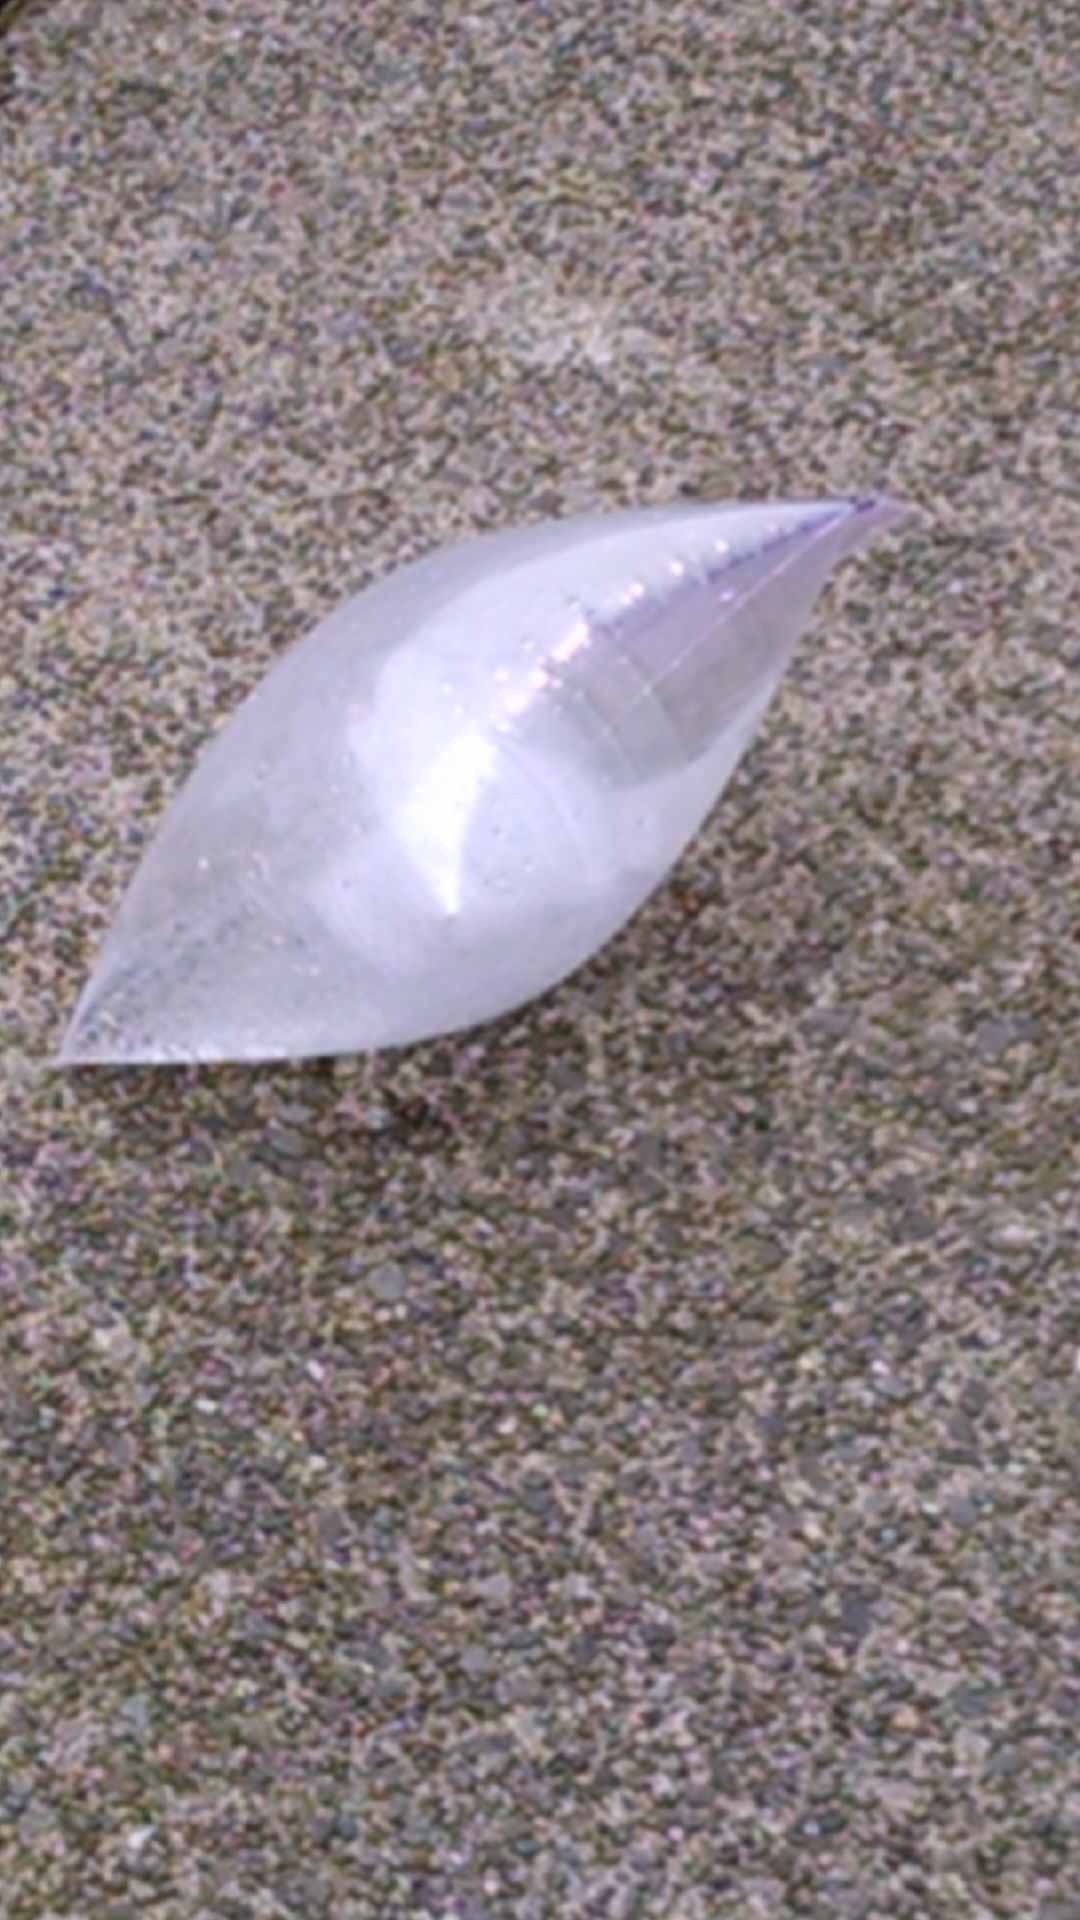
Self-Inflating Balloon – Blow up a balloon with a chemical reaction.
- Pour one inch of vinegar into an empty water or soda bottle.
- Then spoon a small amount of baking soda into a balloon. (Optional tool of the week: you could use a funnel to make this easier.)
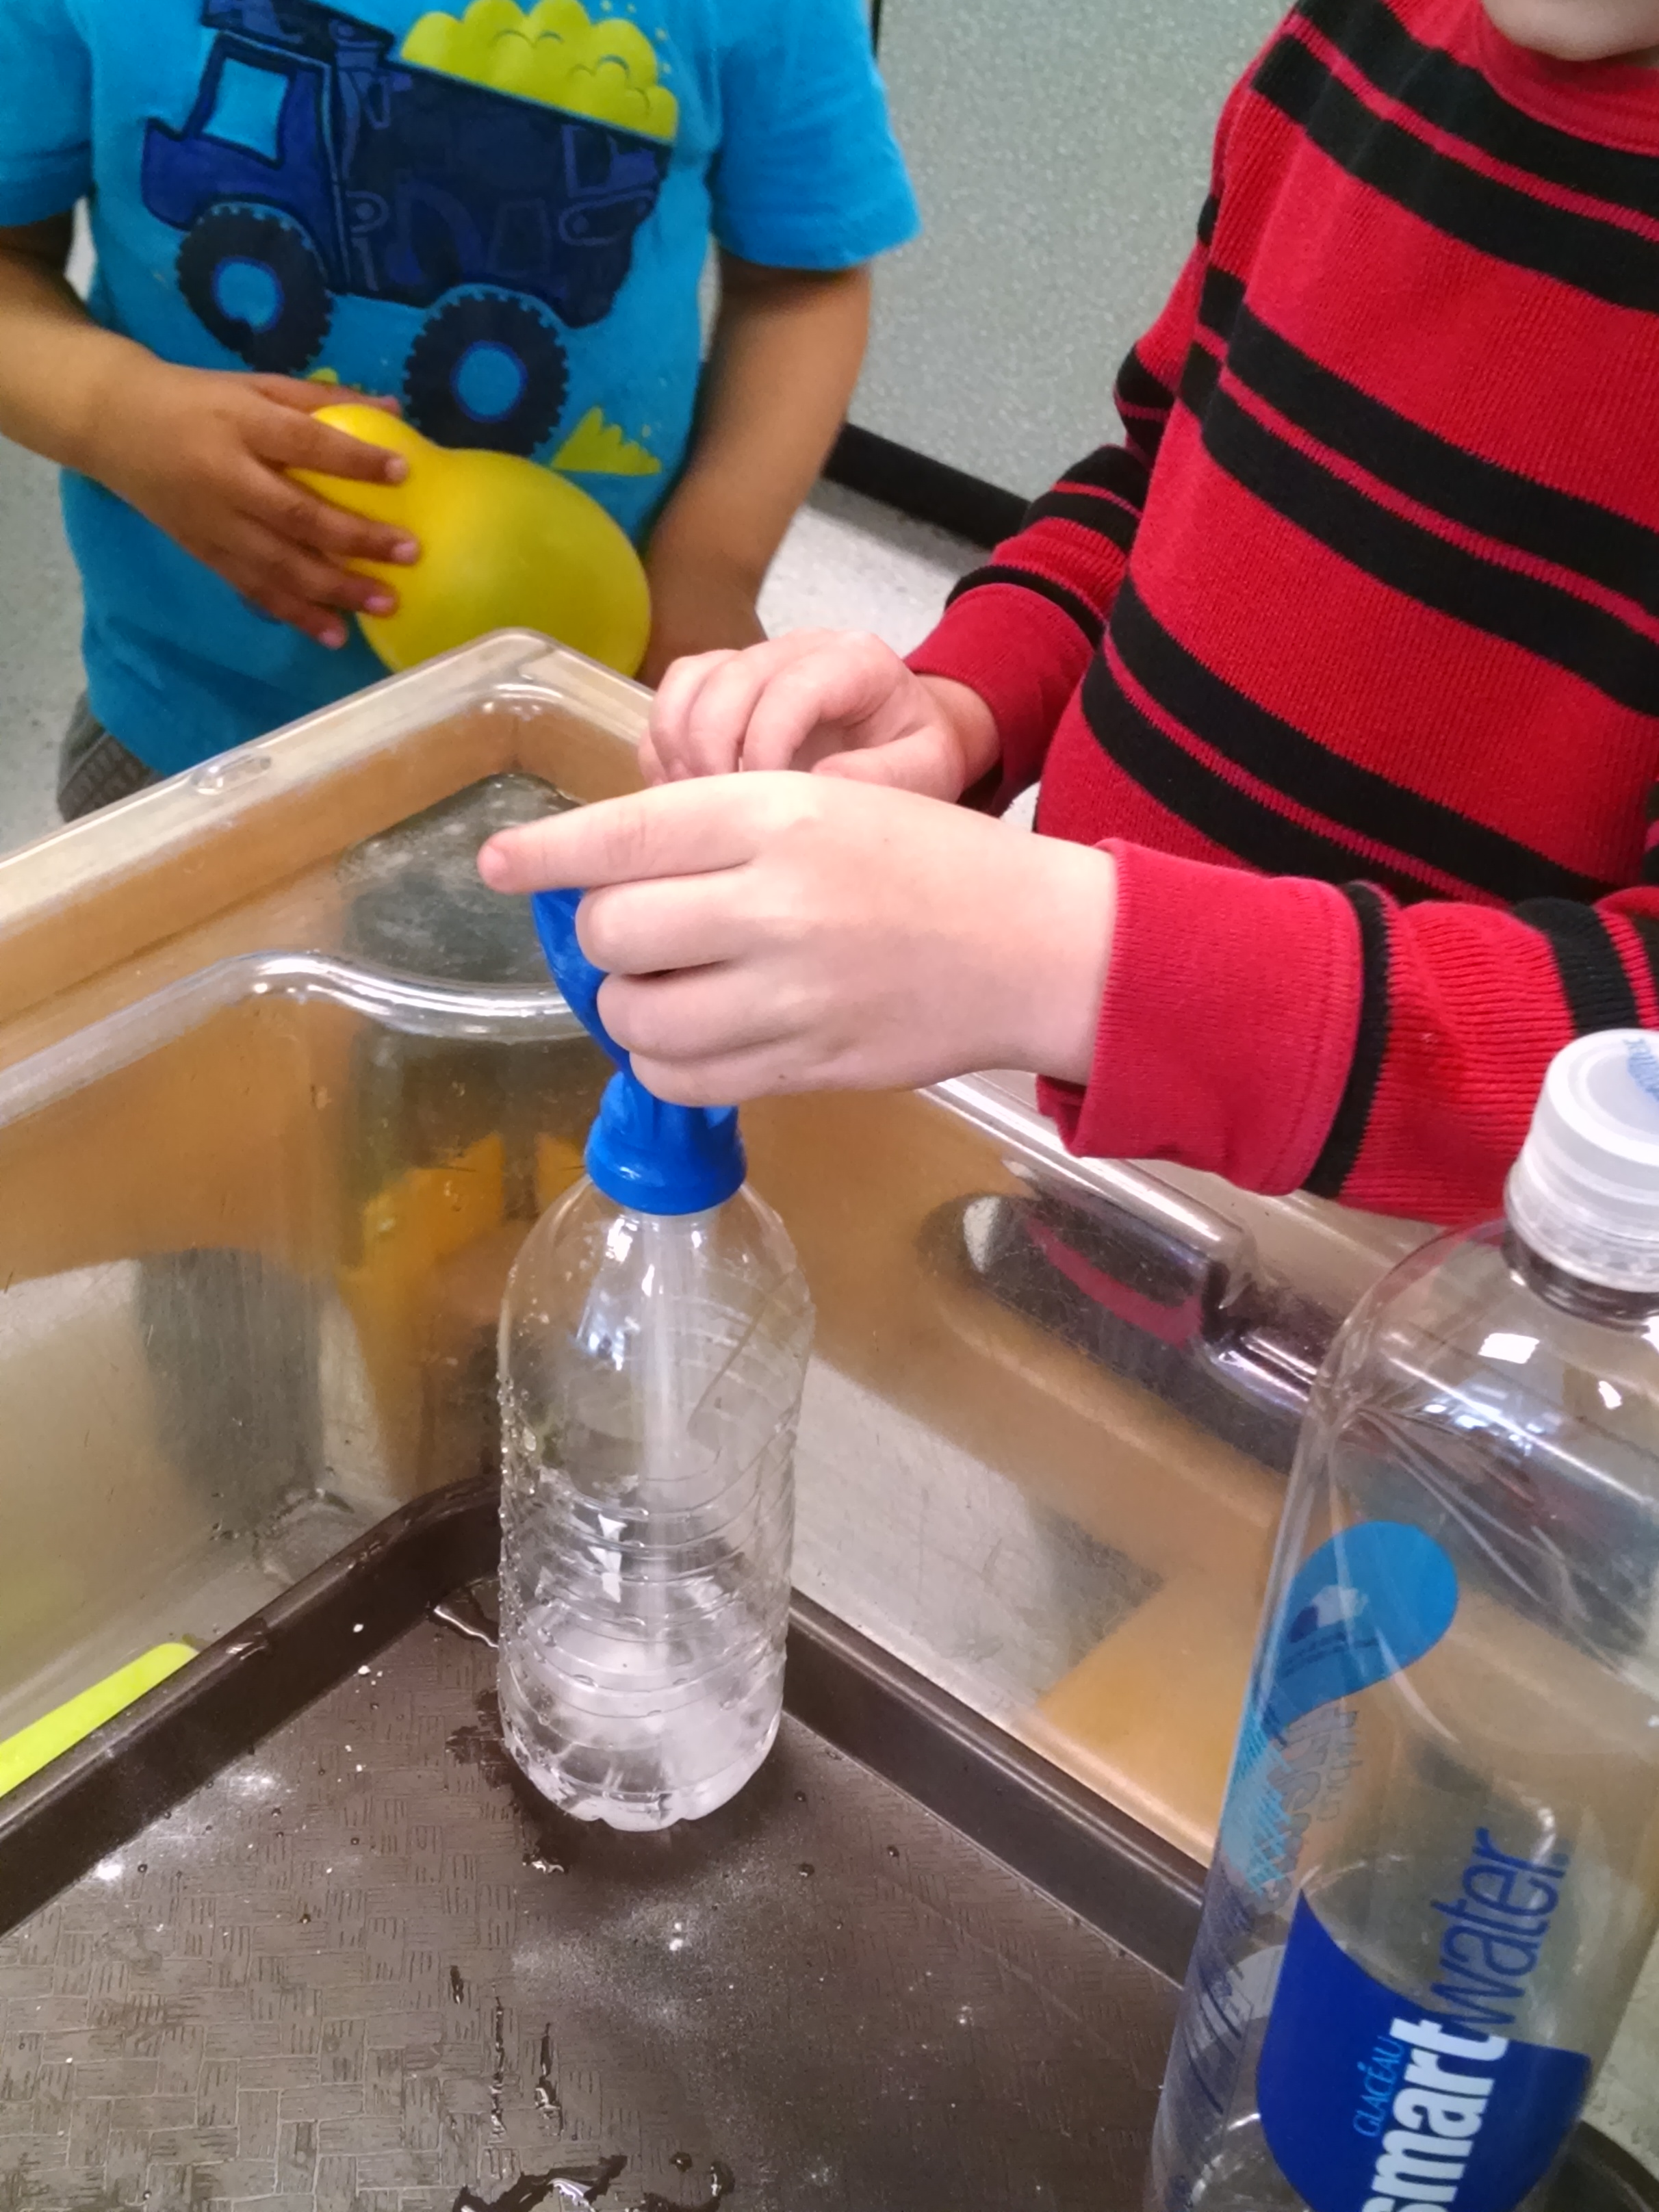
- Put the balloon on the top of the bottle, being careful to have most of the balloon dangling off the side so the baking soda doesn’t fall into the vinegar too early.
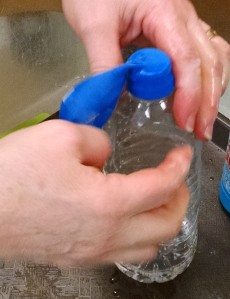
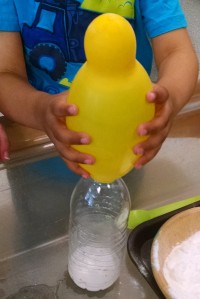
- Once balloon is attached, hold it up. Shake it so the baking soda falls into the vinegar.
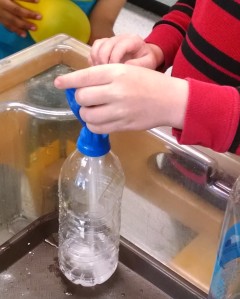
- Sit back and watch the reaction. As bubbles form, pop, and release gas, the balloon will inflate. (The balloon also gets colder.)


You could try this experiment with other liquids. What happens if you put water in the bottle instead of vinegar? [Nothing.] What if you use lemon juice? Alka-seltzer and water? What if you add detergent or bubble solution to the vinegar? [You end up with a balloon full of bubbles…]

There’s a great description of the science of this experiment on the Science Club website: http://www.webinnate.co.uk/science/week2.htm.
Extension: you could see what happens if you “turn this around”: put baking soda in the balloon, use a pipette to squirt vinegar into the balloon, then hold the balloon closed.
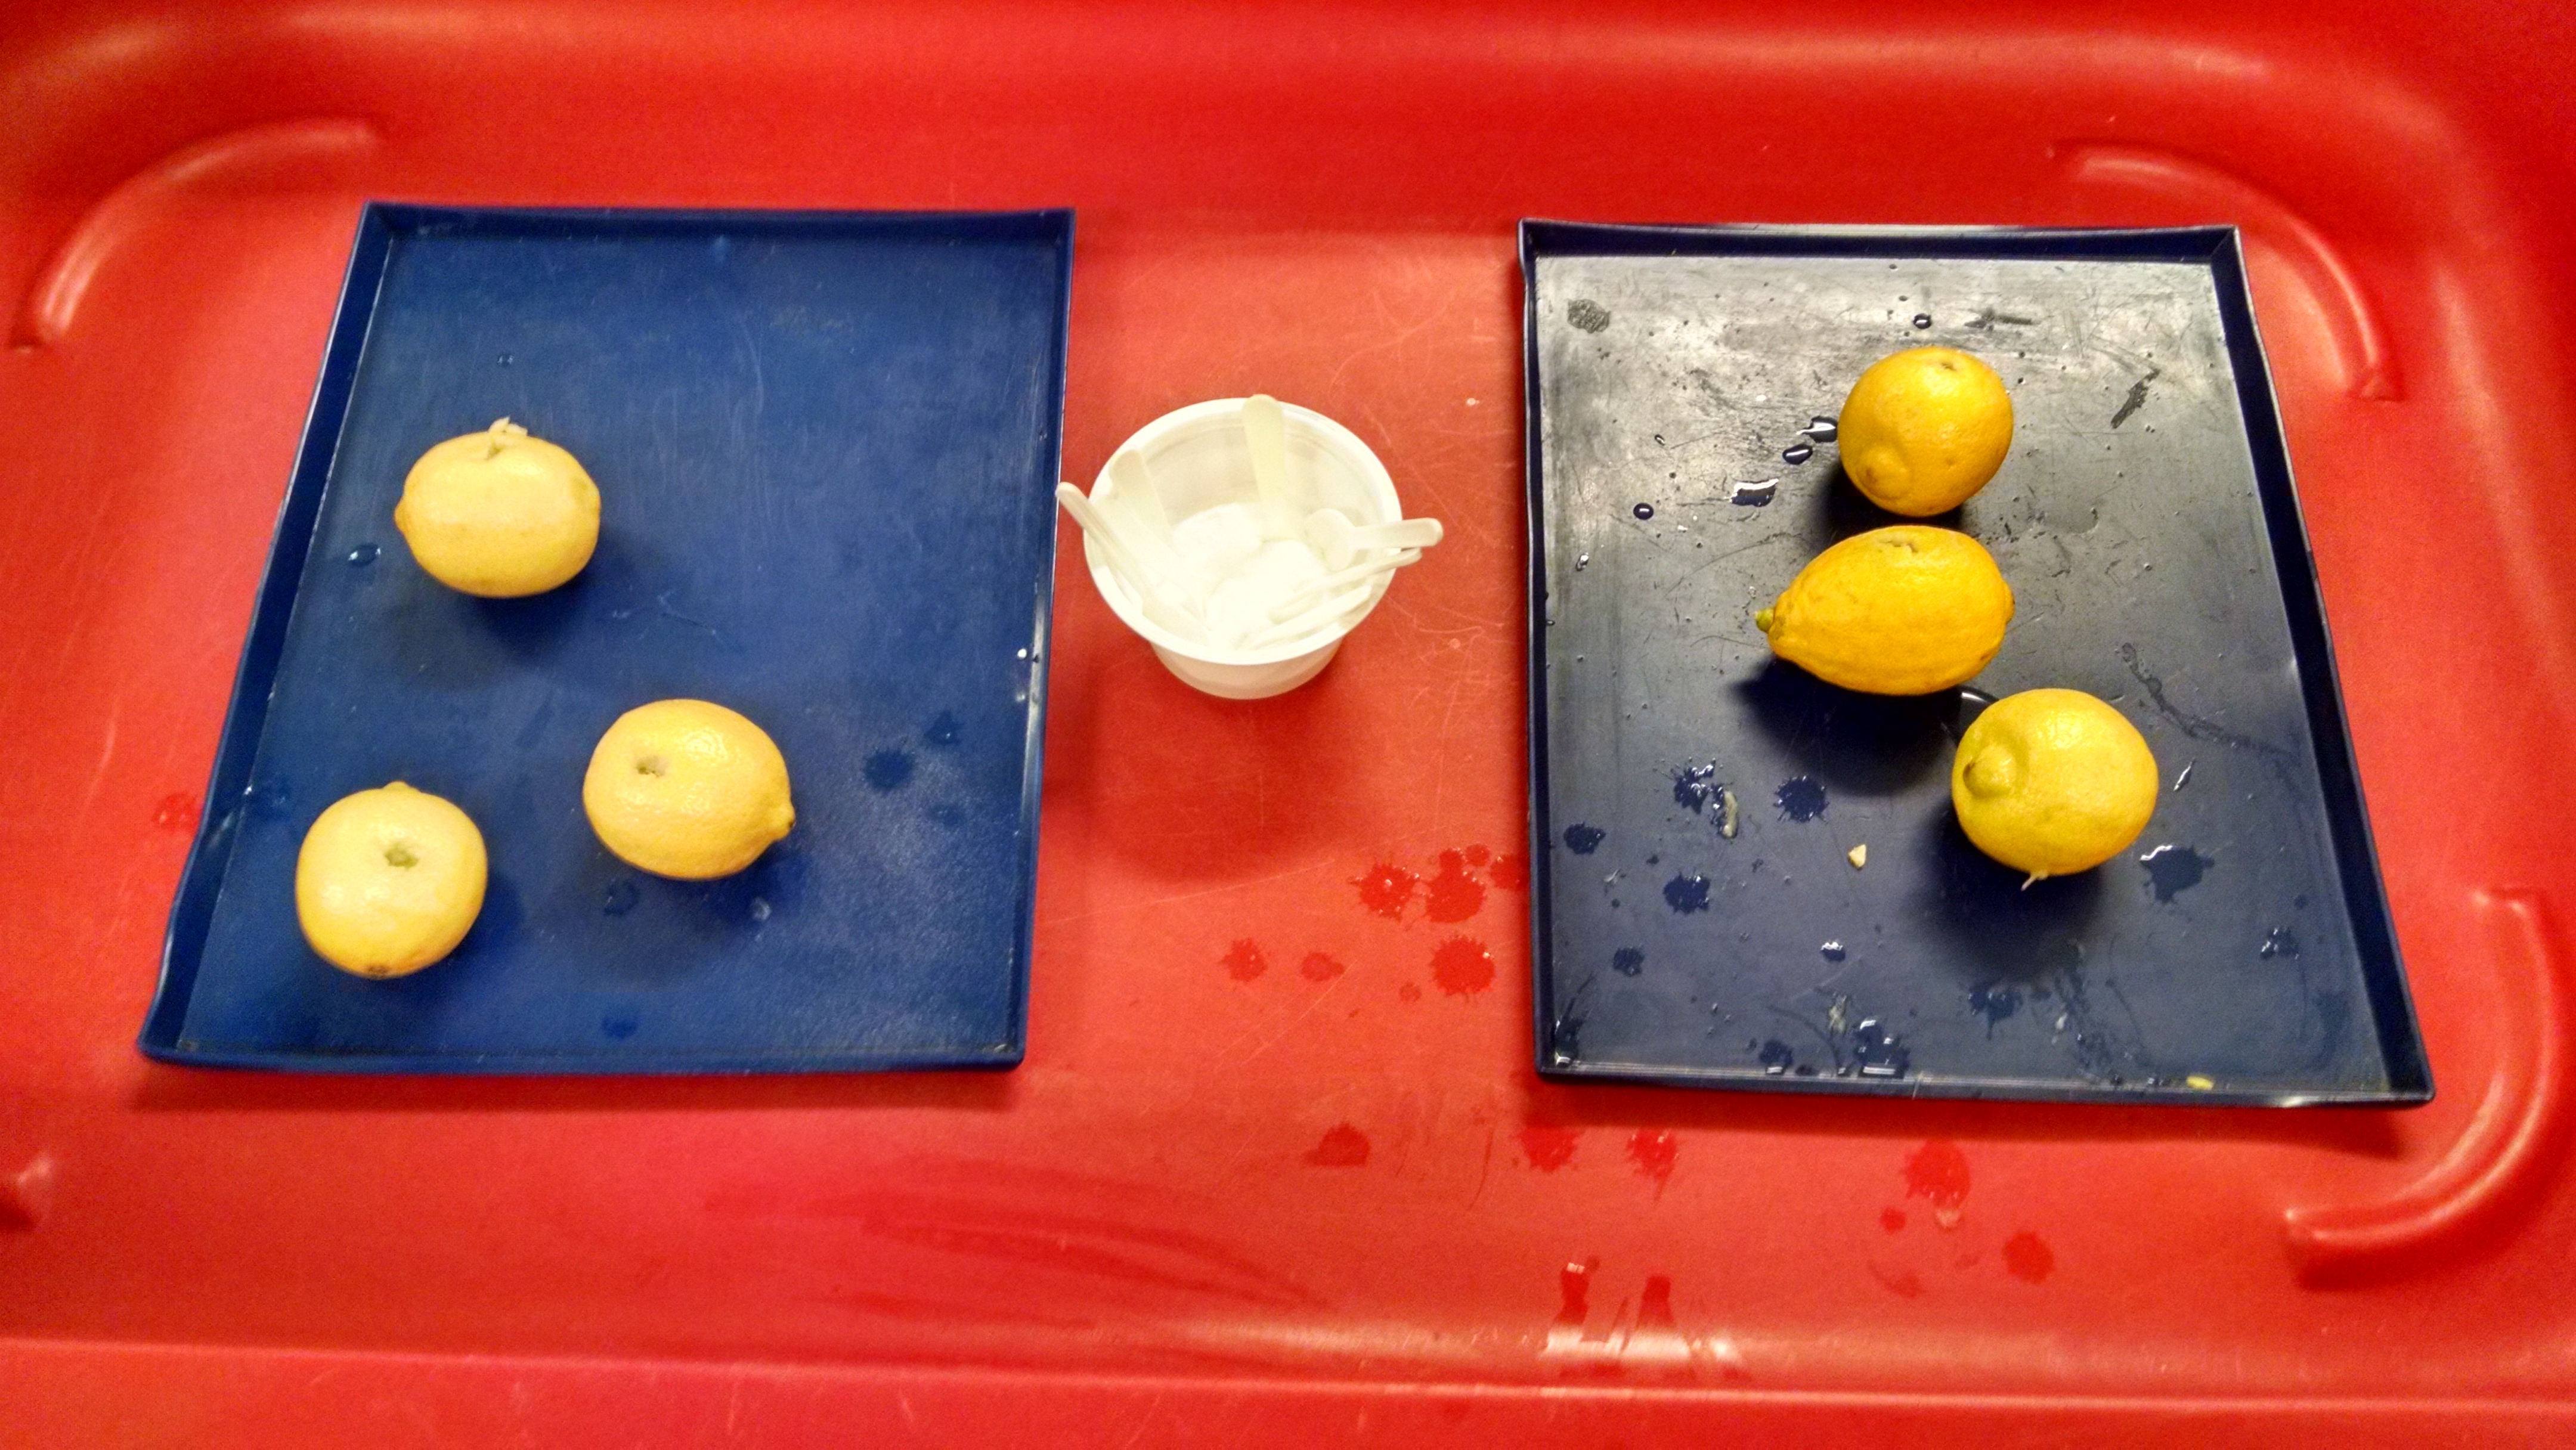
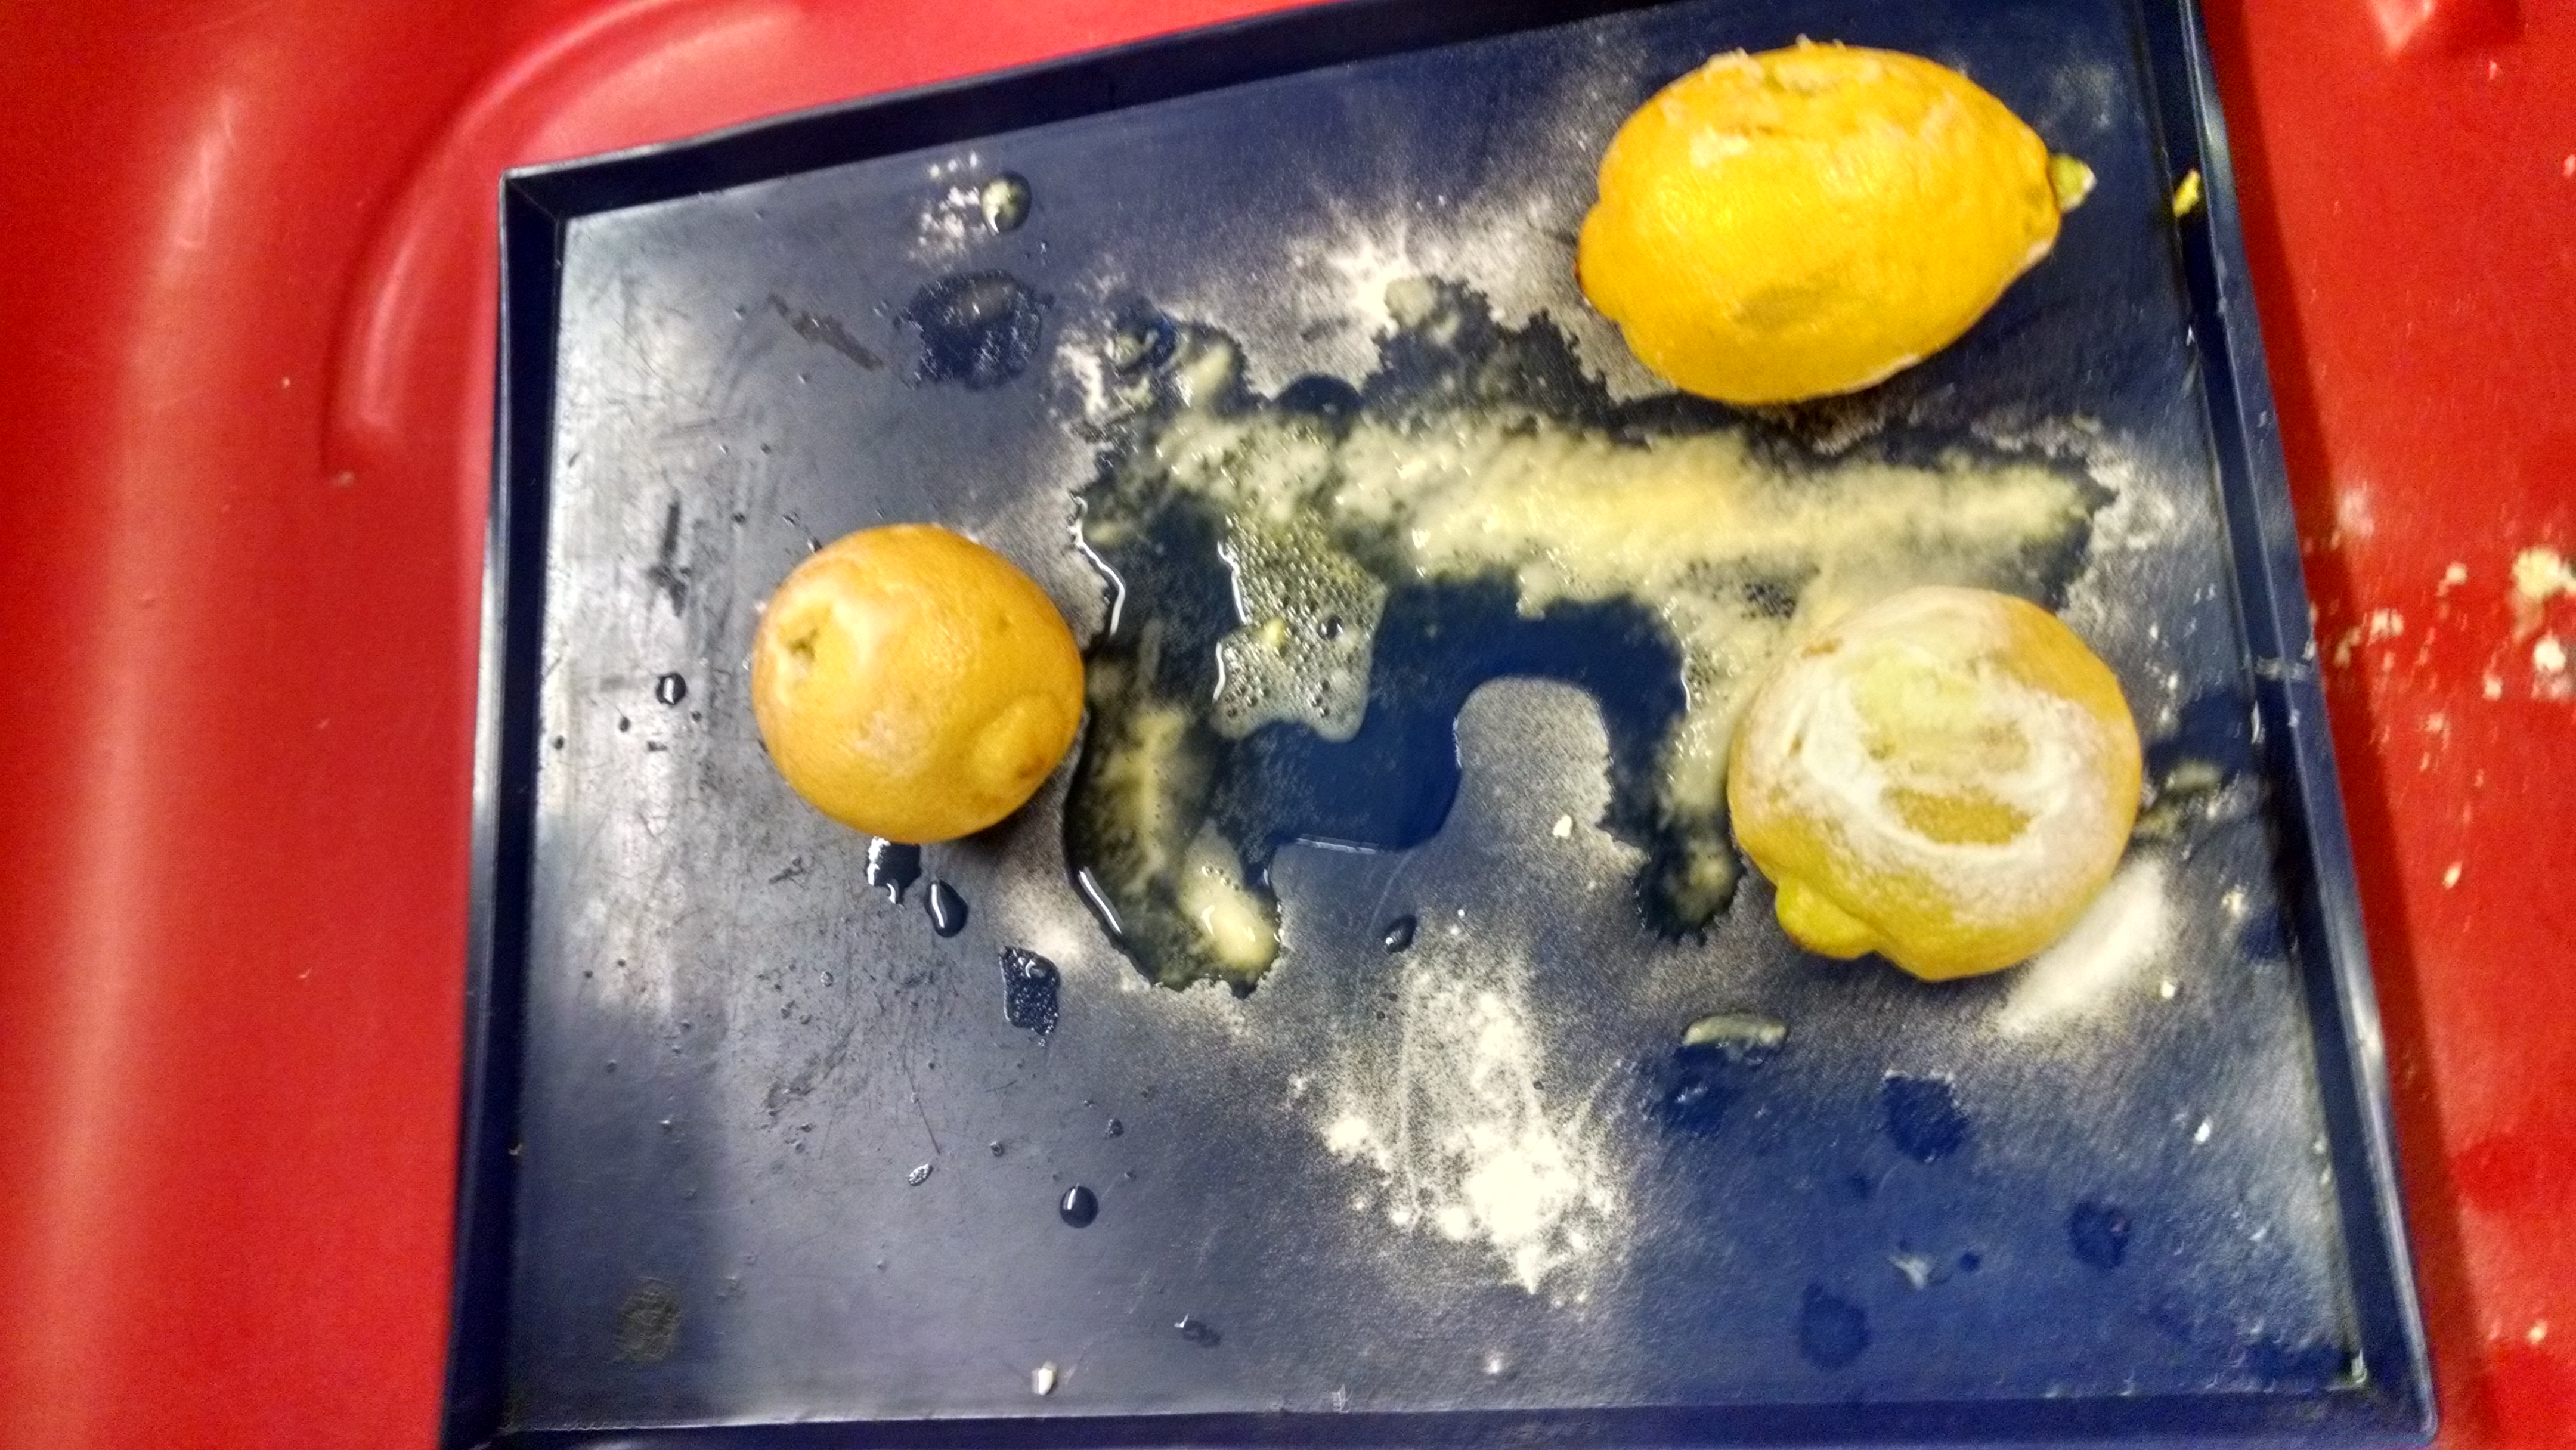
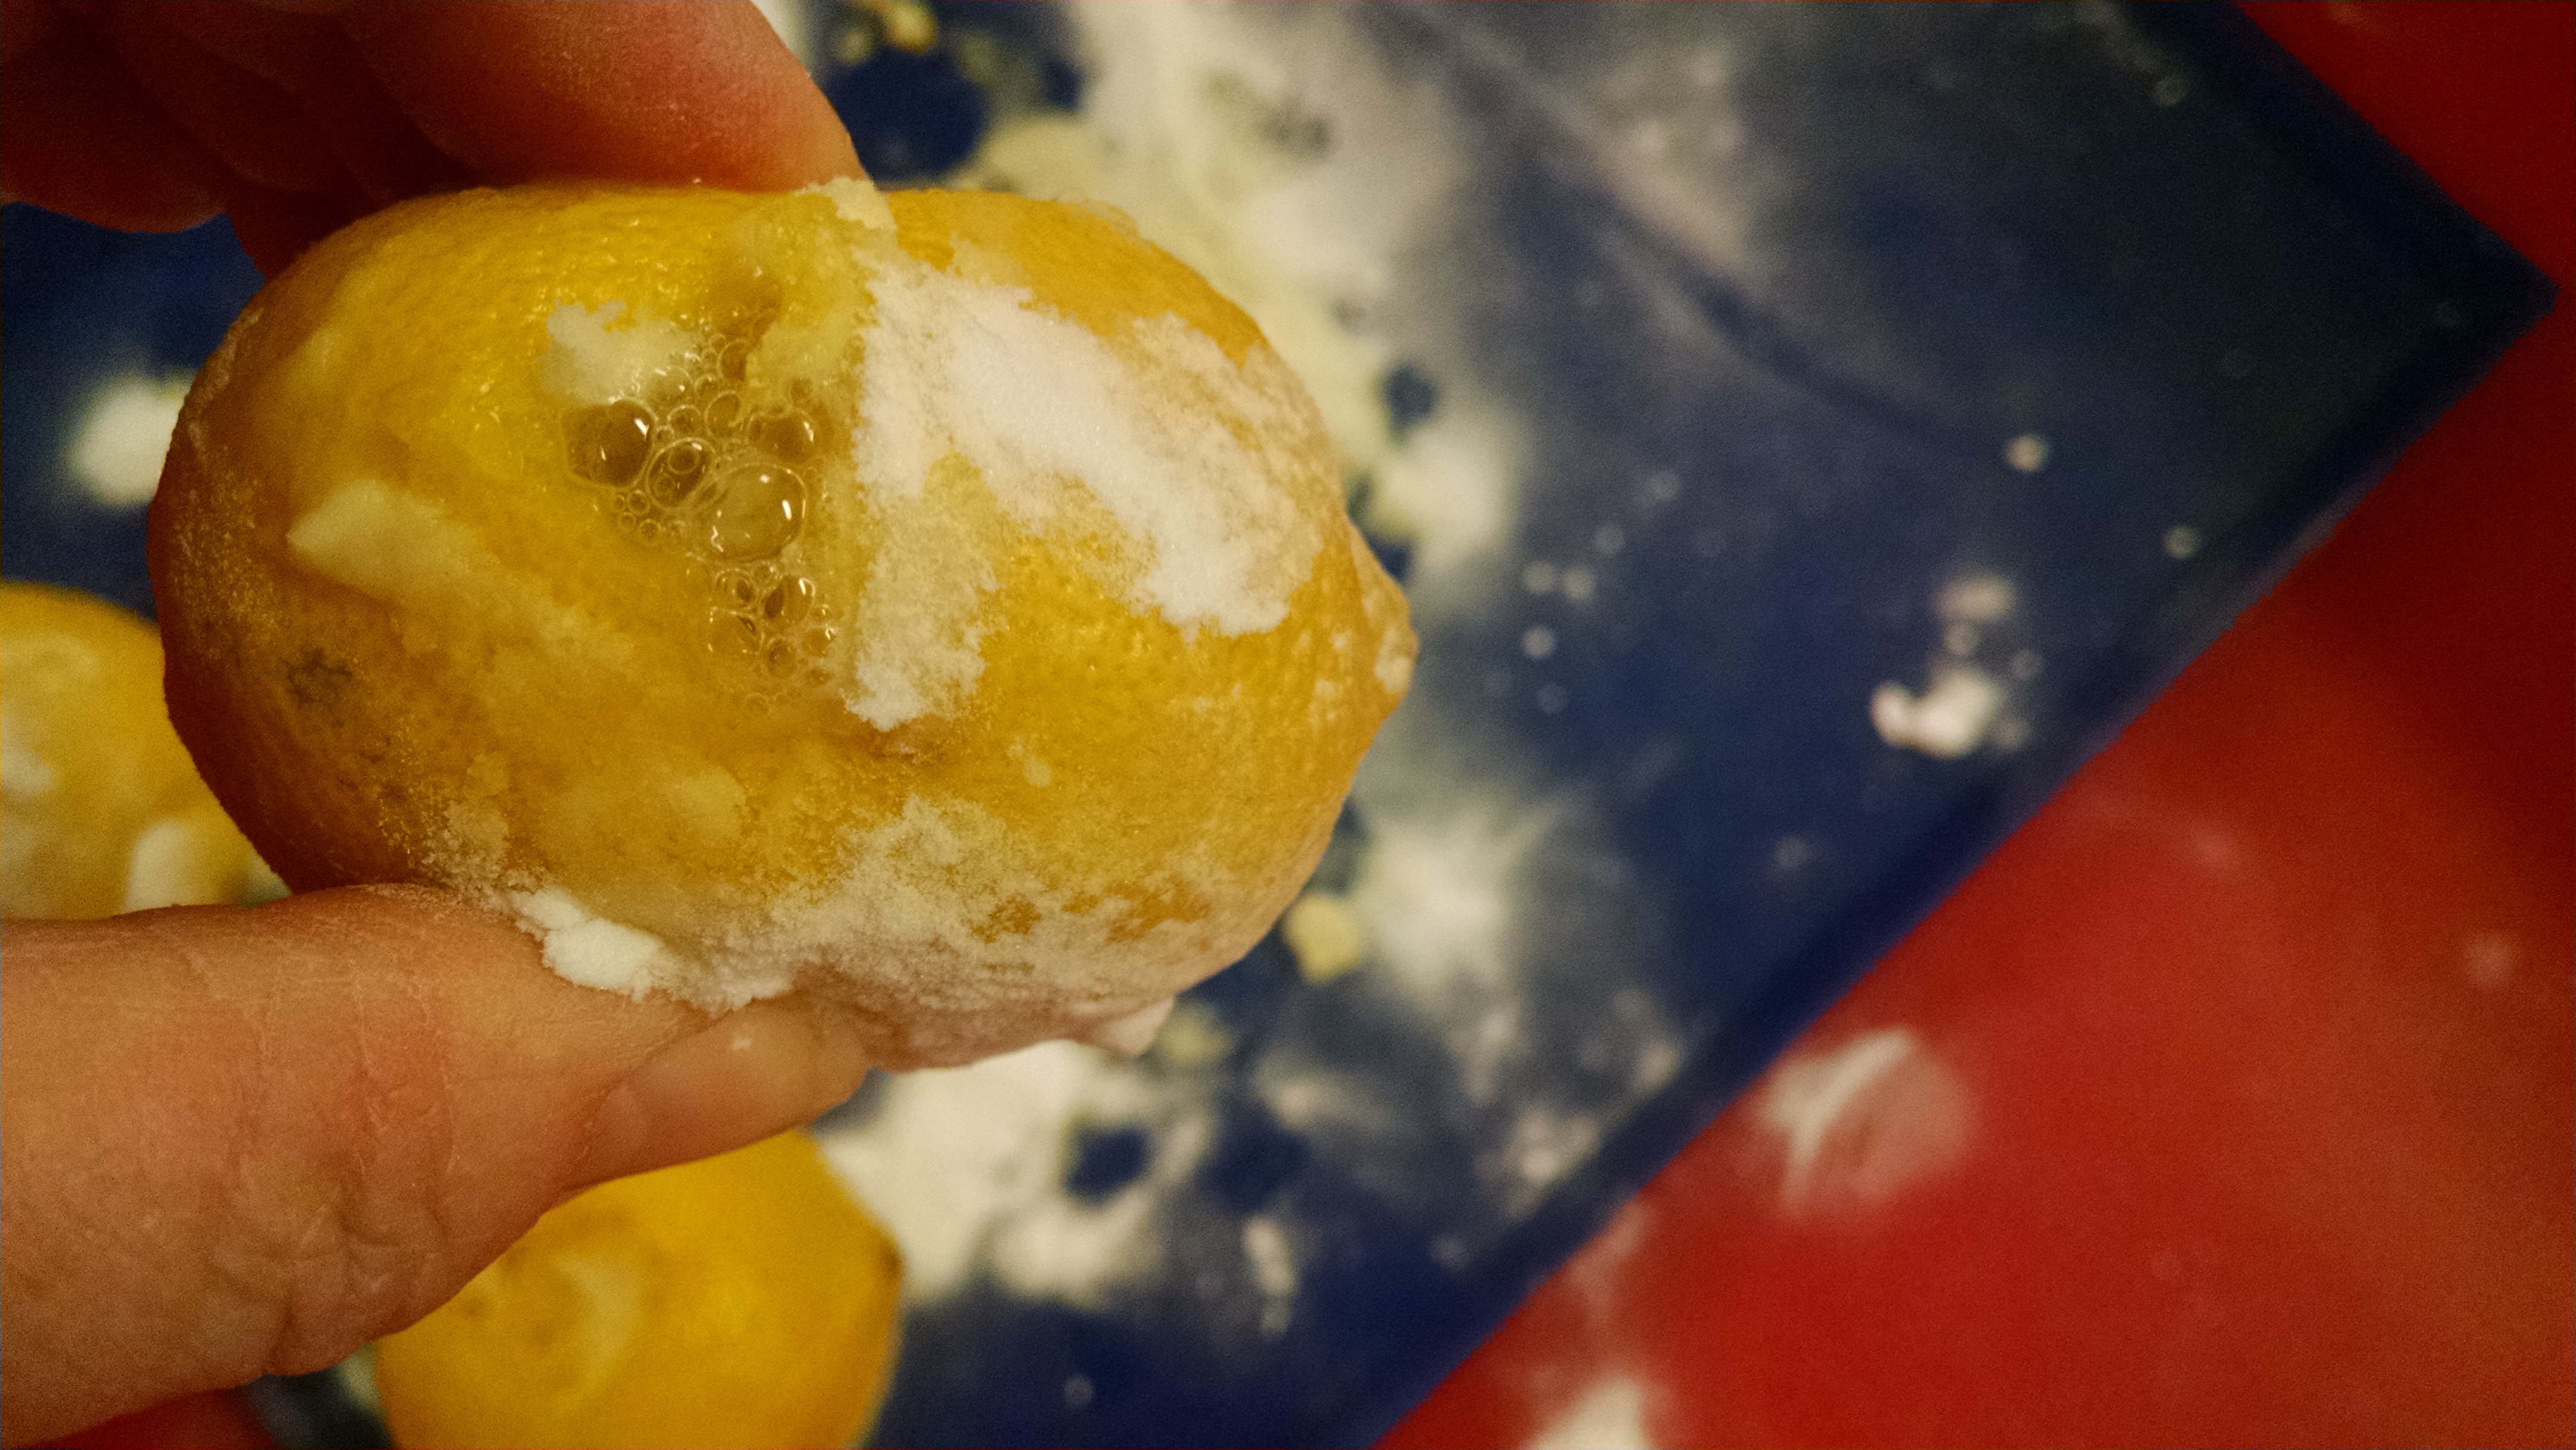
Erupting Lemons: Partially core a lemon. Sprinkle some baking soda into it. It will produce a fizzy mini-eruption. If you want more reaction, squeeze the lemon to release more juice, or add more baking soda.
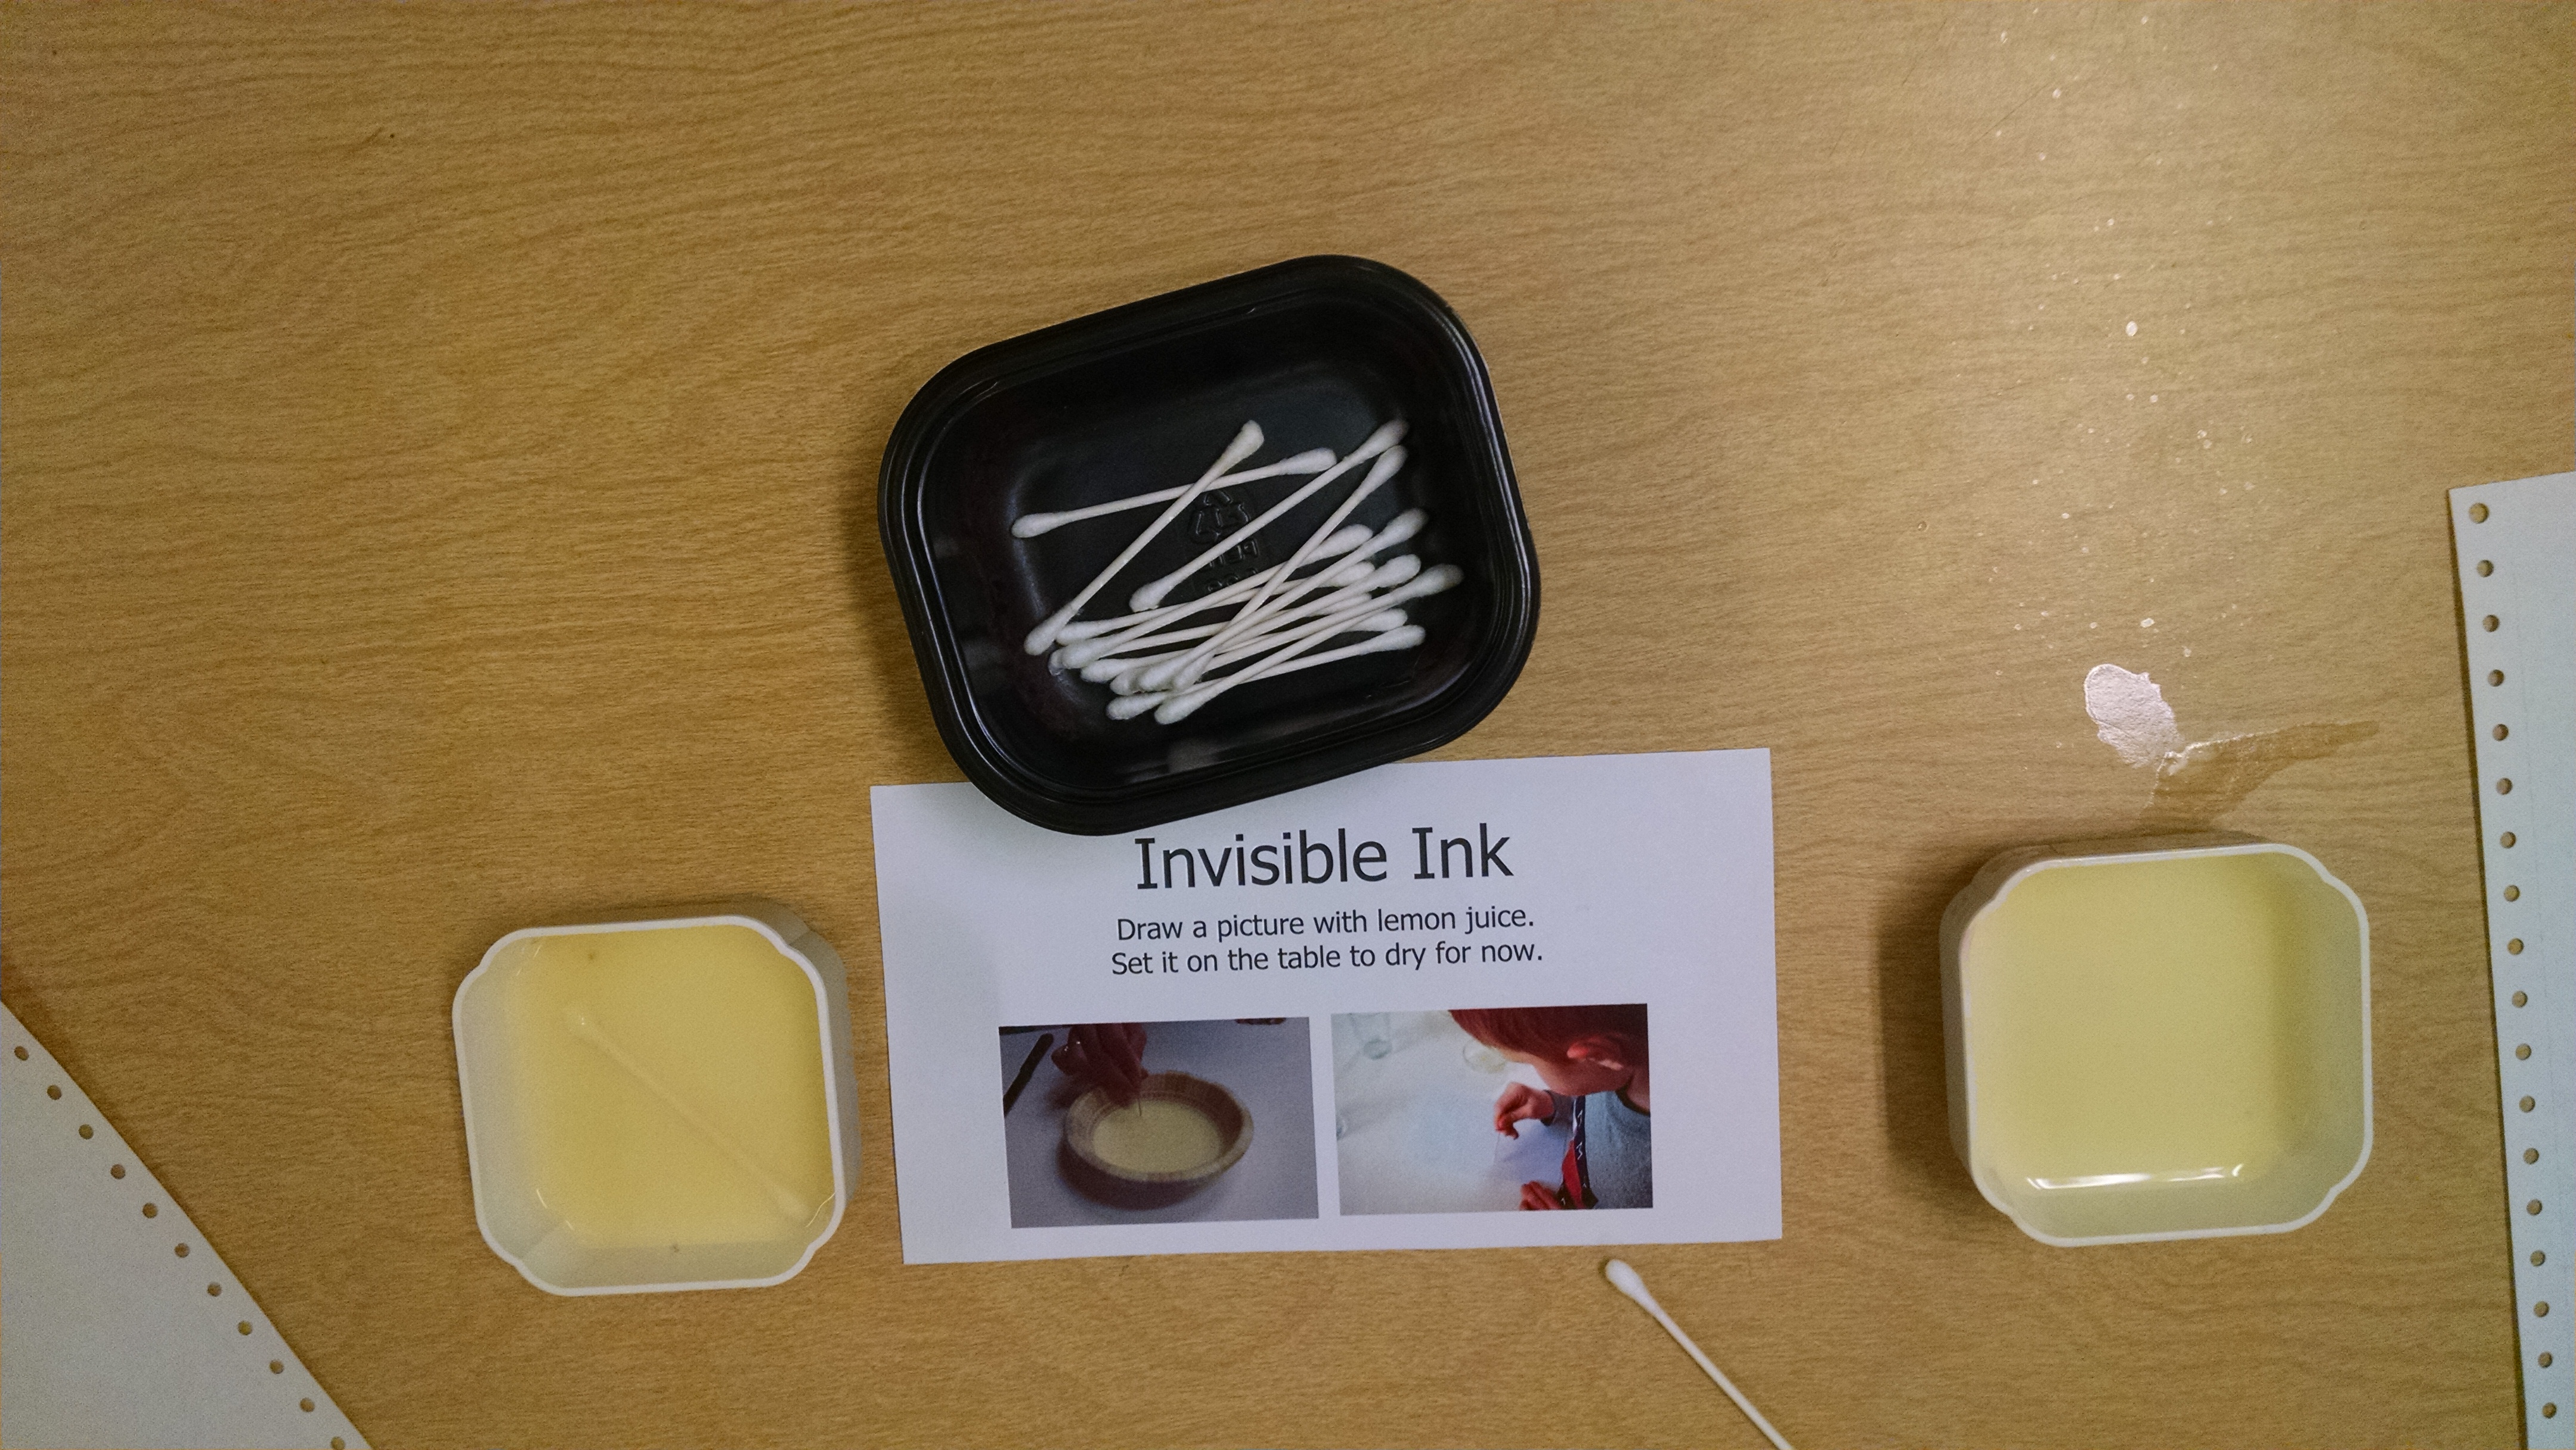
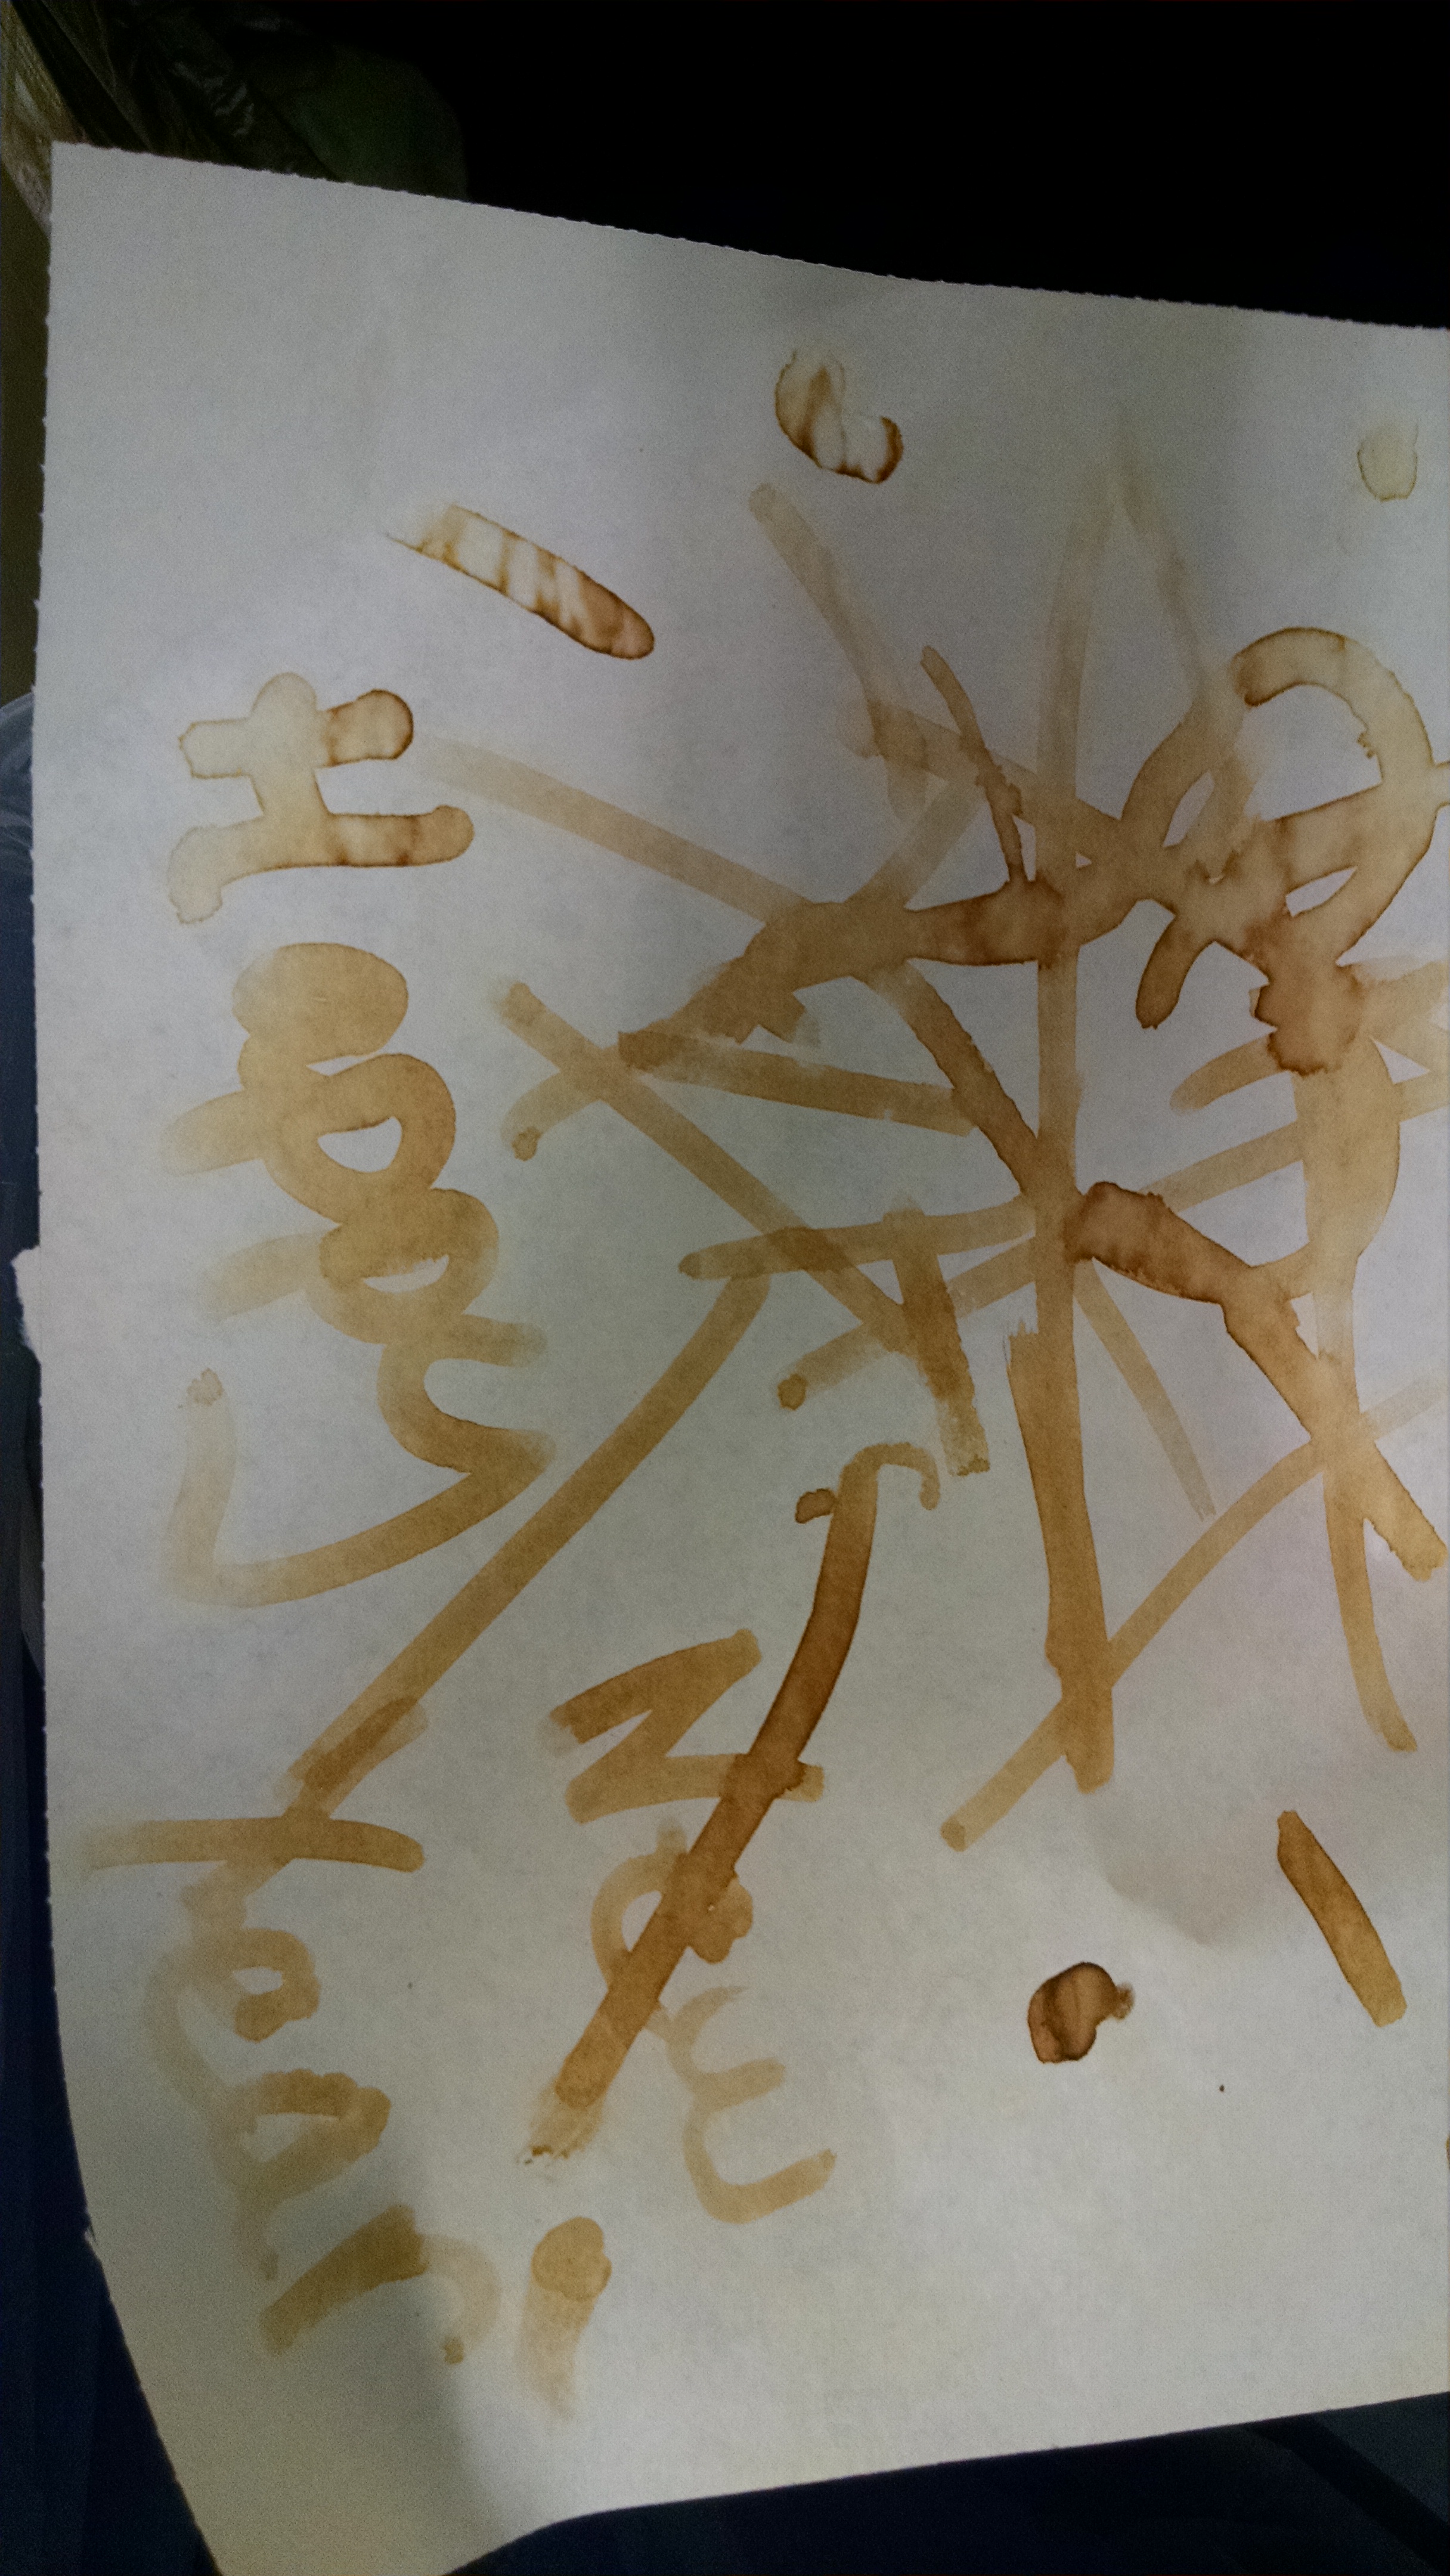
Invisible Ink: The kids used lemon juice to paint on a piece of printer paper. Then, we left it to dry. When it was dry, we asked them whose painting was whose, and what they were paintings of, as we held up what appeared to be blank papers. Then we ironed them to bring out the message. (The iron needs to be really hot.)

Opening Circle
We explained that today we would study chemical reactions, and that when we mixed some things together, they would fizz, and when we mixed others, they would change color, and others would go boom!
Song: We sang Boom Chicka Boom. (watch the video here) It’s an easy, and fun, call and response song.
Introduce reactions: We said “Last week we talked about mixtures. There were some things we mixed together and then could separate again (sensory table); other things are solutions, where one substance dissolves into another (like kool-aid), and there’s immisible liquids, like oil and water.”
“This week, we’ll talk about reactions. Sometimes we use reactions when talking about people… like if you tell me a funny joke, I laugh. That’s a reaction. If you said something mean, I would get sad. That’s a reaction. You did something, and it changed me. Sometimes when we mix two chemicals together, they “react”. Mixing them changes the substance in some way. Signs of a reaction are when the substance changes shape or texture, gets hot or cold, makes noise, a smell or light.”
Glow Bracelets / Glow Sticks. [hold up illustration] Explain that inside the bracelet, there’s a chemical mixed with fluorescent dye, and there’s a glass tube that contains another chemical called hydrogen peroxide. When you bend the bracelet, you’ll hear the glass break. It releases the hydrogen peroxide, and the chemicals mix, and the bracelet glows.
Baking soda and vinegar: Mix in plastic cup. Point out that when they’re mixed, they produce foaming bubbles (carbon dioxide gas) and make a fizzy sound.
Alka-seltzer: put a small amount of water and a tablet of alka-seltzer in a zip-lock baggie. Seal it – ask what they see – bubbles. Walk around, holding it up to kid’s ears – what do they hear? Fizz. Ask them to notice what’s happening to the baggie – it swells. Feel the bag – it’s cold. Endothermic reaction.
Exploding paint bombs. Fill film canisters with a water-based paint. Add an alka-seltzer tablet, cap it, shake it. Put it lid-down on a piece of paper and step back!!


This is very messy, but you can contain the mess enough to do it inside. Learn how in this tutorial on exploding paint bombs. (And watch this video to see how cool it is!)
Zip-lock time bombs: www.geeksraisinggeeks.com/quick-science-experiments/ and https://www.exploratorium.edu/science_explorer/bubblebomb.html.
- Take one quarter of a paper towel. Put 1.5 tablespoons of baking soda in the middle of it. Fold it into a packet that holds all the baking soda. Set aside.
- Put ¼ cup of water and ½ cup white distilled vinegar into a Ziploc brand sandwich-size baggie. Seal it most of the way.
- Now, working very quickly… put baking soda bundle into the baggie. Zip it closed. Toss it into a plastic tub or something else to contain the mess (if desired). Start counting till it explodes. It will take 20 – 30 seconds, unless you shake it first – the more you shake it, the quicker it goes. The fun thing about the Ziplocs is they build anticipation as the kids see the bag swell, and swell more, and more… until it’s bulging and straining, then it starts rocking, then it blows.
Group management: If you’re doing this in a group of preschool or elementary age children, you need to plan ahead for an effective assembly line. First, have all the kids come up and make a baking soda packet, till you have enough lined up ready to go. Then give each child a Zip-lock. Then add water, then vinegar, then zip closed till you’re ready for them. Then have kids come up 3 or 4 at a time. They hand you the zip-lock of liquid, you open it, put packet in, zip it and toss, and remind them to move back.
Notes from our experimentation: Quantities matter a lot. We tried to find ways to reduce the amount of vinegar to reduce cost / supply use, but you really need this much. Bag choice also matters: we tried using non-Ziploc brand baggies – we discovered that all the bags (or at least the five we tested) all had a minor manufacturing defect which meant they weren’t quite air-tight. Would be fine for bagging a sandwich, but doesn’t work at all with this experiment as the pressure couldn’t build enough to blow. We tried using snack size baggies – just not enough room to work in. We tried using quart size freezer bags. They’re a little too sturdy and you would have to increase your ingredients to use even more. What you wrap the baking soda in matters – Kleenex and fast-food napkins both melt into this nasty shredded pile that leaves a mess that’s hard to clean up – the paper towels stay more intact, so easier to clean up. (Note, we gathered up the bags, poured as much of the liquid down the drain as possible – not on the lawn, and threw away the baggies and paper towels.)
Snack Time Demos
Fizz. We made something that websites in Australia and New Zealand call Sherbet but that isn’t what I think of when I think of sherbet. It’s a fizzy powder not an ice cream substitute. With the kids, I called it fizzy candy powder and compared it to Pop Rocks and Zotz candy. The recipes I found called for citric acid crystals, sugar, baking soda, and drink crystals (koolaid?) to give it a little flavor.
In my grocery store, I found “True Lemon” which is citric acid and lemon oil. We mixed 1/2 teaspoon True Lemon, 2 teaspoons sugar, and 1/4 tsp baking soda.
I reminded the kids of today’s experiment where we cut open lemons and sprinkled baking soda on them – as soon as the baking soda hit the juice it fizzed. I told them the true lemon was lemon juice that was all dried out, and that it needs water to react. So then we sprinkled a little into a cup of water – it fizzed. Then I had kids open their mouths, I sprinkled just a little on their tongues and they closed their mouths and let it fizz. In the morning class, 80% of the kids tried it and the 5 – 6 year old boys wanted to try it again and again. In the afternoon class, I first offered it to some hesitant kids and they refused, so only about 25% of the kids tried it, and one of the young ones was a little distressed by the experience – we had to encourage him to rinse the taste quickly by drinking water and eating more snack.
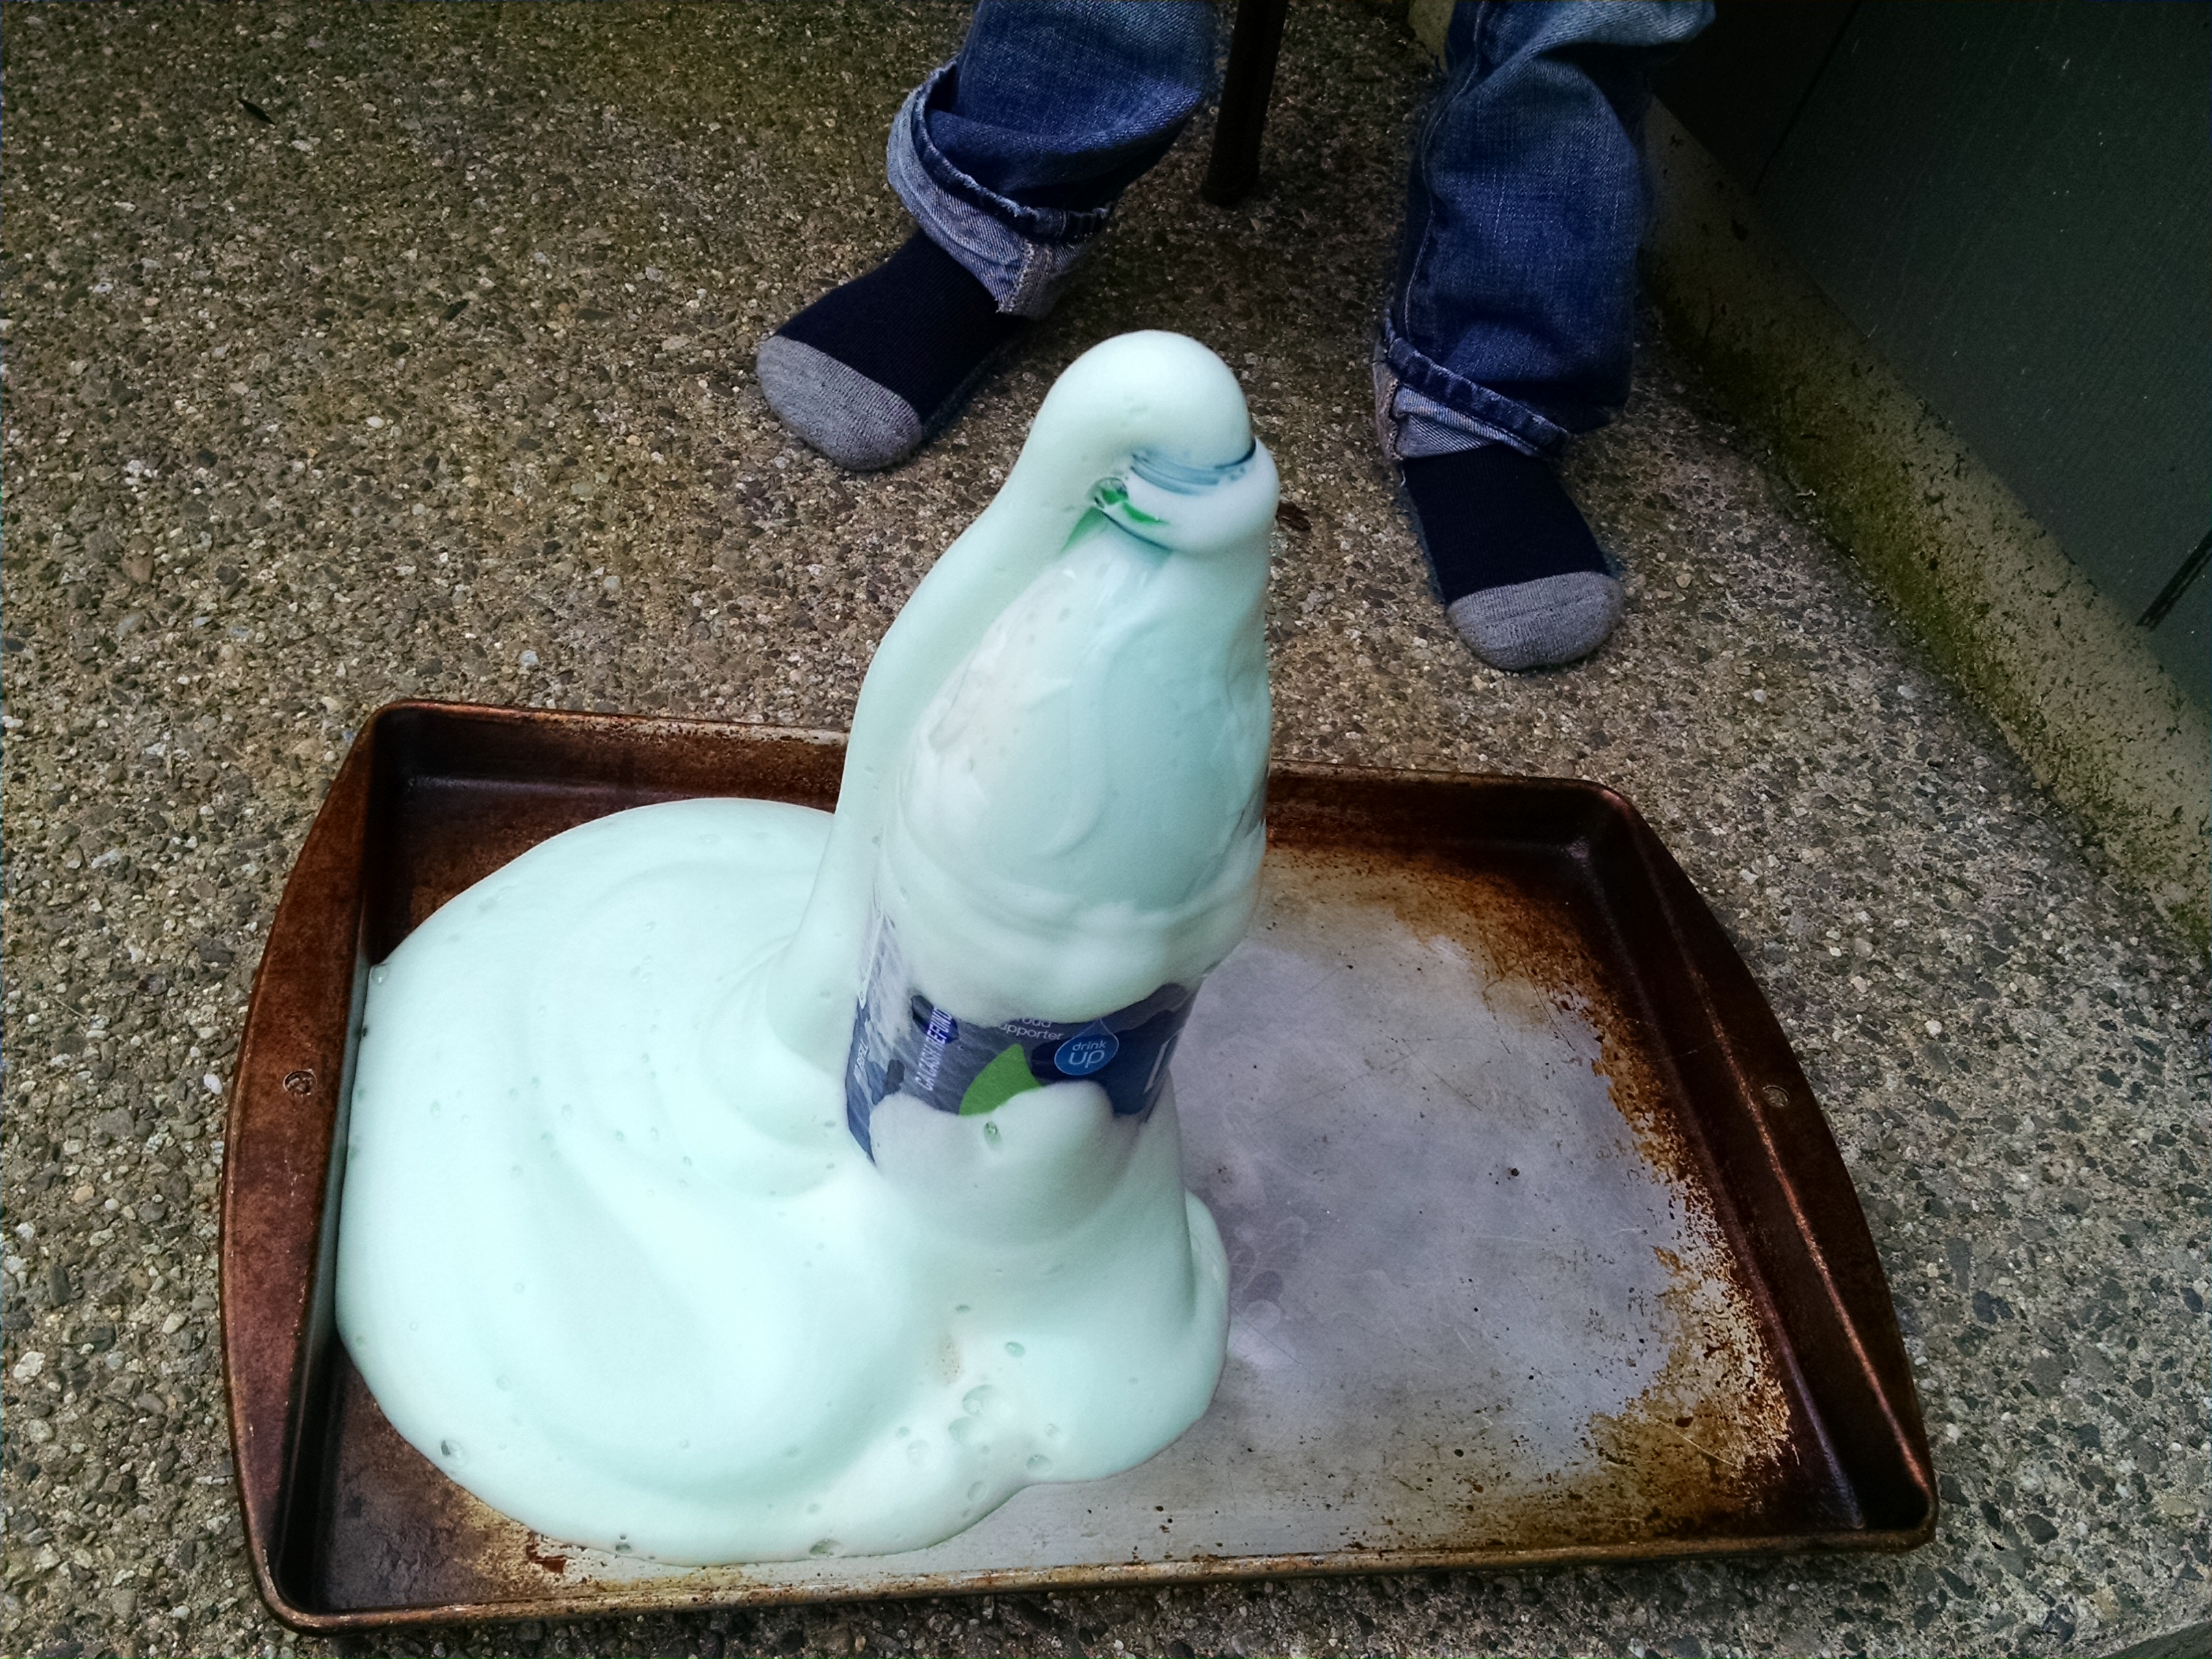
Elephant toothpaste. http://preschoolpowolpackets.blogspot.co.uk/2012/01/science-experiment-elephant-toothpaste.html www.stevespanglerscience.com/lab/experiments/elephants-toothpaste/
Although this seems like it would be a huge mess, it’s actually an easy clean up IF you set the bottle inside a cake pan or plastic tub so it contains it all.
- In one container, mix 1 package of dry yeast and 4 tbsp of warm water (it needs to be between 100 – 110. If it’s colder, it won’t wake the yeast, if it’s hotter, it kills it. We explained this to the kids, describing the yeast as “little tiny bugs” that we’re waking up. They all got the idea. But one tender-hearted child then worried about whether our experiment would be hard on these little bugs…)
- Then tell a story about an imaginary elephant who needs to brush his teeth, and say you need to make a bunch of pretend toothpaste. (i.e. stall for a few minutes while yeast activates)
- Put an empty soda or water bottle on a tray (we used a 1 liter Dasani water bottle). Add 1/4 to 1/2 cup hydrogen peroxide. Note: many websites say it has to be the strong type you can get from beauty supplies (it’s called “clear developer“. You’re looking for volume 20 which is 6% hydrogen peroxide), not the weaker 3% concentration you find in the grocery store. But we’ve tried both, and they’ve both worked fine.
- To the hydrogen peroxide, add about 10 – 15 drops of food coloring. Then add a couple big squirts of dishwashing detergent. Swirl to mix the contents.
- Set bottle of peroxide mix into tray. Pour yeast water into bottle. Step back!
- It oozes and oozes and keeps on oozing.
- After explosion / extrusion, feel the bottle – it’s warm. Exothermic reaction.
- We did just one batch of this per class as a demo, not hands-on.
Outdoor Activities
Hand Warmers – we gave each child a Hand Warmer to shake to activate, explaining that this is a chemical reaction. (here’s the science of how it works)
Film canister rockets:
Put water and alka-seltzer into film canisters. Put lids on quickly! Flip them upside down, set them down, and step back quickly! In 15 – 30 seconds, they will launch 15 – 20 feet in the air. So much fun! Read my film canister rocket tutorial.
Mentos and Diet Coke: We ended with this outdoors-only demo. Many of our older kids (5 – 7 year olds) have seen YouTube videos of this. Either very simple demos, or amazingly intricate Mentos fountains. We had 20 ounce bottles of diet coke. I opened one, tried to drop in three Mentos – as soon as the first two hit, it exploded, so number three got blown right out – geyser went up maybe 6 – 12 inches? Fun and messy, but no great thrill, really. Then I used this Geyser Tube, loaded with 6 Mentos. When we pulled the launcher, the geyser only lasted for a few seconds, but it shot many feet up in the air, which the kids loved!
If you want to play more with this experiment, you could also compare how different sodas react: https://www.youtube.com/watch?v=iS2vG1o7Op4
Closing Circle:
Book: In all my searching, I’ve failed to find good books for age 3 – 6 about chemistry. For last week’s mixtures class, I wrote my own book. This week, we just didn’t do a non-fiction reading. For fictional books, there’s a couple options.
Jabari Tries by Cornwall. (Video of read-aloud.) A story about perseverance, problem-solving, tinkering and accepting help. Jabari wants to make a flying machine. He uses tinker toys, TP tubes, blocks and other household supplies. He plans, builds, tests, fails and tries again. He is discouraged but with his dad and sister to help and inspire him, he eventually succeeds. Diversity bonuses: Jabari and his family are Black, it talks about him being inspired by Black engineers and scientists, and on the final page, his sister is in an astronaut’s uniform similar to Mae Jemison. Chemistry bonus: one page shows how they use a film canister, baking soda and vinegar to try to launch their flying machine. (Minor quibble – the illustration shows the film canister as having a lid that screws on, which wouldn’t pop off properly…) I think this book is a great addition to our library!
11 Experiments That Failed by Offill and Carpenter. (Video) This is fun and silly and would be my recommended book to read on a week when you discuss the scientific method. Here is a sample experiment: “Experiments with Perfume. Question: Will seedlings grow if given Eau La La instead of water? Hypothesis: Seedlings will like Eau La La better than water. What you need: pots, dirt, seedlings, water, fancy perfume. What to Do: Place dirt in pots. Plant seedlings in dirt. Water one pot with water. Water other pot with perfume. Watch. What happened: Mom cried. Seedlings died.”
The Secret Science Project That Almost Ate the School by Sierra and Gammell. (Video) A silly story about kids preparing for a science fair. Our protagonist has no ideas for projects. She orders a super slime from the internet that eats her cat, her sister, her teacher… and is finally vanquished when the children feed it too many sweets.
Class Structure
Because young children thrive on routine, we try to have the same structure to our class every week, where they explore all our activities hands-on for 20-30 minutes, then we do an opening circle where we explain the science behind what they’ve been experiencing, then they do them all hands-on for another 30-40 minutes then outdoor time and closing circle. But this week, we had several activities that a) would require very close supervision, b) could only be done once or twice so we wanted everyone to see it, and c) could make a really big mess. So, we needed to do things differently, with 20 minutes of hands-on projects, 15 minute circle which included activities, 15 minute snack time which included demos, 15 minutes outside hike, 15 minutes outside activities, then a book to end with. Our morning class handled the new routine fine. The afternoon class didn’t. They lost focus during opening circle, and wandered to snack early, then during snack couldn’t focus on the demos we were doing, so we dropped some. Next year, we’ll think more about how to manage the routine and short attention spans.
Preparation is Key!!!
So much of this class is about messy demos. If you do all the prep in front of kids, they get bored. If you try to prep while kids are in the classroom doing activities, it’s easy to get distracted and miss things. I’ve learned the key to success is to set everything up before class. Each section of class has its own designated plastic tub, out of the kids’ sight. Each tub had its own measuring spoons and cups and everything so NOTHING needed to be moved between tubs. I did things like open and break up all the alka-seltzers in advance so I didn’t have to do it while kids waited. I had a classroom volunteer who I’d told ahead of time that when I finished each experiment, I would hand him a tub and he’d carry it away and handle all the clean-up while I went on to the next one. Here’s my list of tubs and their ingredients.
Note: you’ll need LOTS of ingredients for this class! If you’re just doing one batch of each at home with your kid, you’re probably fine with what’s in your cabinet. But, we had 9 kids in our morning class, and 10 in our afternoon, and we used: 1 gallon of vinegar, 24 ounces of oil, and about 5 pounds of baking soda, plus other ingredients.
More Reactions You Could Try
As always, we had more experiments than we had time for. Here’s some more ideas:
Pop a cork: You could use a test tube with a stopper or a glass bottle with a tight-fitting cork. Fill with either citric acid, baking soda, water or vinegar/baking soda. Test to see what quantity you need to pop the cork. http://childcentralstation.com/2011/08/perfecting-blowing-the-cork.html.
We also considered melting Styrofoam with acetone, and playing with the polymer. But given concerns about acetone toxicity, we decided not to do this. But, in case you’re considering it, I have to tell you that when I tested it, it didn’t work as I expected. When I was a kid, you could take regular nail polish remover, dip a Styrofoam cup in it and it would dissolve away. I bought nail polish remover from the drug store, being sure to get the acetone sort, and it didn’t work – it did have other chemicals mixed in, so maybe modern remover is just not a high enough concentration acetone – others recommended that I get acetone from a chemical supply company instead if I wanted to do this experiment.
Last year, we made Milk from Plastic. Try this at home!
Glitter Volcano: If you have a child who loves pink and sparkly things, then get the prettiest clear bottle you can find. Put in baking soda, then just a little red food coloring, then some pink or silver glitter. Then add vinegar. It’s a pretty and sparkly chemistry experiment. (Source: Geeks Raising Geeks.)
Have fun with all your fizzy explosions!

[…] Chemical Reactions for Kids to Explore […]
LikeLike
[…] Chemical Reactions for Kids to Explore […]
LikeLike
[…] Theme – Chemistry – Reactions […]
LikeLike
[…] Theme – Chemistry – Reactions […]
LikeLike
[…] Chemistry: States of Matter, Mixtures and Solutions, Dramatic Reactions – Things that go boom! […]
LikeLike
[…] Reactions. Check out the theme post for a Lemon Fizz recipe. Make home-made mayonnaise – emulsifying is a chemical reaction. (learn the science here) […]
LikeLike
[…] Challenge: Make a jetpack from a 2 liter bottle. Or paper rockets on film canisters you can launch into the air with Alka-seltzer tablets. […]
LikeLike
[…] Baking soda – drip colored vinegar on it and watch it fizz […]
LikeLike
[…] a ziplock time bomb with baking soda and […]
LikeLike
[…] Tomorrow home page. Just a few of the science themes are: Planets and Space Travel; Human Body; Chemical Reactions Light and Shadow; Sink or […]
LikeLike
[…] Bombs: In chemical reactions week, we mix water-based paint and alka-Seltzer in a film canister, and […]
LikeLike
[…] my Chemical Reactions post, I illustrate how to mix vinegar and baking soda in a bottle, then put a balloon over the top […]
LikeLike
[…] Jar of Bubbling Goo. Make a paste of water and baking soda. Freeze that. The next day, give your child a jar with a little vegetable oil in it. Drop in the baking soda ice. What happens? (Nothing.) Now pour in a little vinegar. What happens? This is another one that will totally mesmerize some kids. […]
LikeLike
[…] Tomorrow home page. Just a few of the science themes are: Planets and Space Travel; Human Body; Chemical Reactions Light and Shadow; Sink or […]
LikeLike
[…] Find more hands-on chemistry learning in my posts on States of Matter, Chemistry Mixtures, and Reactions. […]
LikeLike
[…] ways to explore chemistry with kids. (I cover them in these posts: States of Matter, Mixtures, Reactions.) Here are two of our favorites. (And be sure to check out Oil and […]
LikeLike
[…] our class about chemistry mixtures where we study how oil and water don’t mix, and our chemical reactions […]
LikeLike
[…] can find lots more hands-on chemistry experiments […]
LikeLike
[…] a powerful science learning experience. Everywhere around the room, kids were engaged in exploring chemical reactions – they were using pipettes to squirt colored vinegar on a tray of baking soda to make it […]
LikeLike
[…] of Matter / Chemical Reaction: things can be solid or liquid, depending on temperature. Some things can be mixed and unmixed, […]
LikeLike
[…] here for more fun Chemical Reactions for Kids. And look here for more fun Alka-Seltzer […]
LikeLike