

This week’s theme was the Beach, Boats, and What Sinks / What Floats.
Science Exploration
We wanted the kids to be able to test lots of variables to learn more about what kinds of things float and what things sink. Here’s our key ideas, then activities for exploring them…
- lighter things generally float better than heavier things, but it’s not just about weight
- some shapes float better than others,
- some materials float better than others, and
- containers filled with air float better than if filled with anything denser than air.
Weight Matters: Do heavy things always sink? Can you make heavy things float?
Loading Up a Boat: We had a tub of water, and placed next to it a container of glass weights, and miscellaneous boat-like items like toy boats, dixie cups, plastic bowls, styrofoam trays. Kids saw that if they just dropped in glass weights in the water, they would sink to the bottom, but if you put them on a broad platform, they wouldn’t sink. UNLESS you put on too many weights for the boat to carry….


Sidebar Math Activity: Kids count the number of glass marbles that their boat can hold before it sinks. We had tally sheets where they could keep count and compare which vessel could hold the most glass weights. They can see that each type of boat has its maximum capacity – you can load and load till you reach that tipping point, then it sinks under the surface of water, fills with water and sinks to the bottom.
Shape Matters: What we did: We had sheets of aluminum foil. I’d read in a book or online that if you ball up a sheet of foil, it would sink. So, the plan was to show them this, then show them how you could take the same size piece of foil, mold it into a boat shape, and it would float just fine, and even hold lots more weight inside of it. What was successful: the boat that floats part. Kids had a great time folding foil boats, and filling them with glass weights. What didn’t work as well: the ball of foil floated!  In order to get the foil to sink, you have to fold it in half, compress it as flat as you can, and repeat till it’s the absolute tightest densest square of foil you can make.
What we’ll do differently next time. Play-test the project at home before doing in class. Always play-test first! (I know that rule, but failed to follow it this week.) We’ll still fold foil boats, because that’s fun, but for our “shape matters” project, I plan to give them modeling clay. You give them a ball of clay – they drop it in the water and it sinks. Then they have to figure out how to make it into a shape that will float. Play Dough to Plato has a great description of how to do this process with kids. (Find more details at Teach Engineering and Mr. Williams 6th grade science blog.)
You could also offer some toy boats at this station, and then demo to the children that if they set them in with the flat hull facing down, they float, but not if you flip them on their side or top. You could also show how they float when they are empty (which of course means full of air), and then what happens if they’re filled with glass weights, or what happens if they start taking on water.
Materials Matter:  We put out a container of miscellaneous materials – a cork, foam leaf, plastic bottle cap, wax crayon, wood popsicle stick, metal lid, a shell, a rock, and more next to a tub of water. Kids could predict whether it would sink or float, then put it in the water to test it. We had them think which ones floated the best. The ideal examples would all be similar sizes and shapes (wood block, plastic block eraser, and so on) so the only variable here is material.
What’s Inside the Container Matters:
Have three identical containers that are airtight. Leave one empty, fill one halfway with water, and one all the way with water and test which floats best. You could use water bottles, clear plastic containers, or balloons. (Note: filling a balloon halfway with water and halfway with air is tricky. First, make a water balloon and an air balloon so you know what the size is your aiming for. Then fill a balloon with about half that much water, then insert a straw, pinch the opening of the balloon tightly around the straw and use the straw to blow in air till it’s a little bigger than you want it. Pull the straw out, keeping the opening pinched tight to hold in the air, then tie it off.)
If you’re reading What Floats in a Moat (see below), you can re-create the experiment from the story by having three identical plastic containers, ideally barrel shaped – one filled with buttermilk (or water mixed with some white paint so it looks like milk), one half-full, and one empty so kids can test what happens.
Does it Matter What They’re Floating On? Exploring Buoyancy: We put out three tubs – one filled with fresh water, one with salt water, and one with carbonated soda / seltzer water. Kids were encouraged to test a bowl in each of the three tubs, slowly adding stones to it to see which kind of liquid best floats their boat. (Note: You need to use a LOT of salt to notice the difference in buoyancy. Like at least 1/4 cup salt per cup water.)
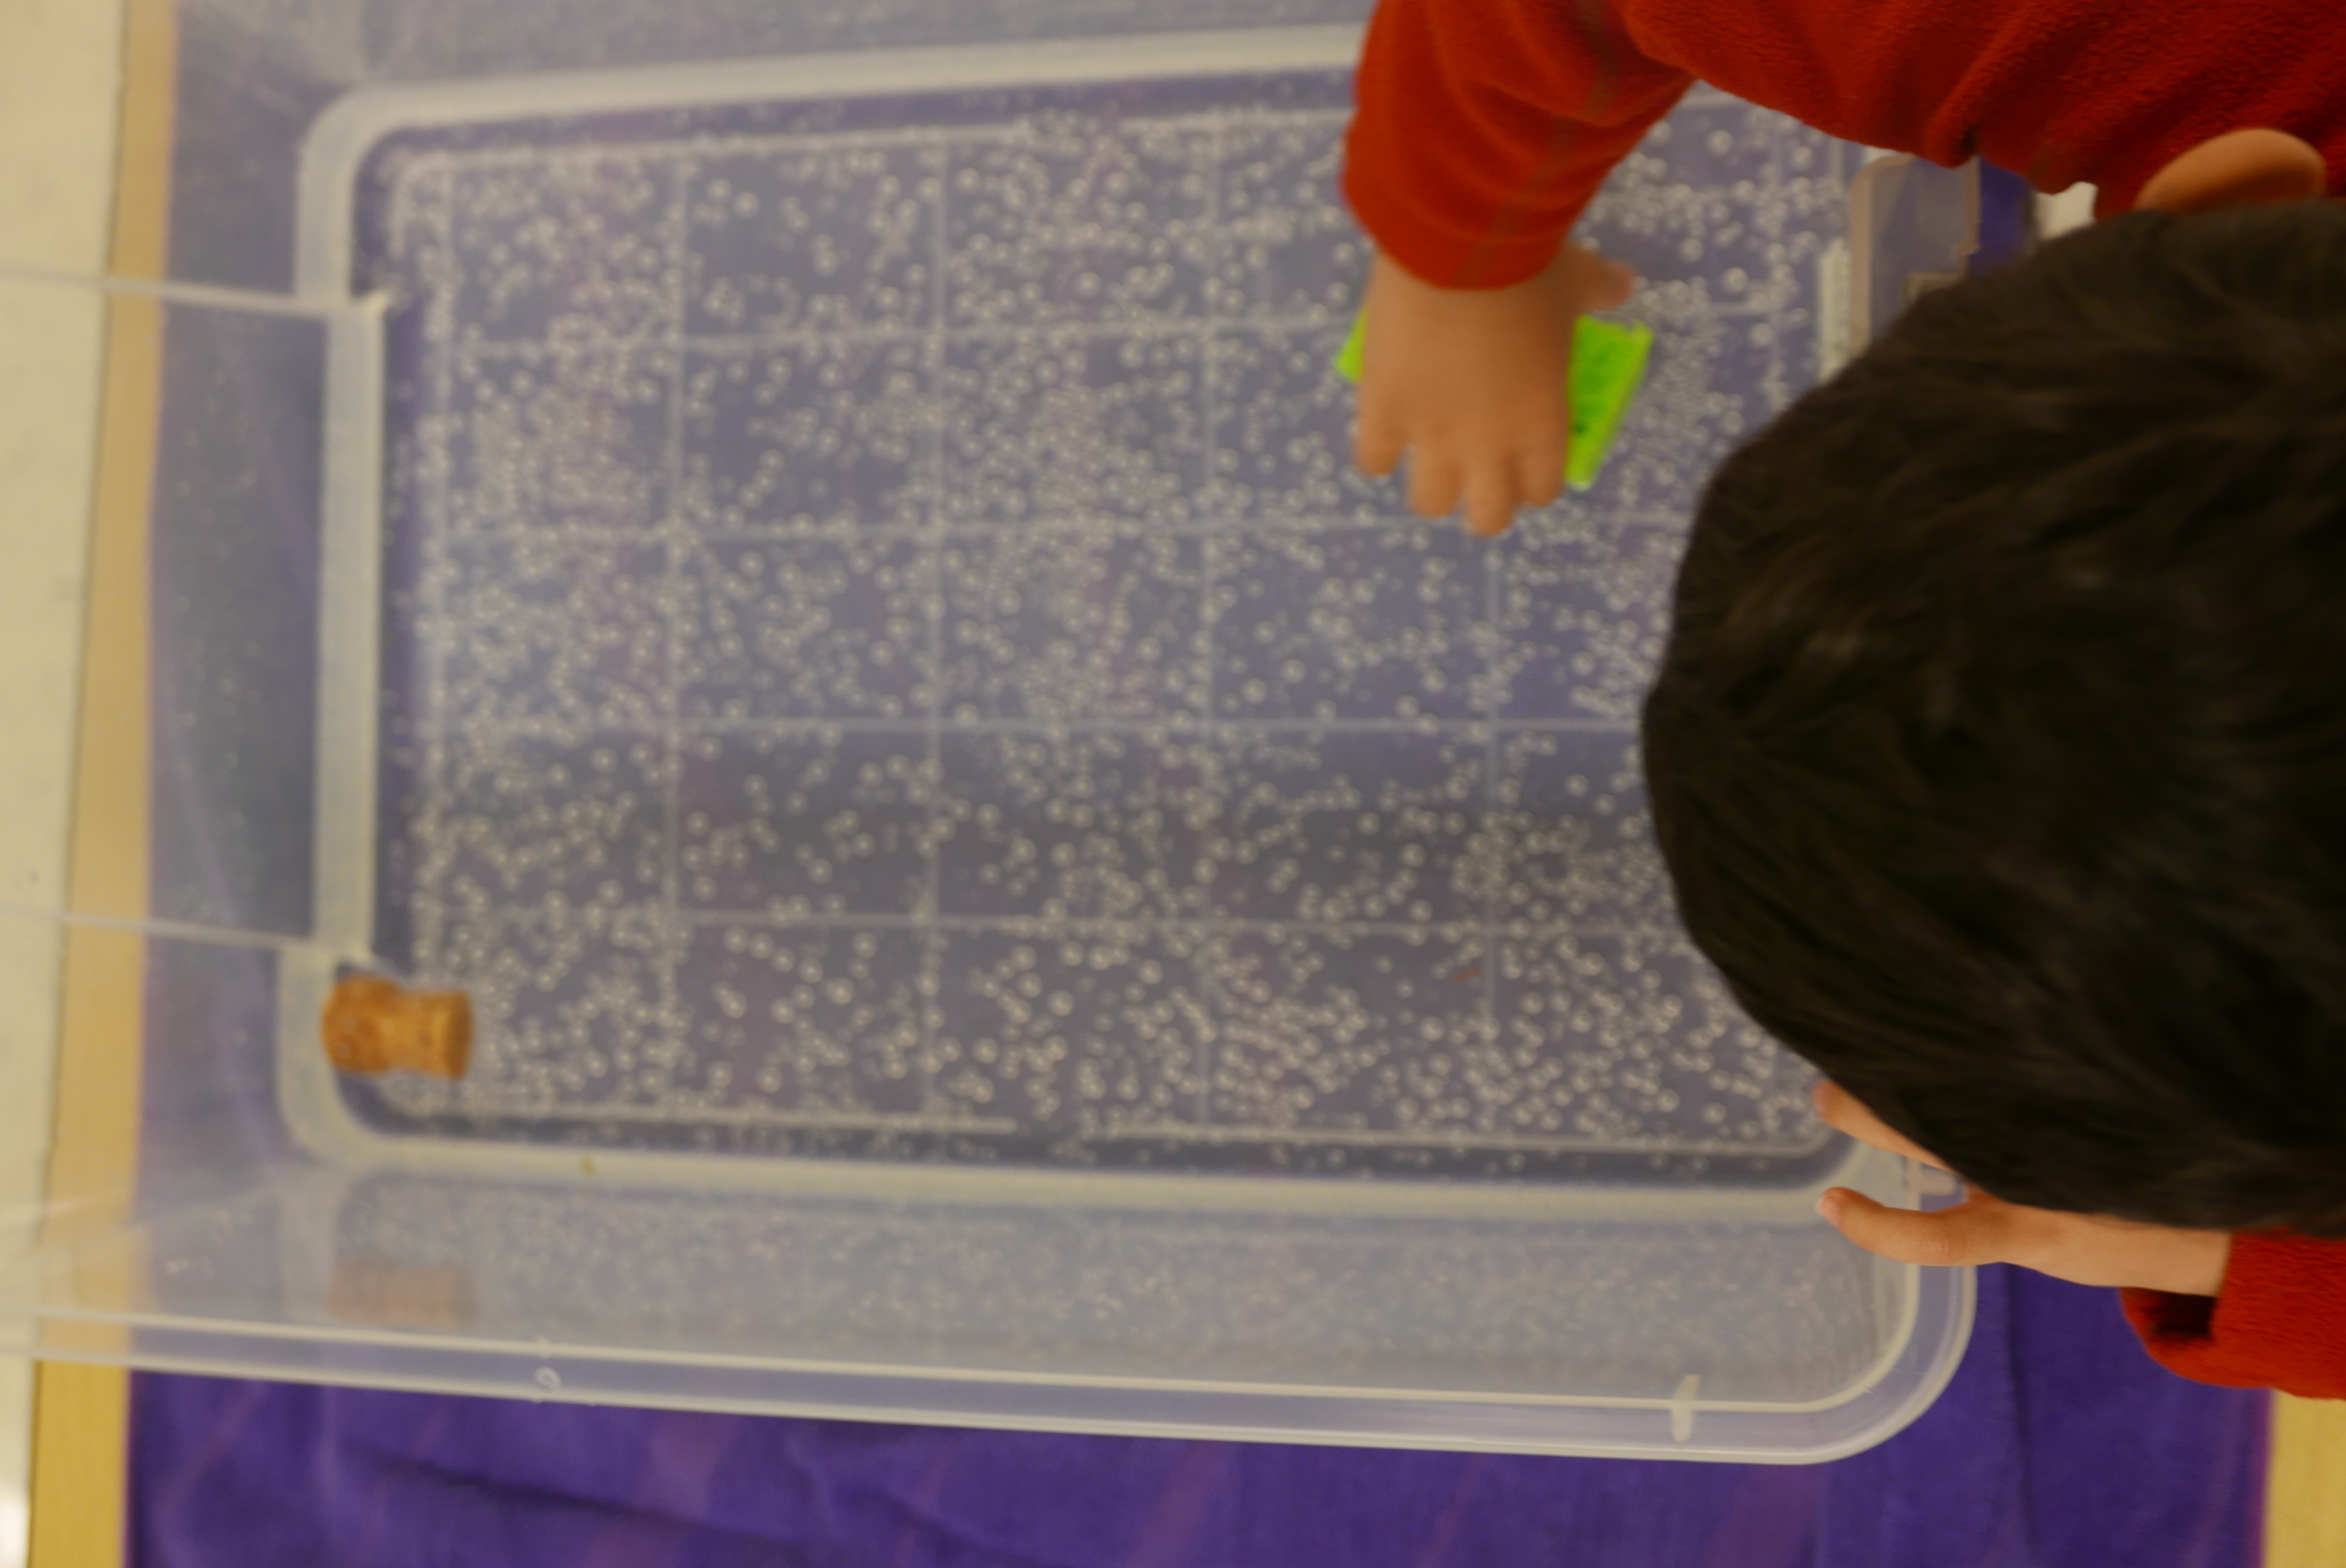

Egg Float. 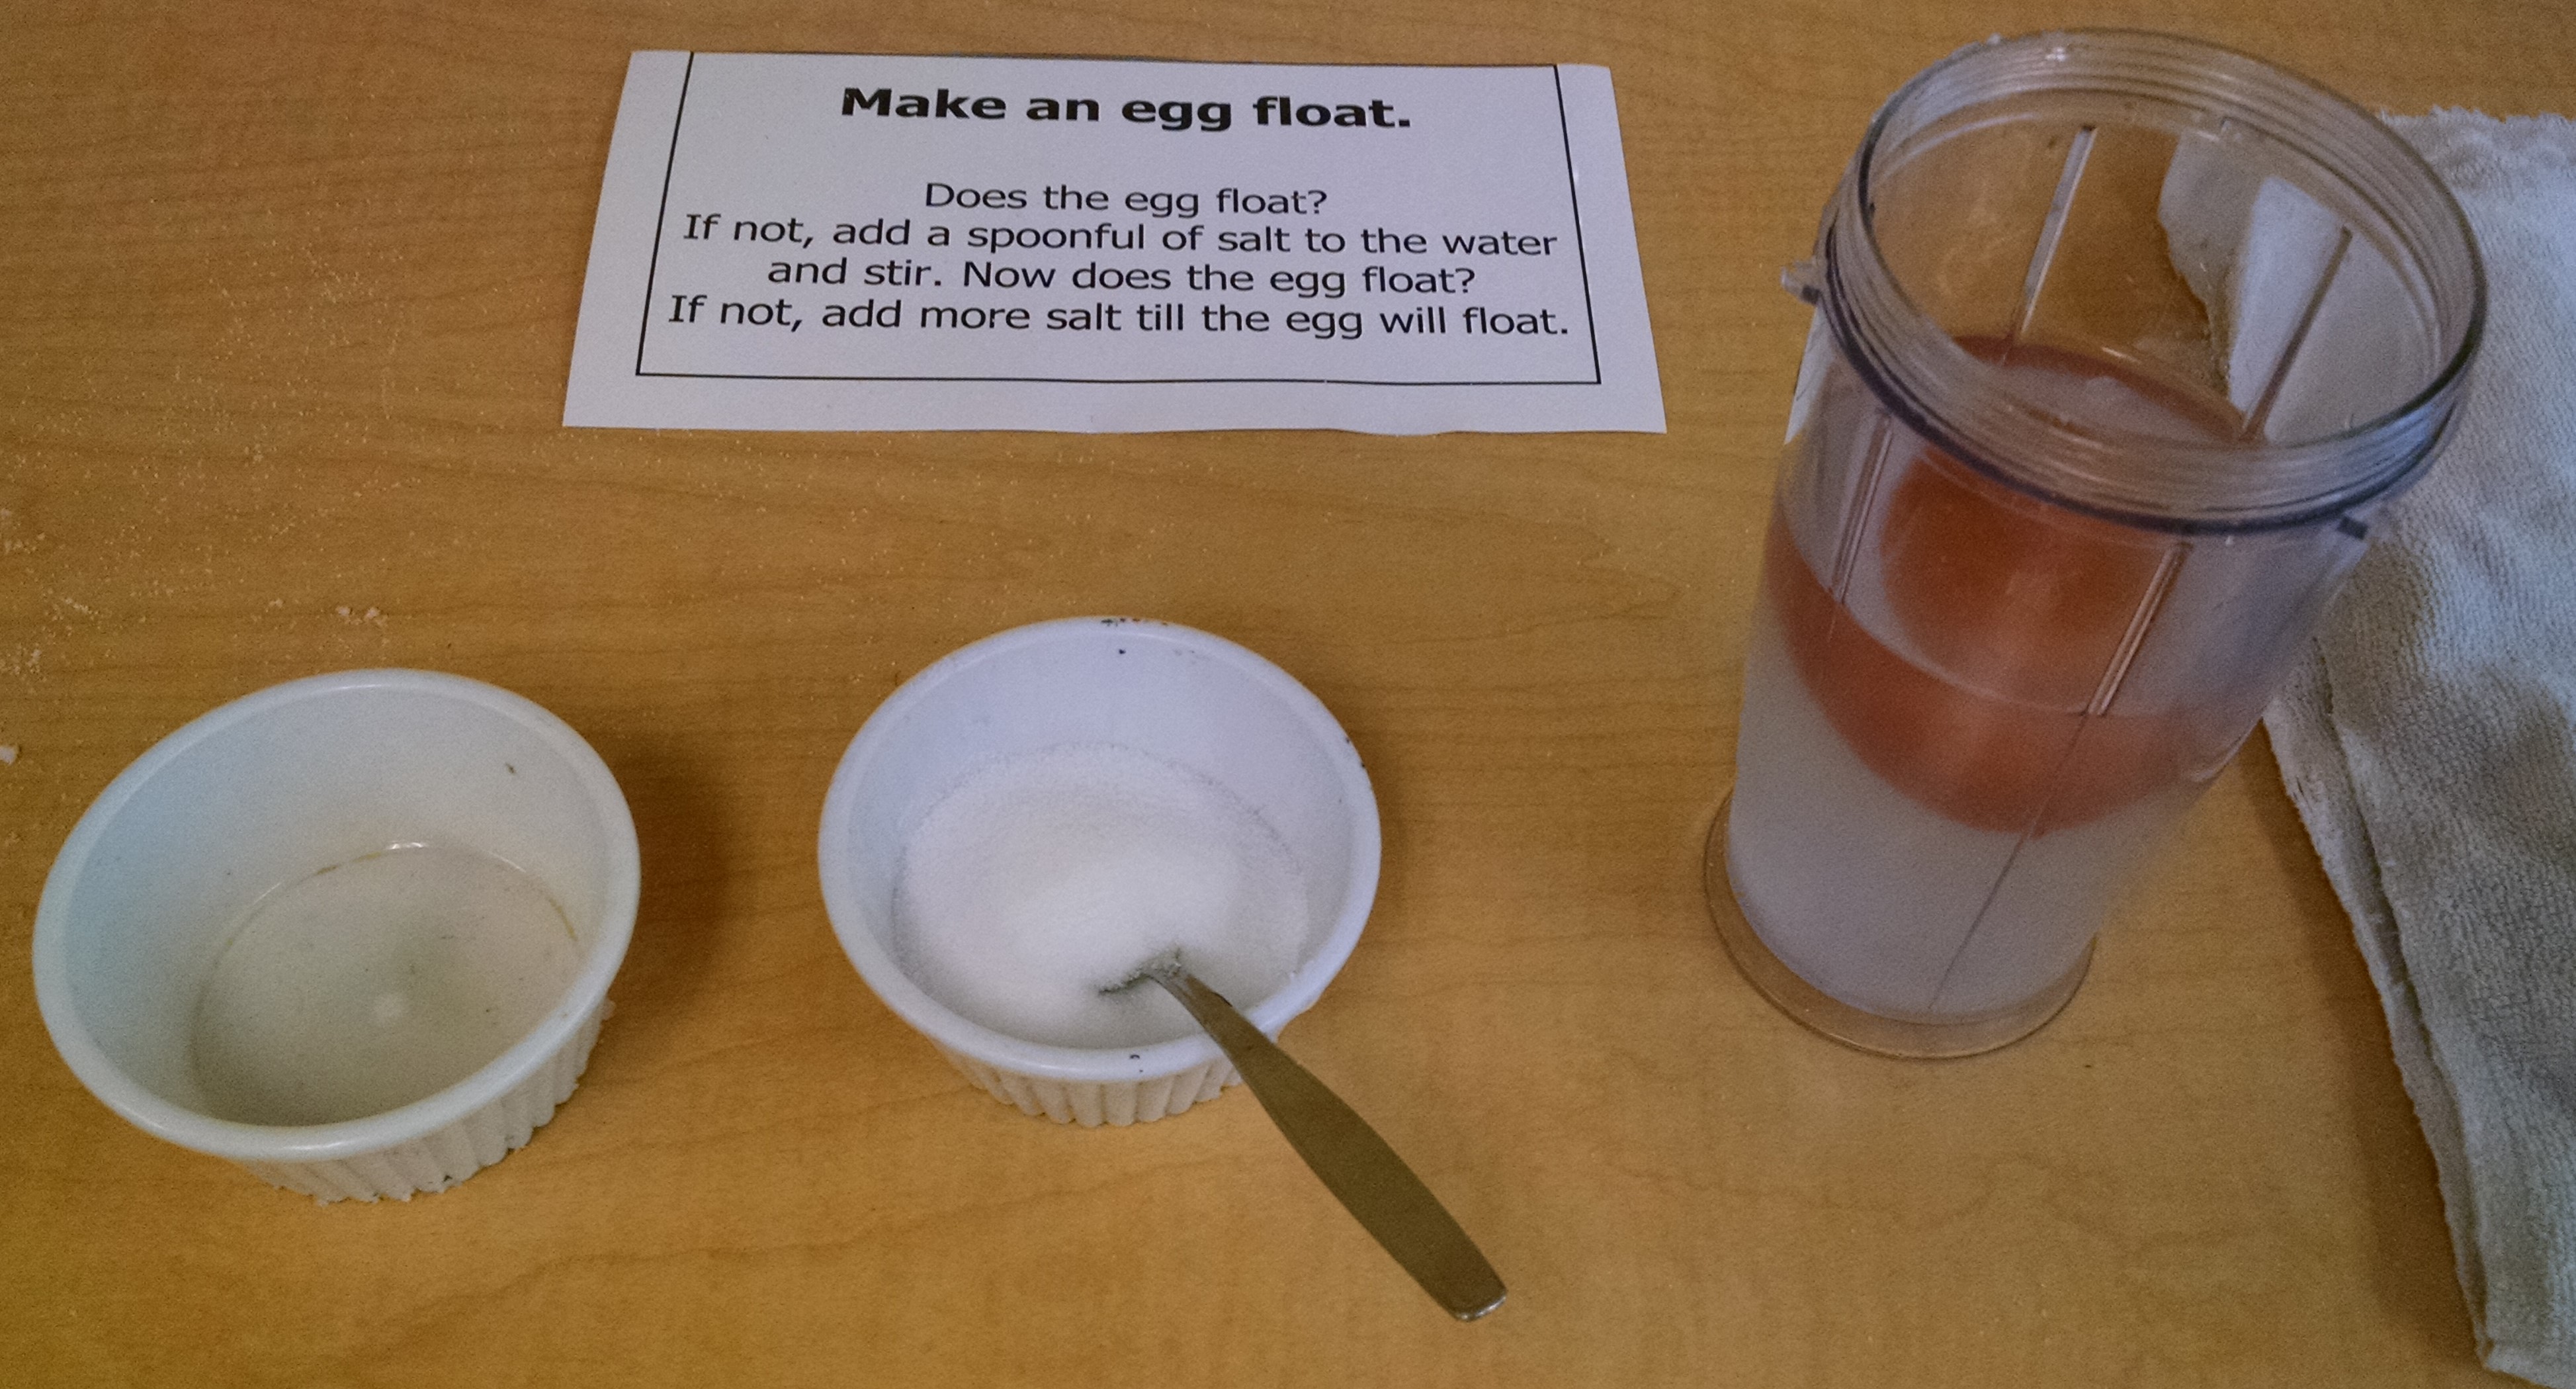 Provide a hard boiled egg, a cup of warm water, a dish of salt and a spoon. Let kids discover that if they place the egg in the water it sinks. Encourage them to stir in a spoonful of salt, then test it again. How many spoonfuls of salt do they need to add to make the egg float? (Answer… it takes a LOT of salt… close to 1/4 cup) Every time a child finished this experiment, we’d dump their results into our tub of salt water (see above) so it got a lot saltier as the day went on.
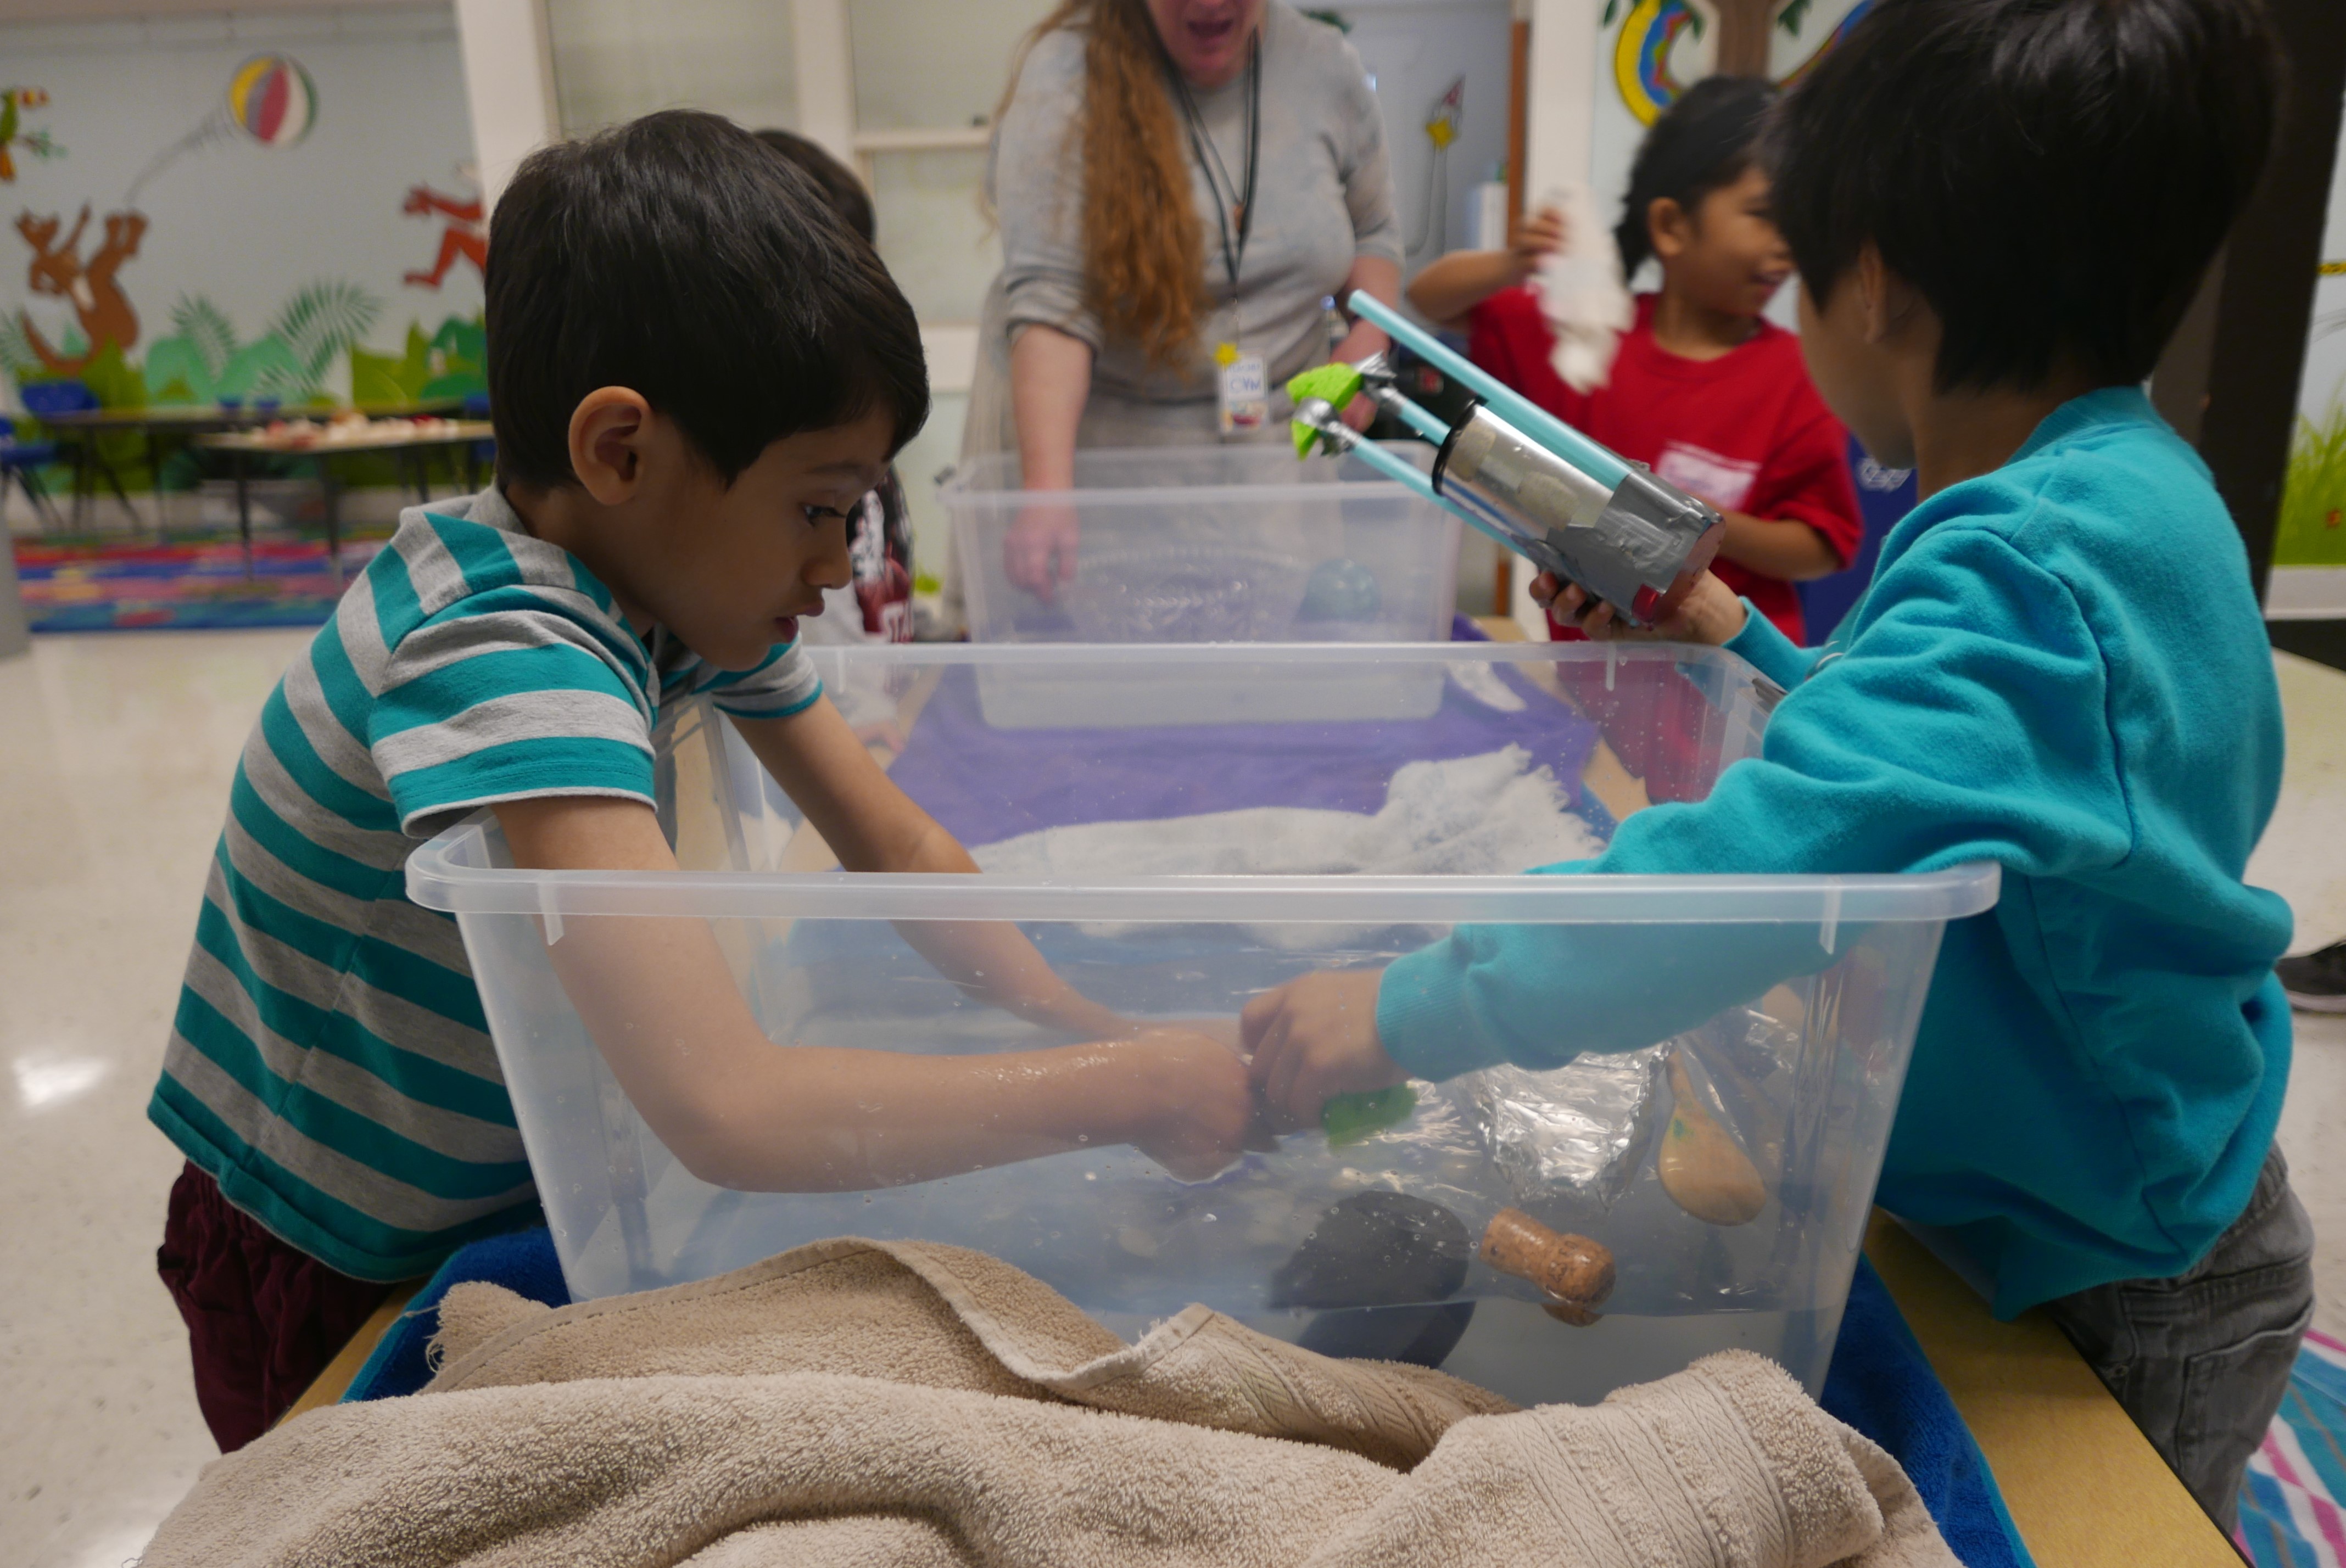
Challenge Activity / Invention
Challenge: Engineer a Boat that Floats.
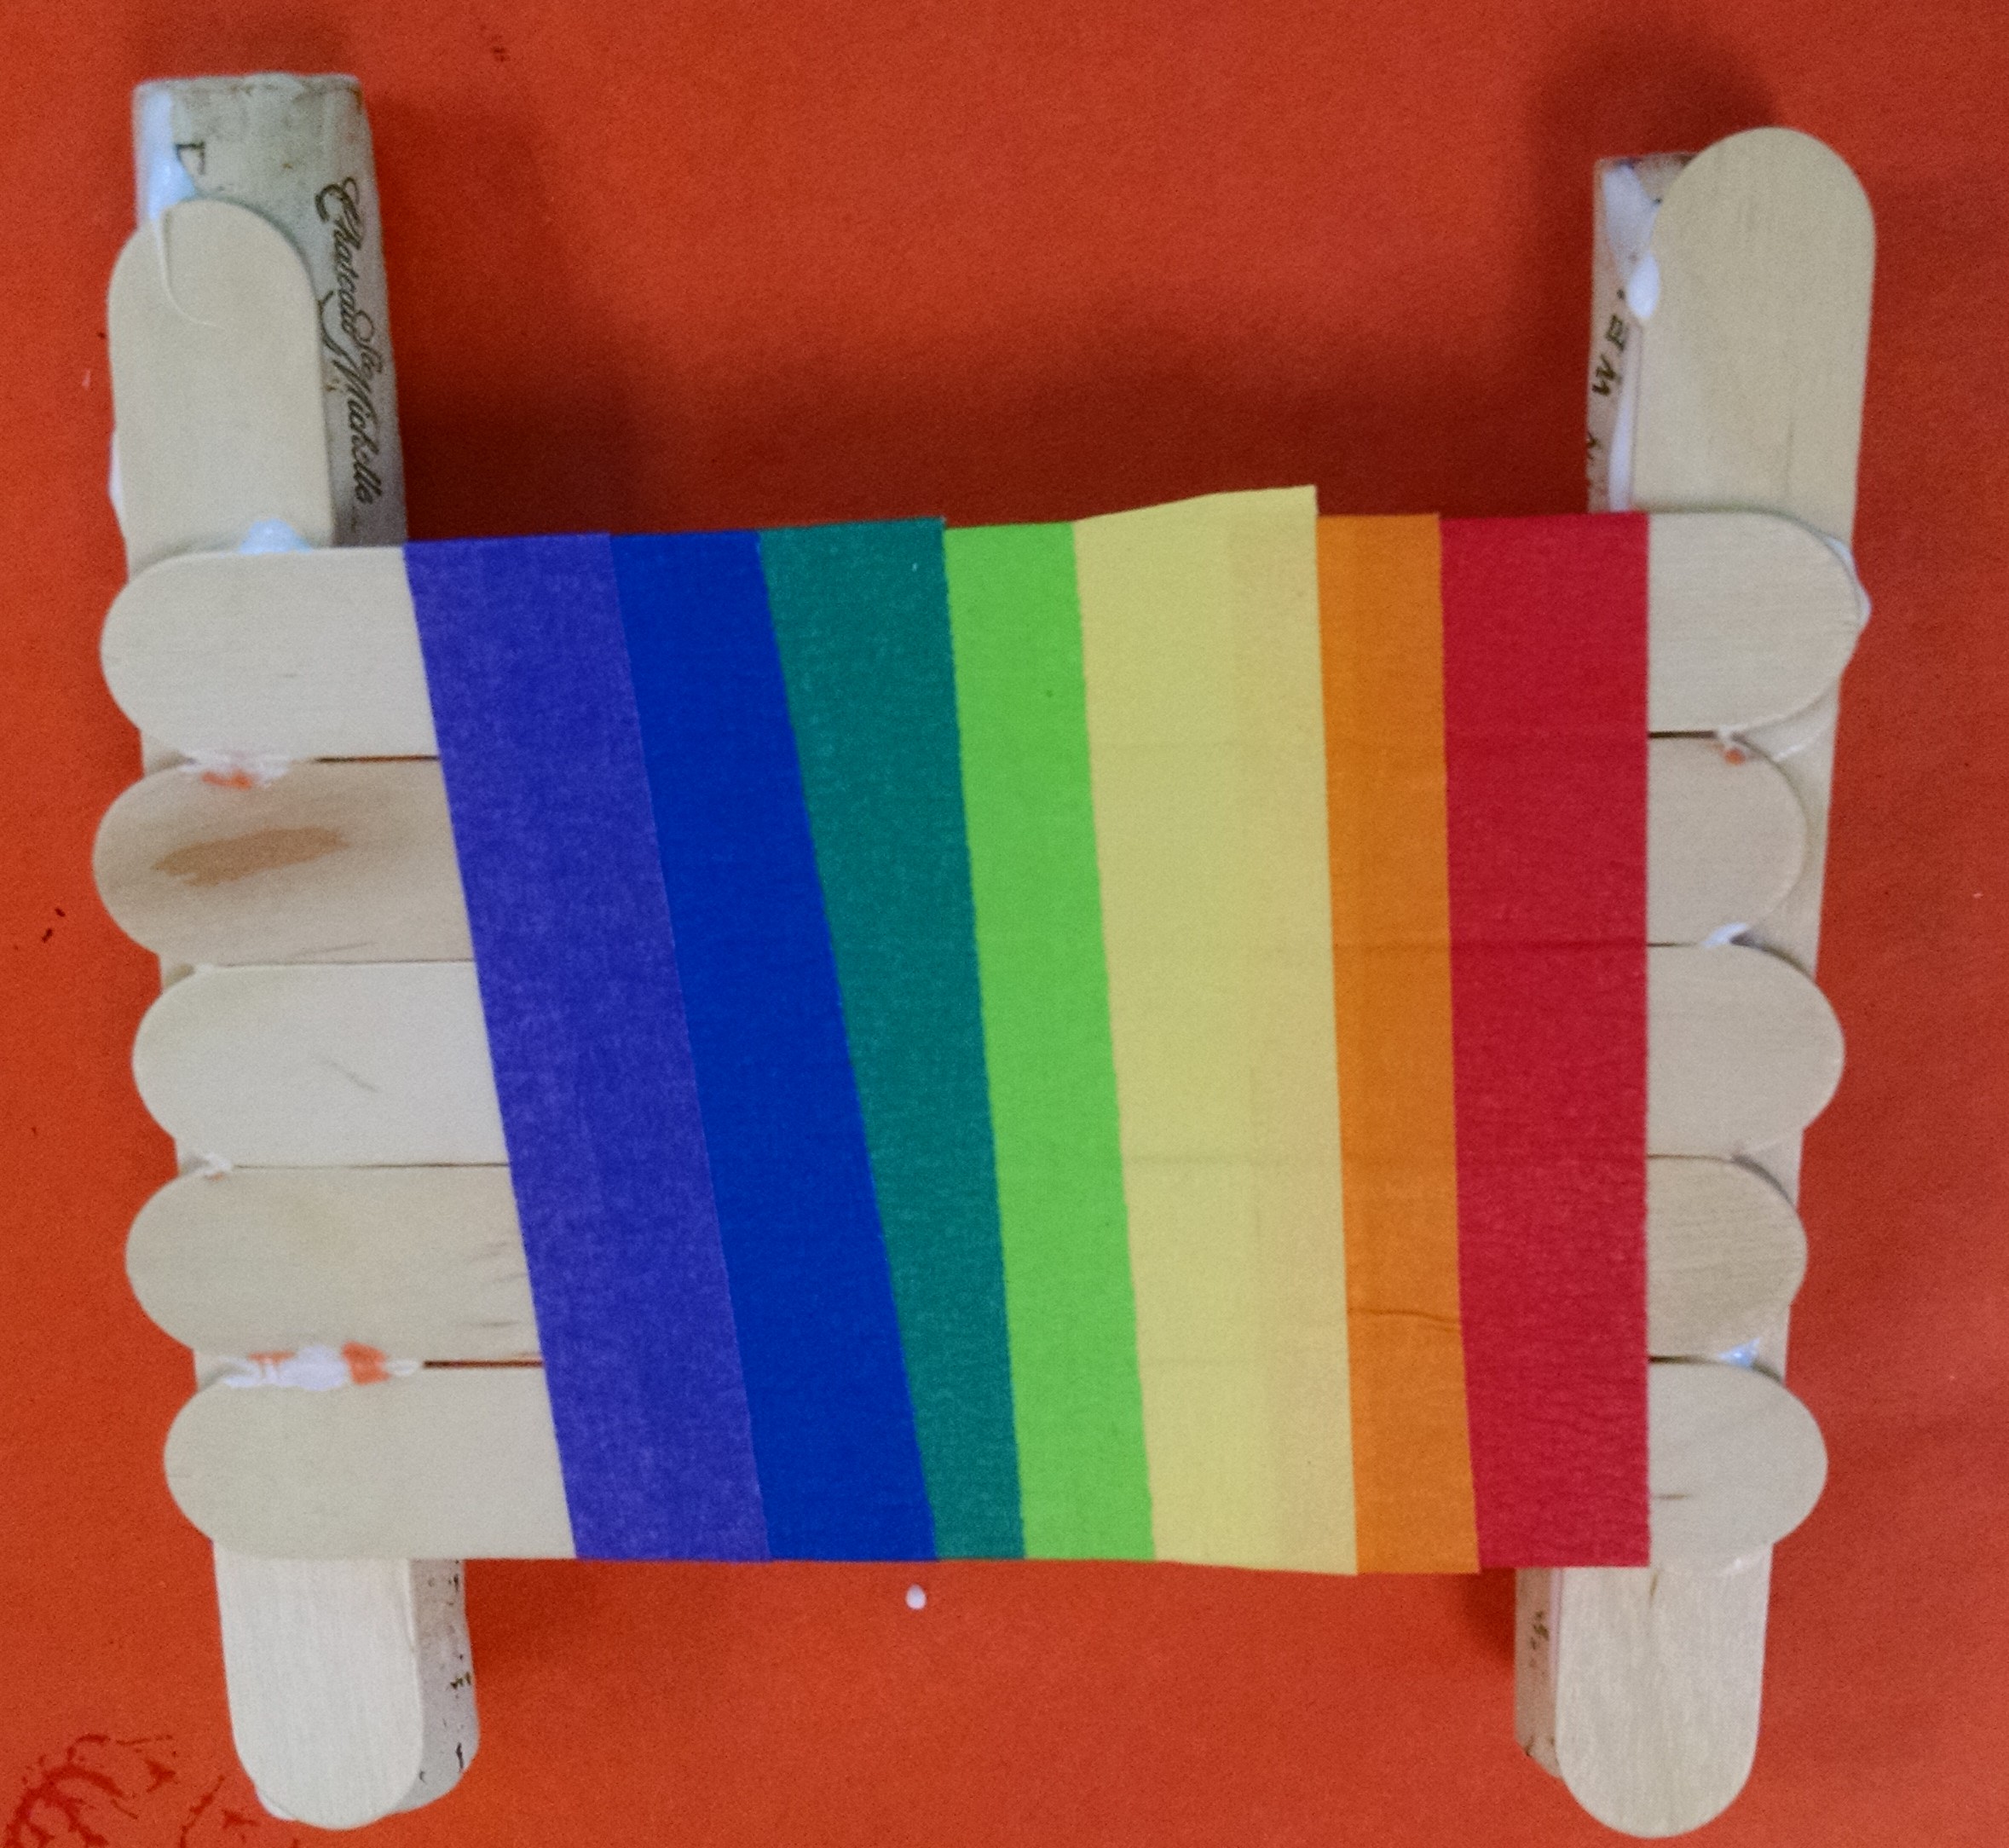
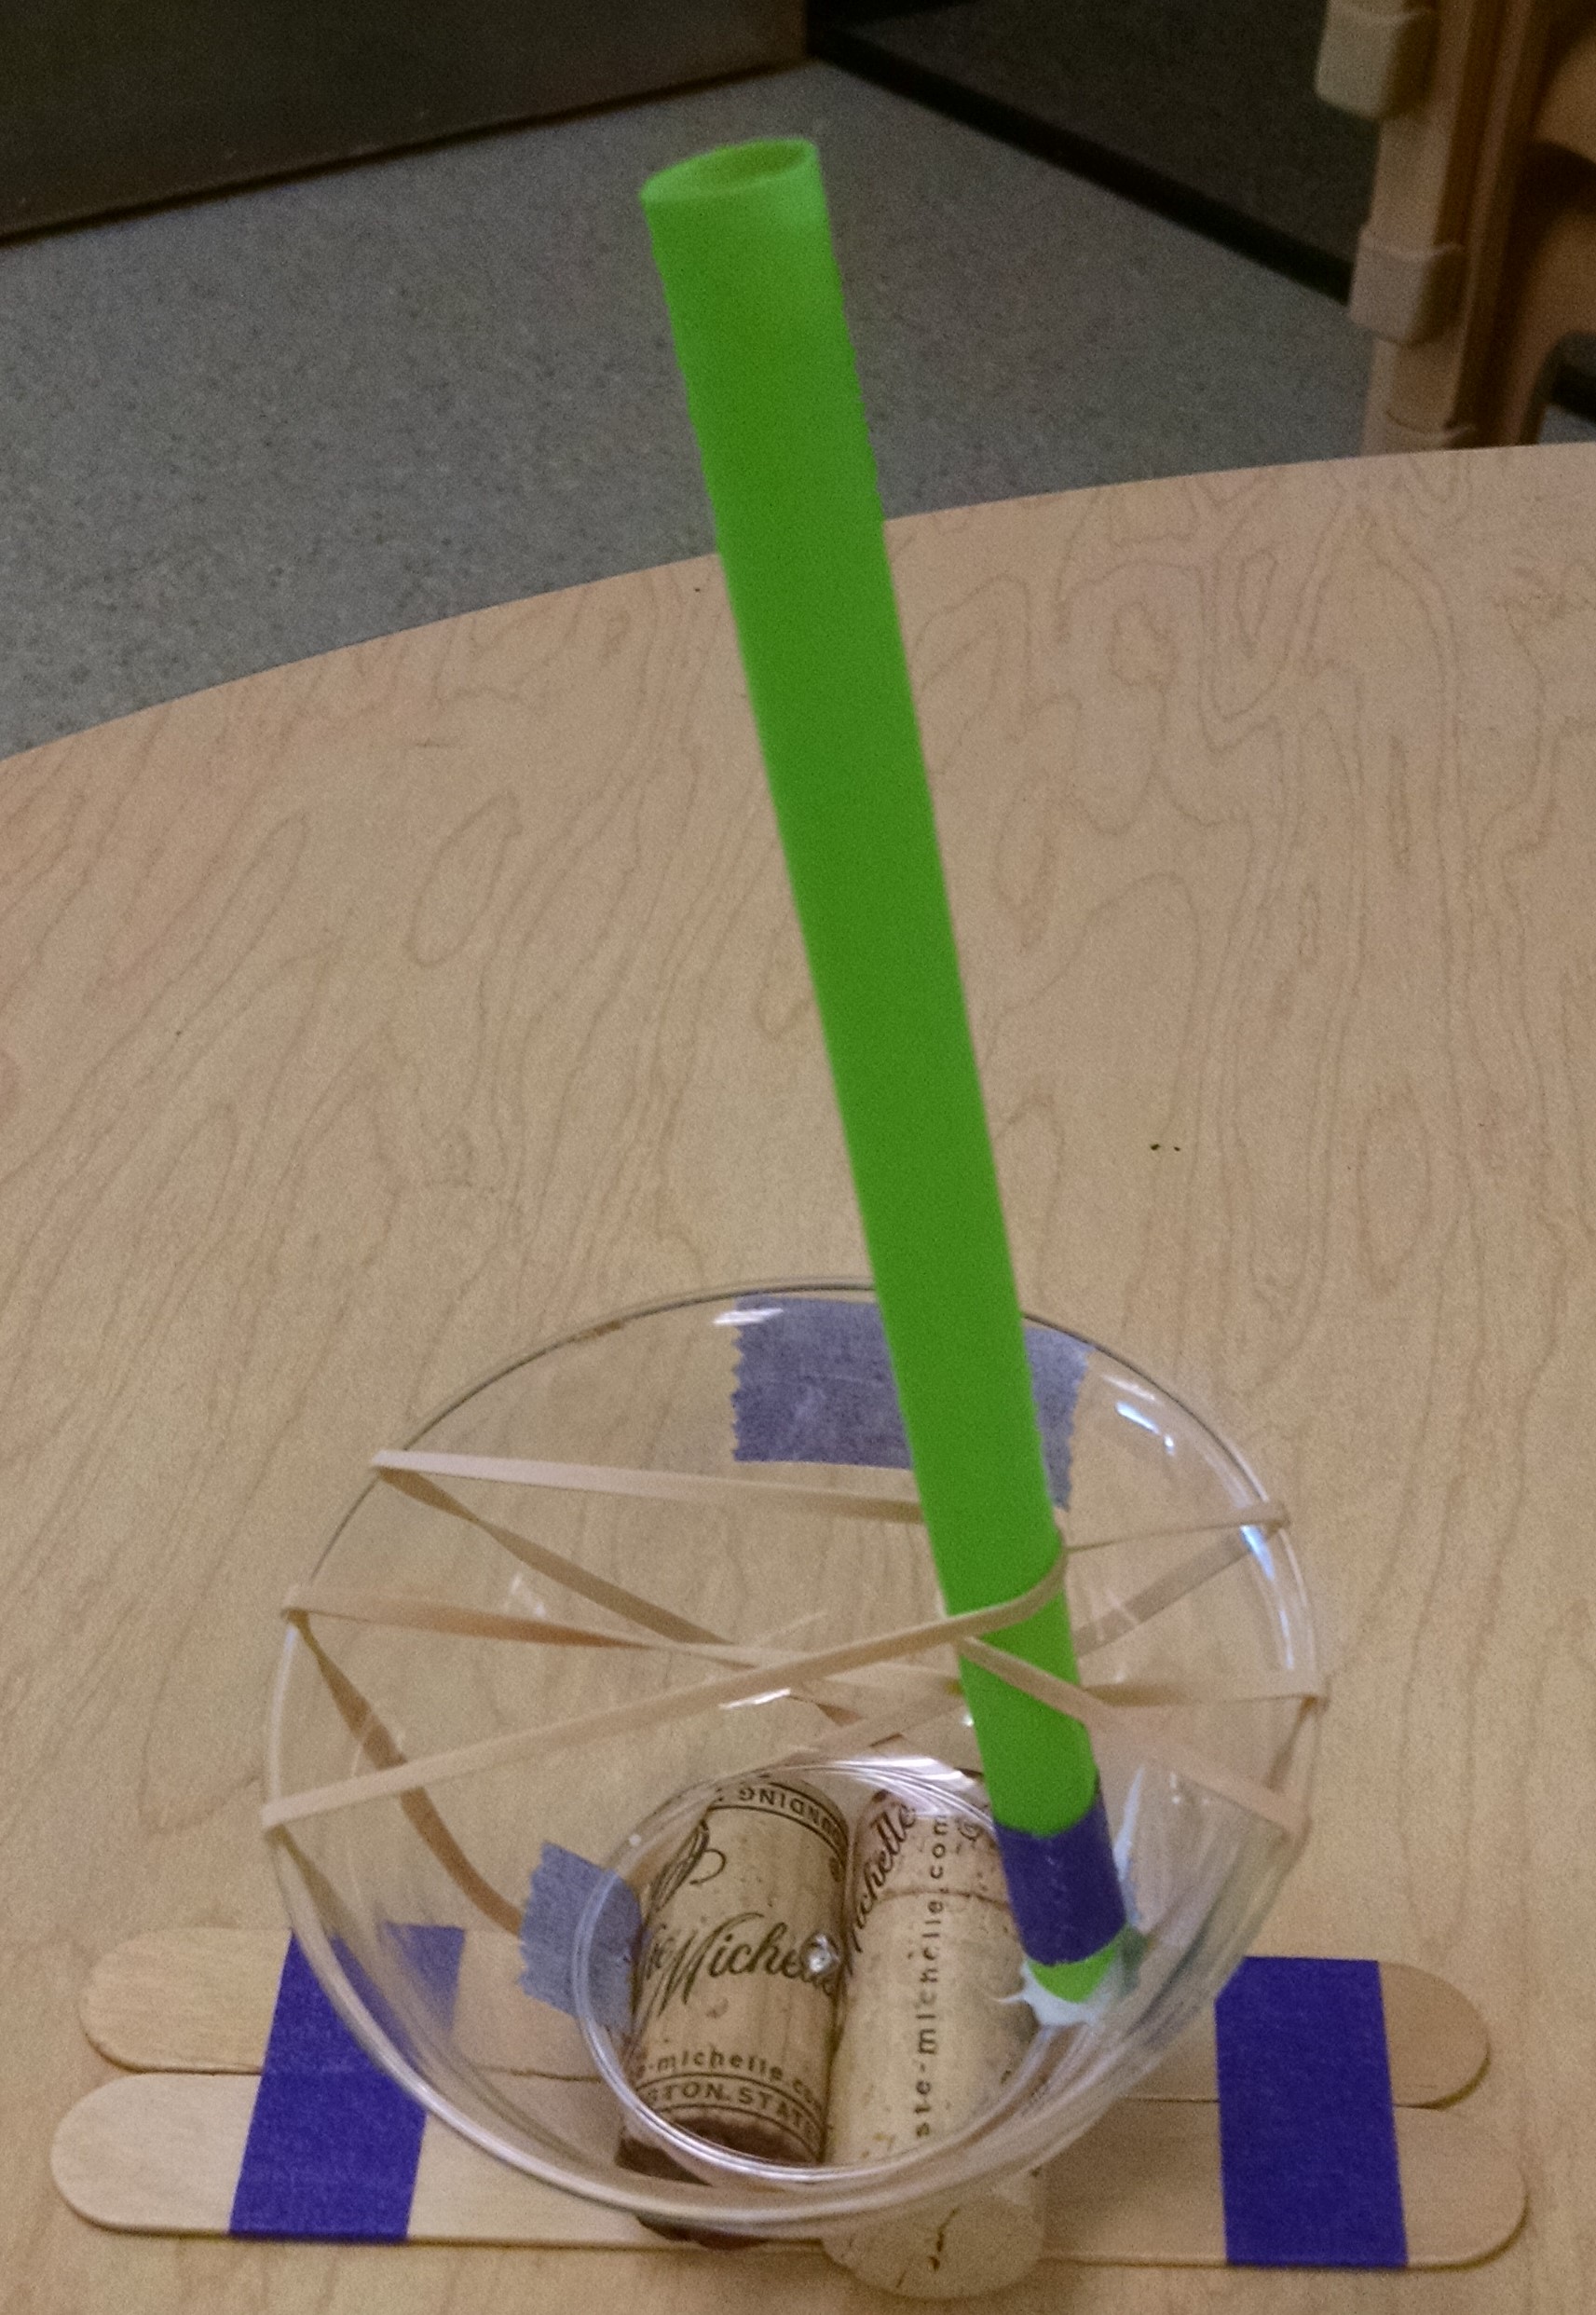
We created a “ship building factory.” We put out various materials, including Popsicle sticks, straws, corks, paper, aluminum foil, clay, rubber bands, water-bottle bottoms, etc. Plus tape and glue. After the kids had explored the key ideas at the stations described above, they were encouraged to create a “something” that will float. We had a water table next to the work table where they could test their creations, then bring them back to the table to tinker with, then return to the water for another test. Here’s pictures of some “boats” in progress. Click on any photo for a larger image.


Art Activities and Take Home Projects
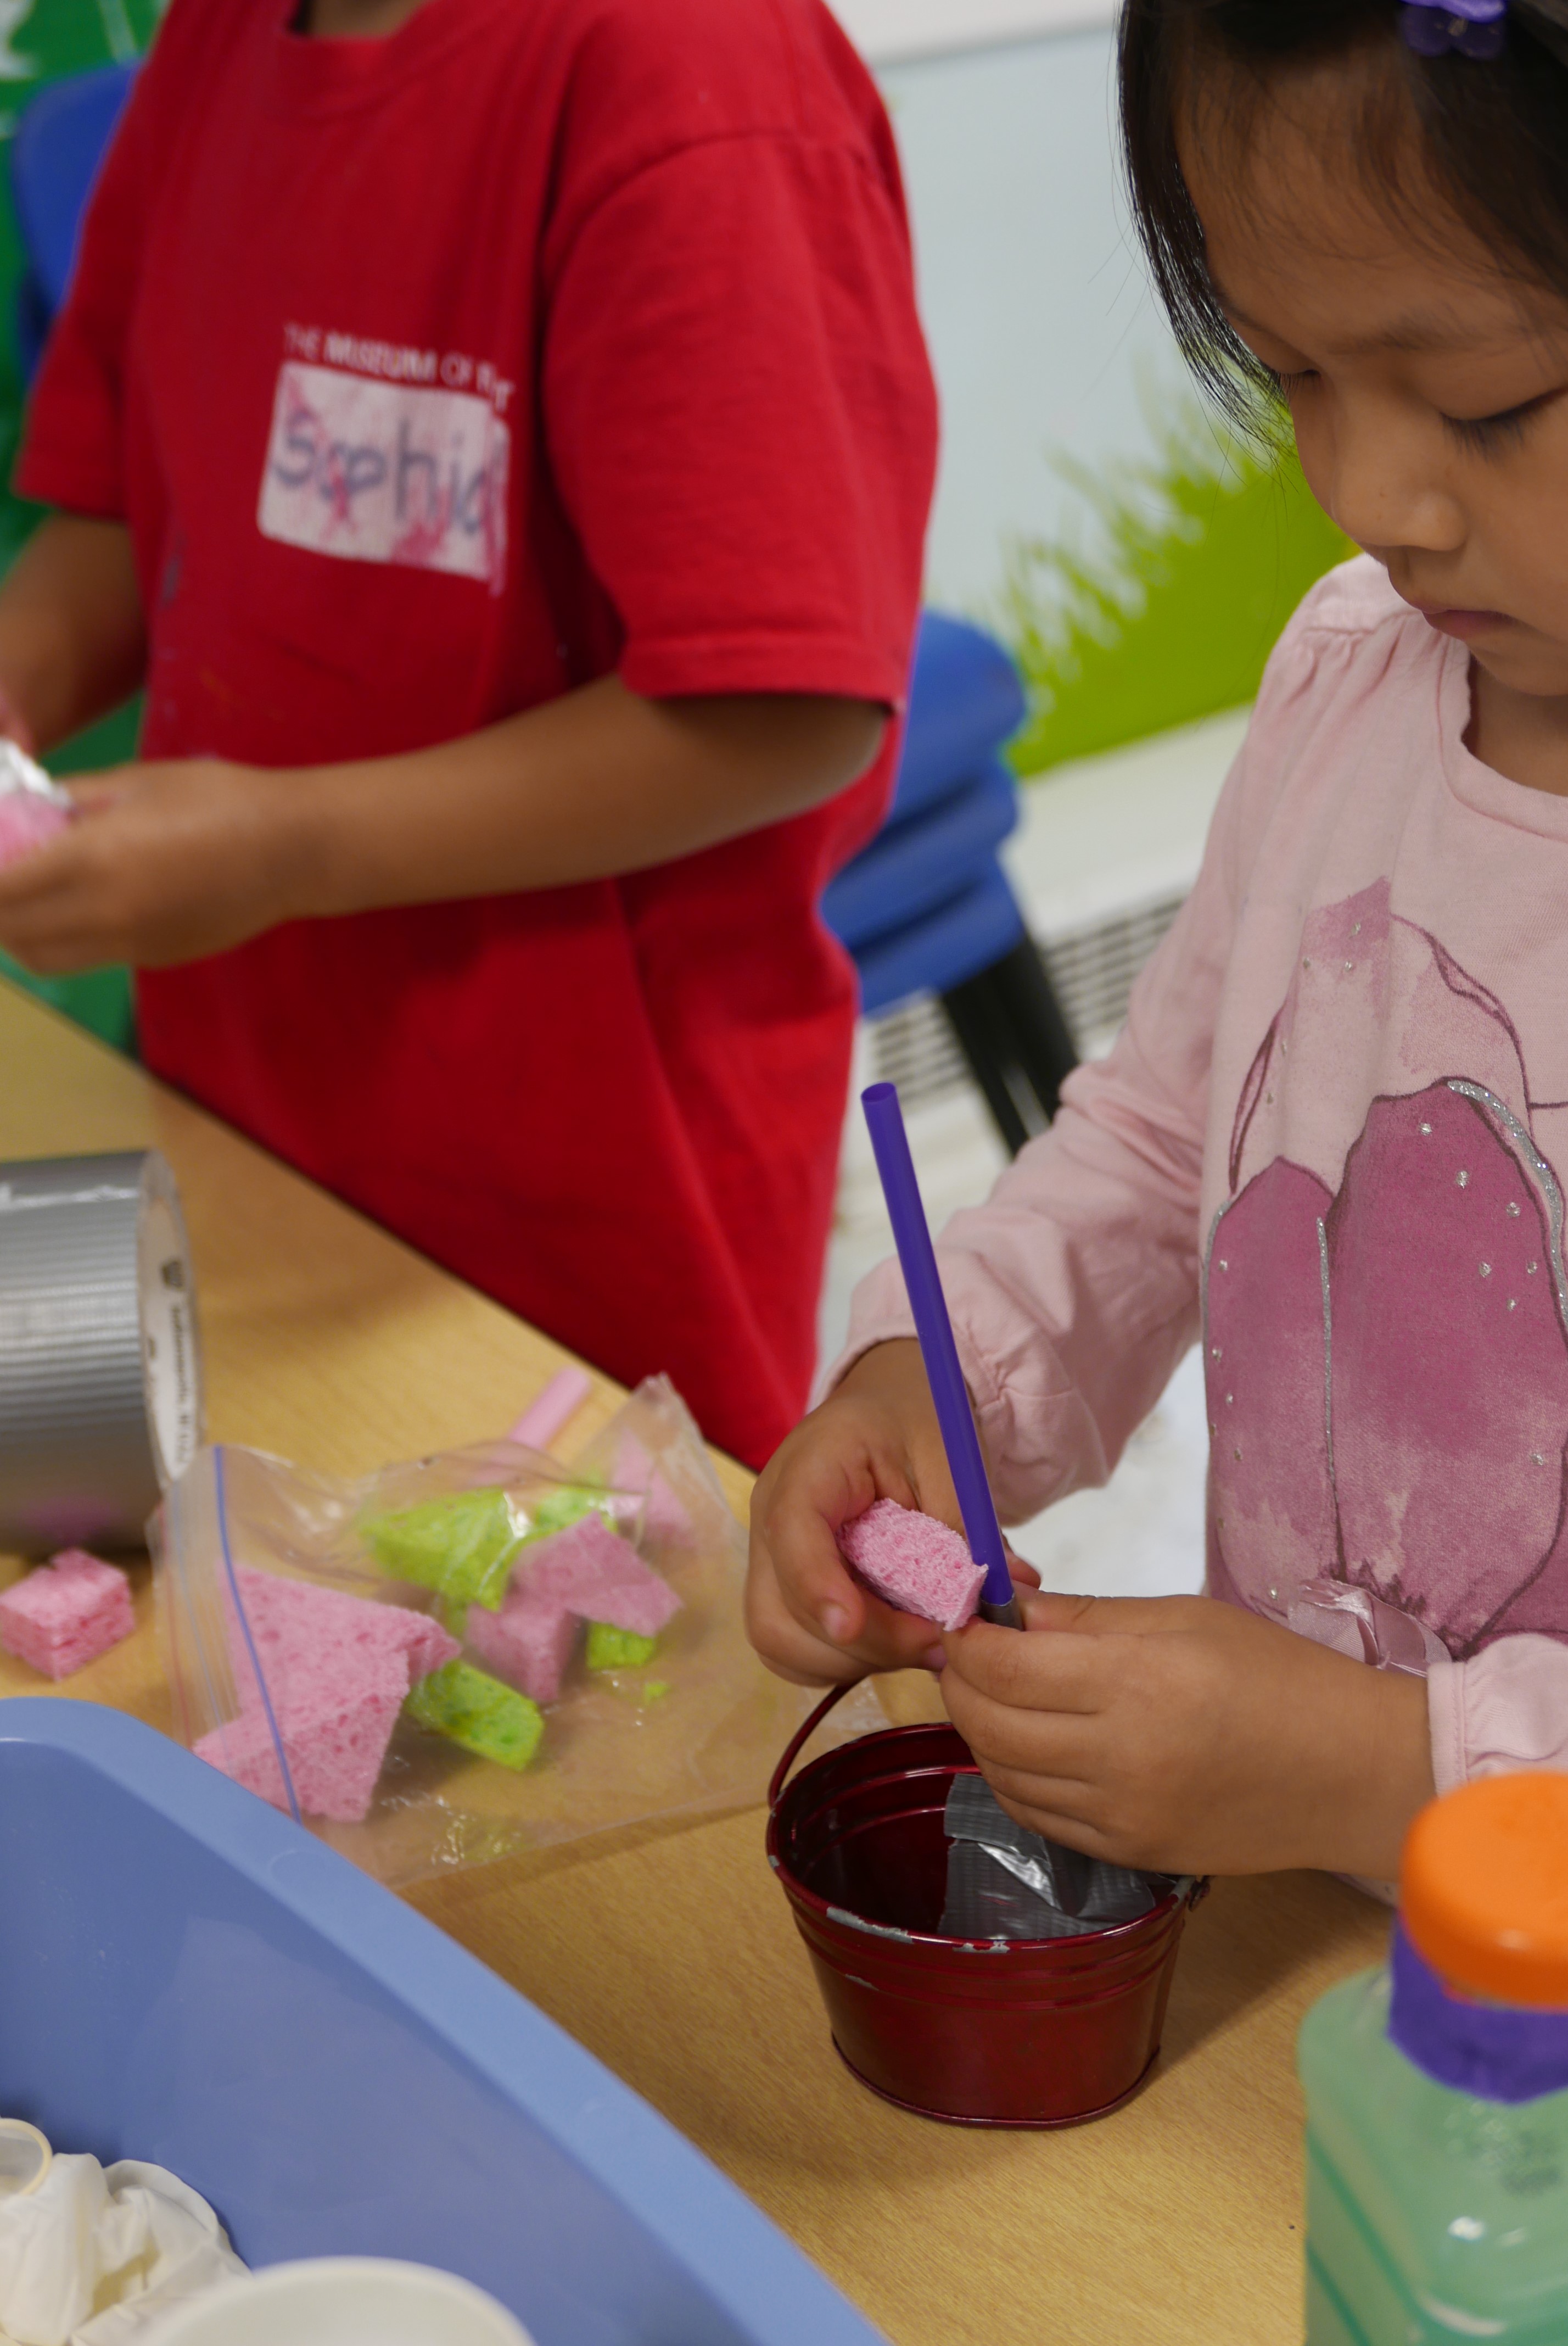
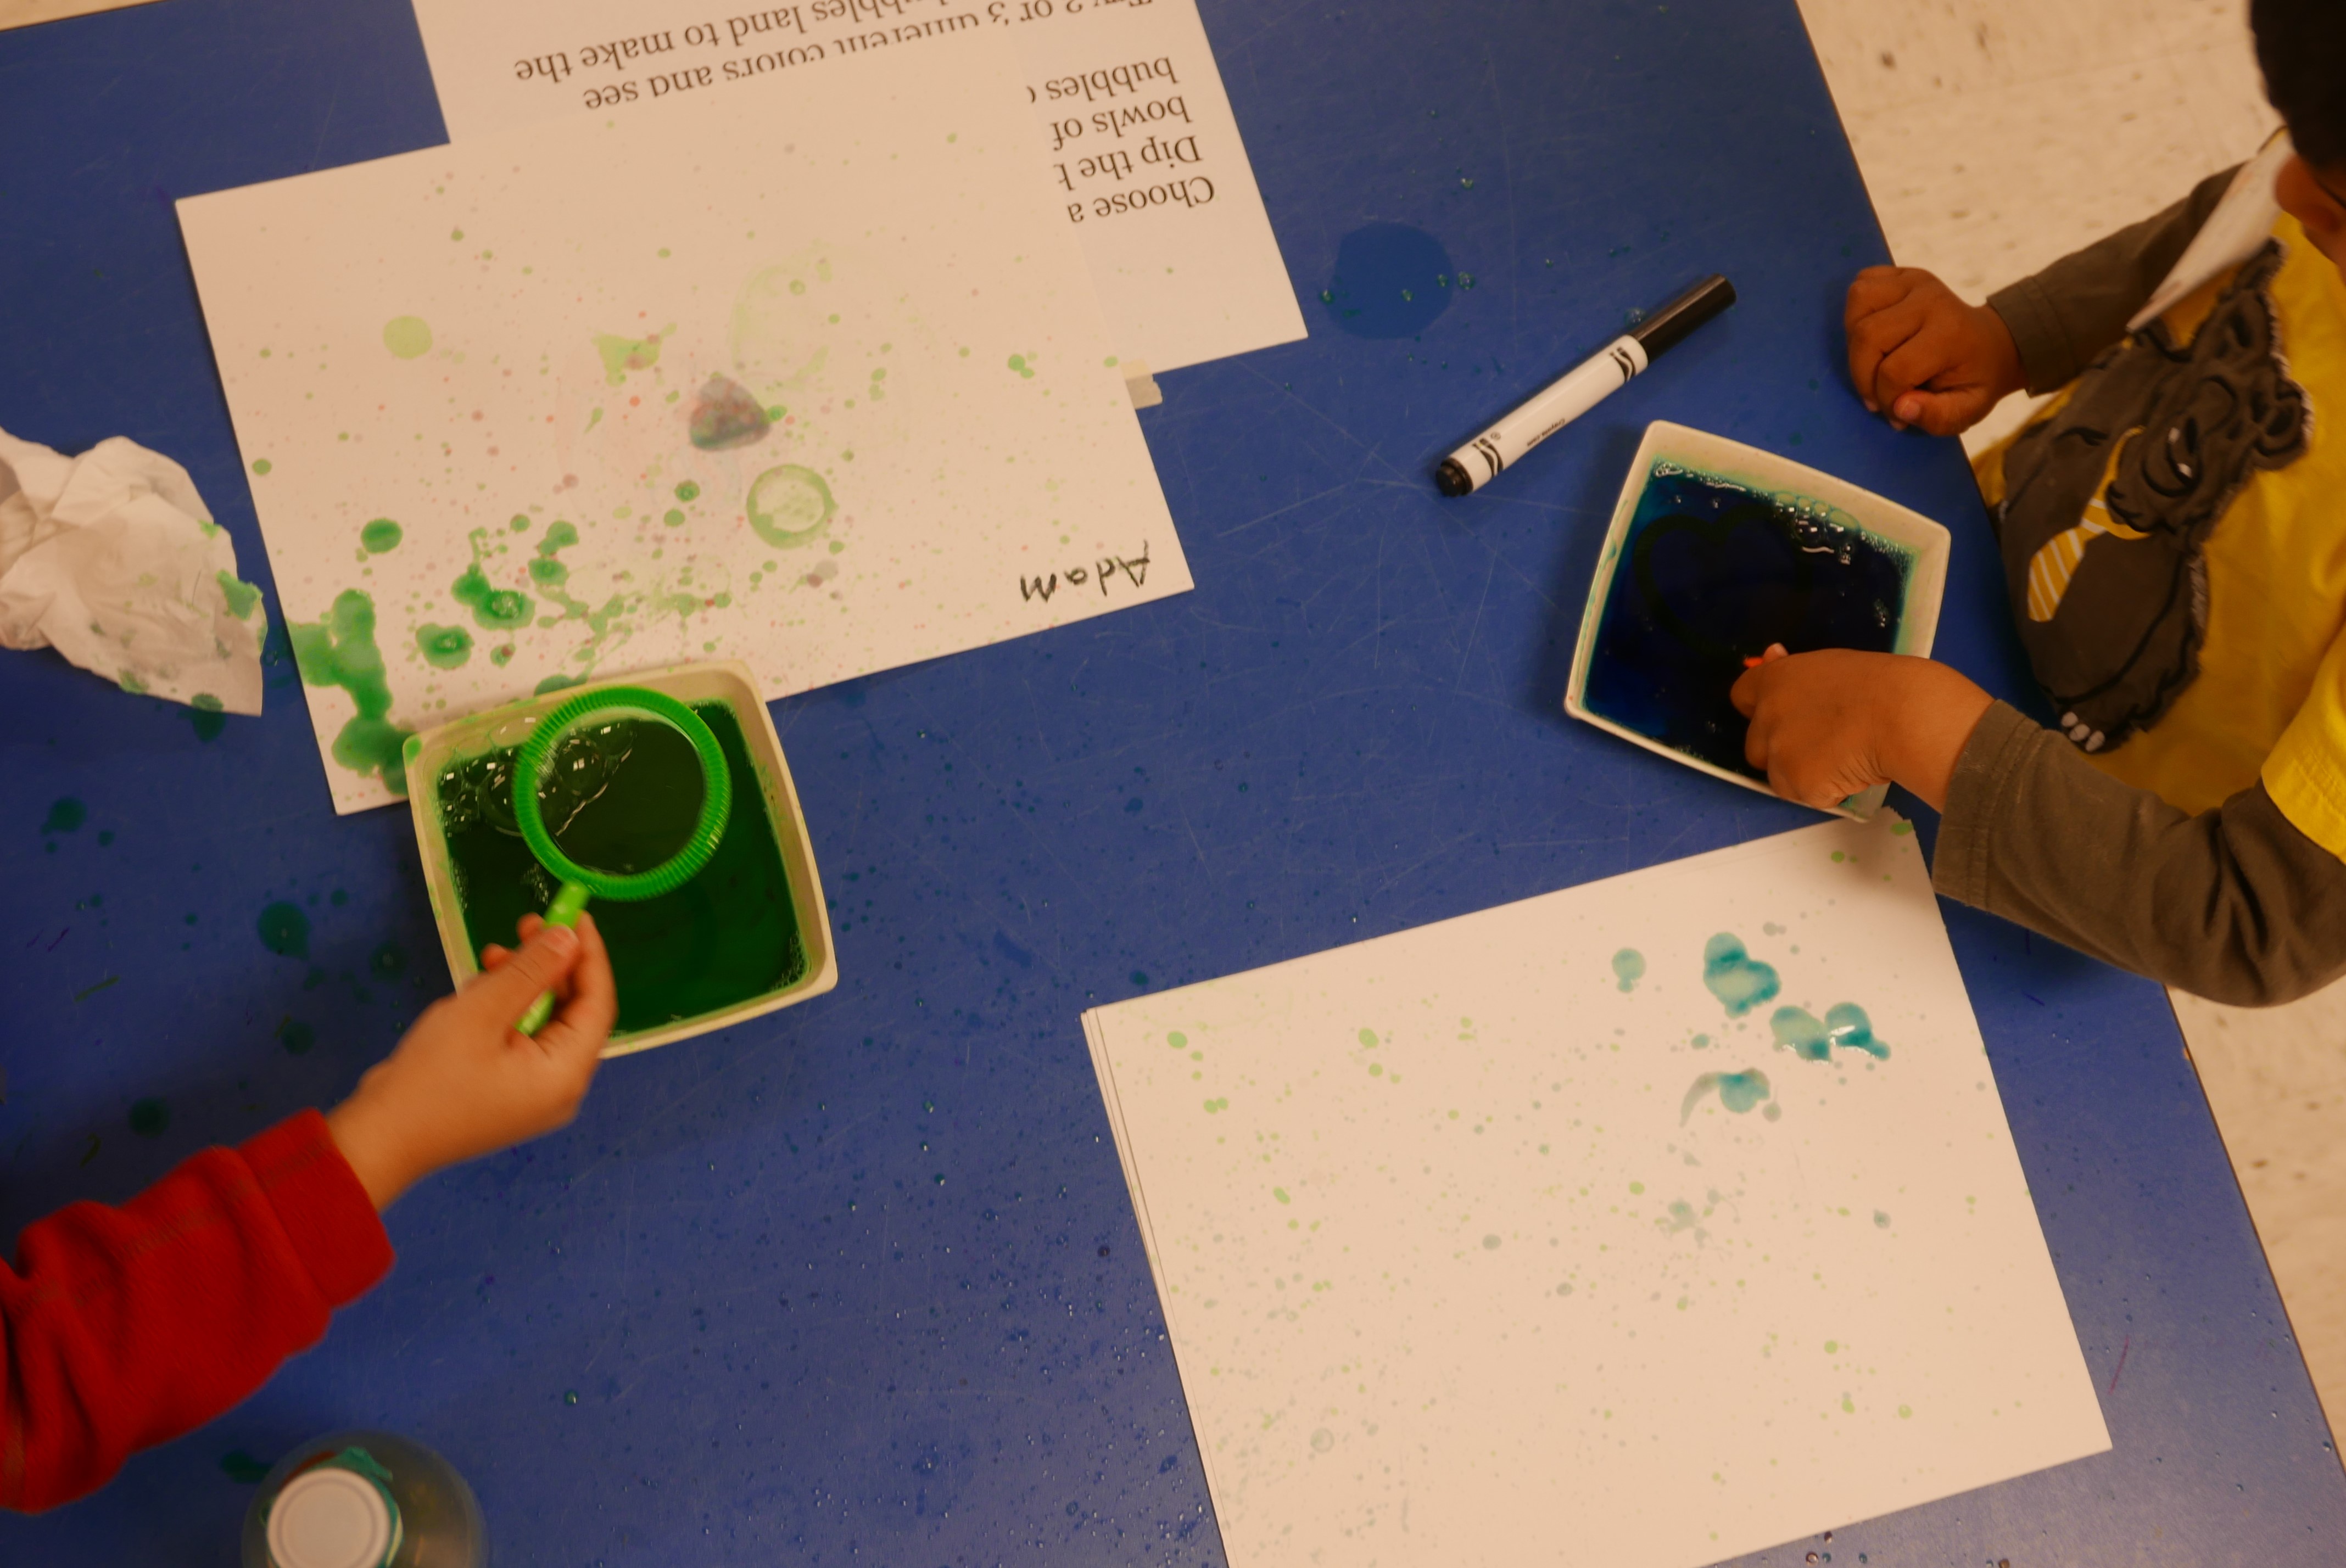
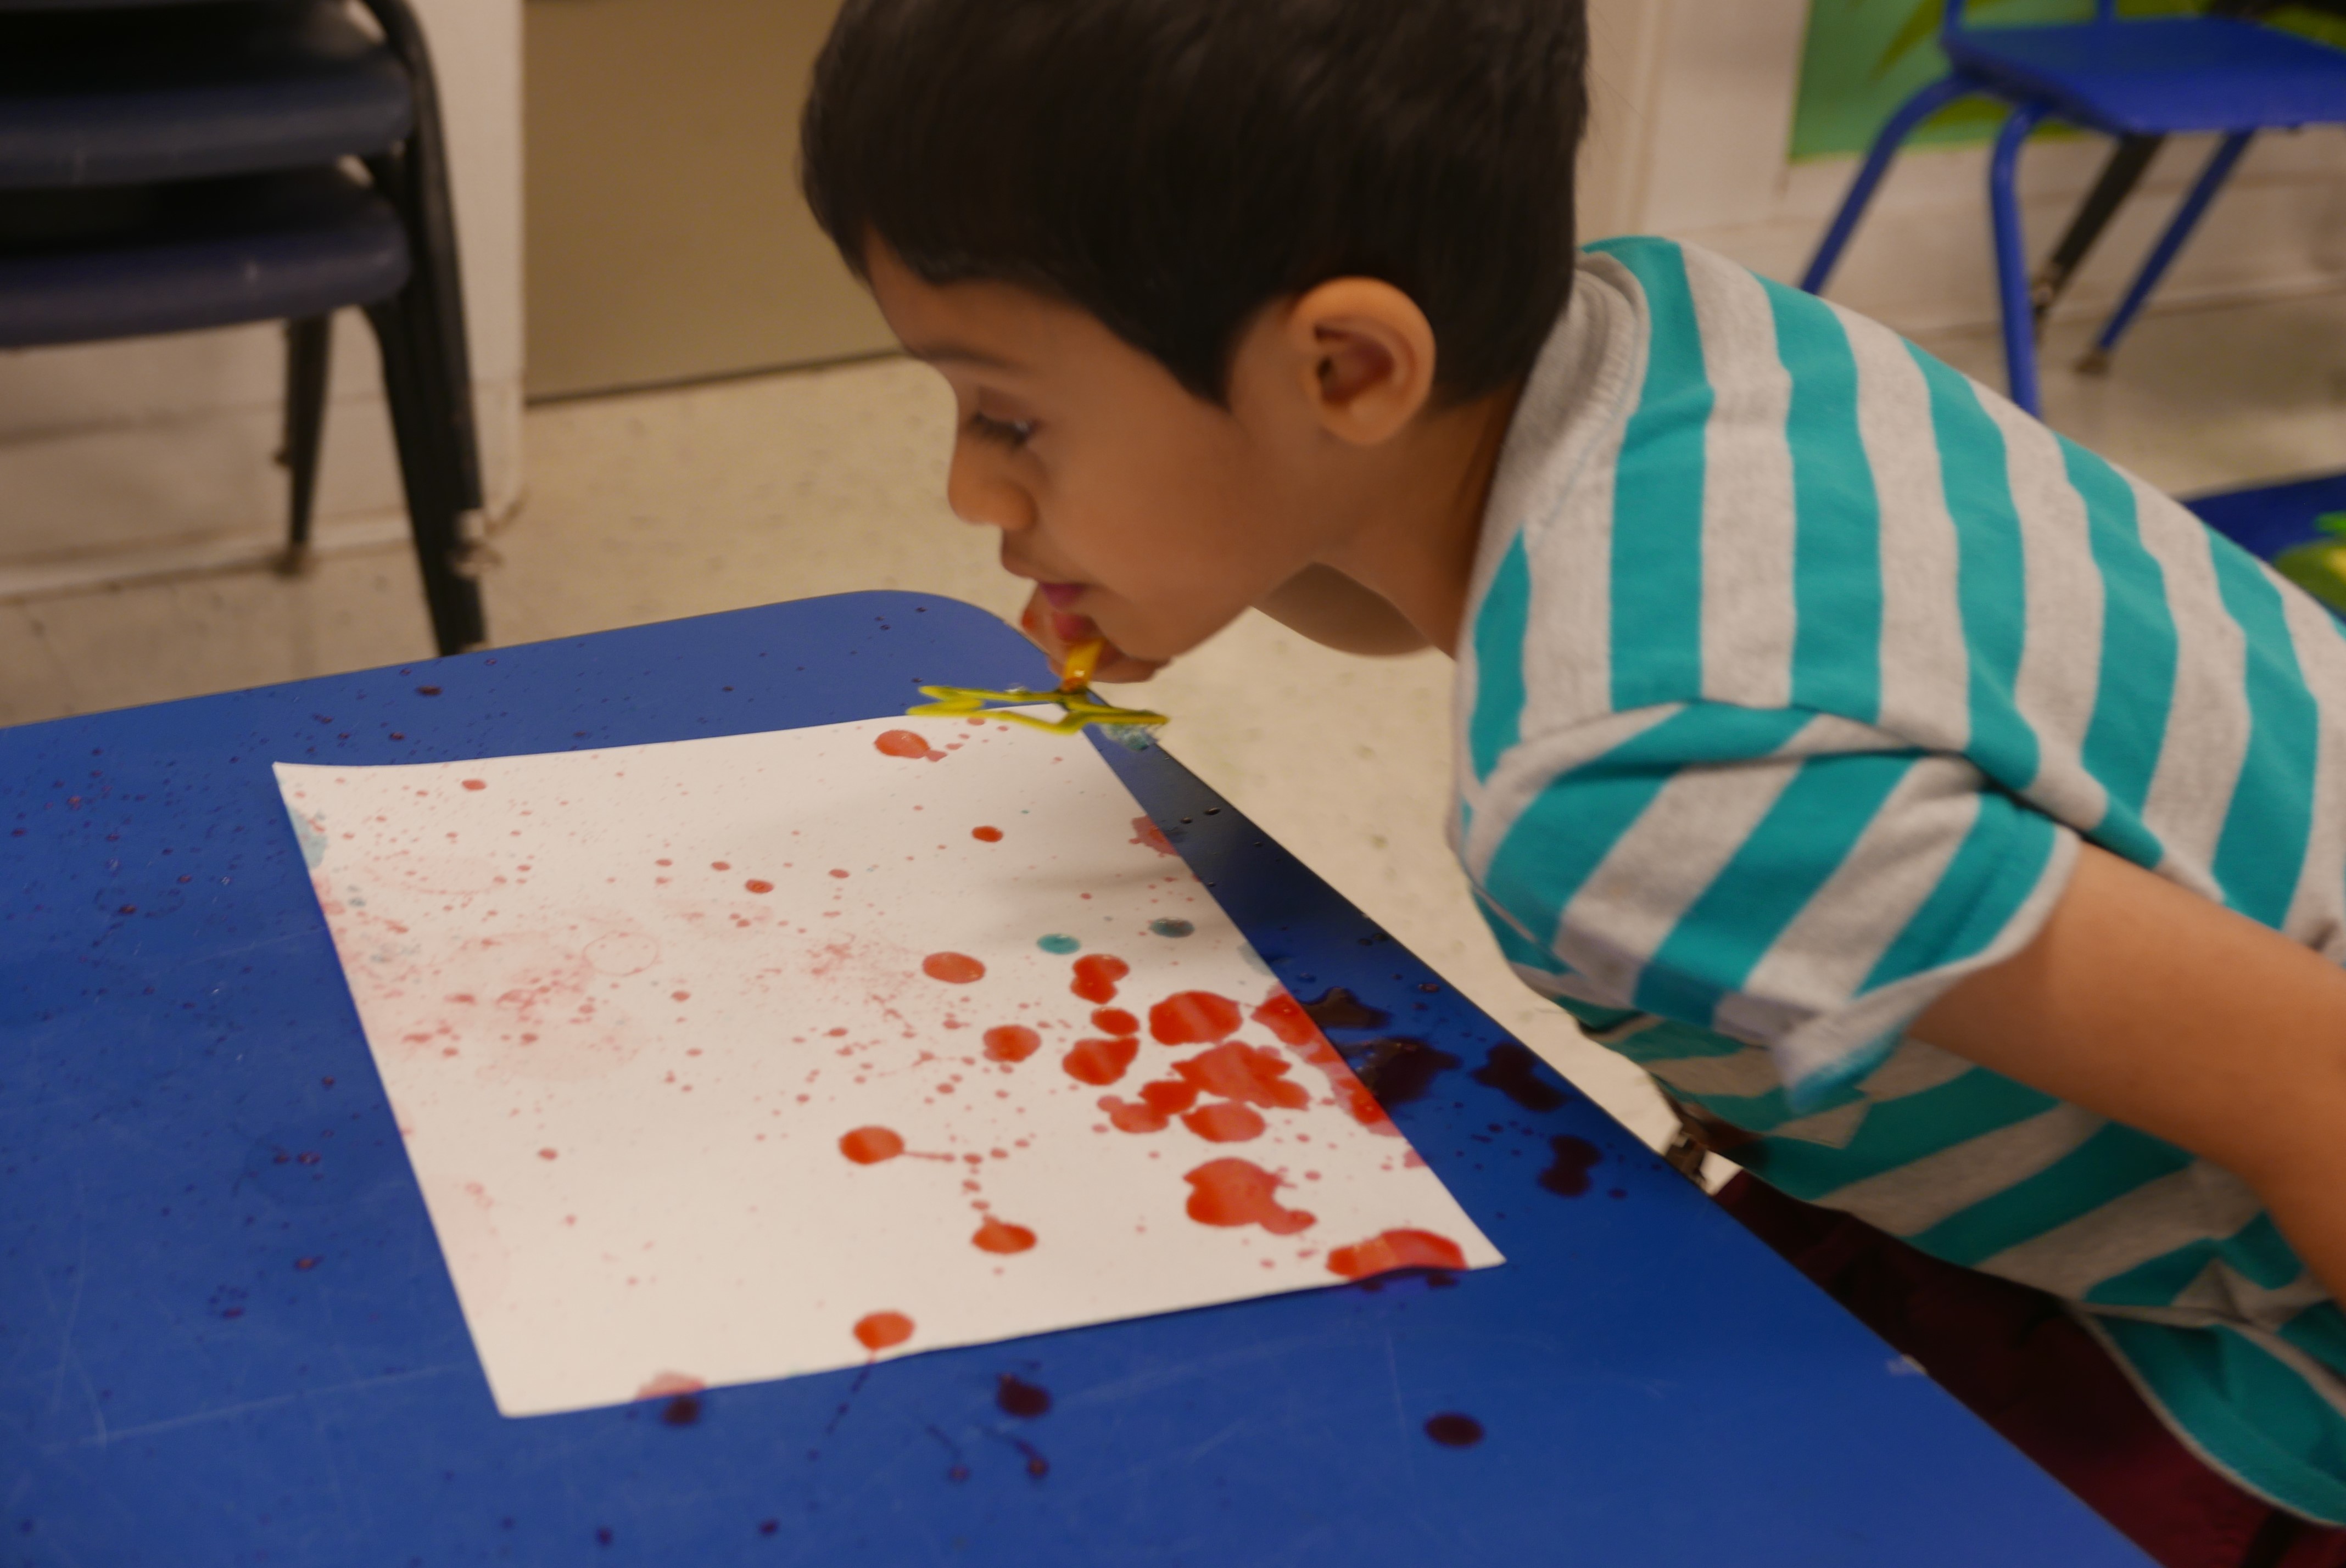
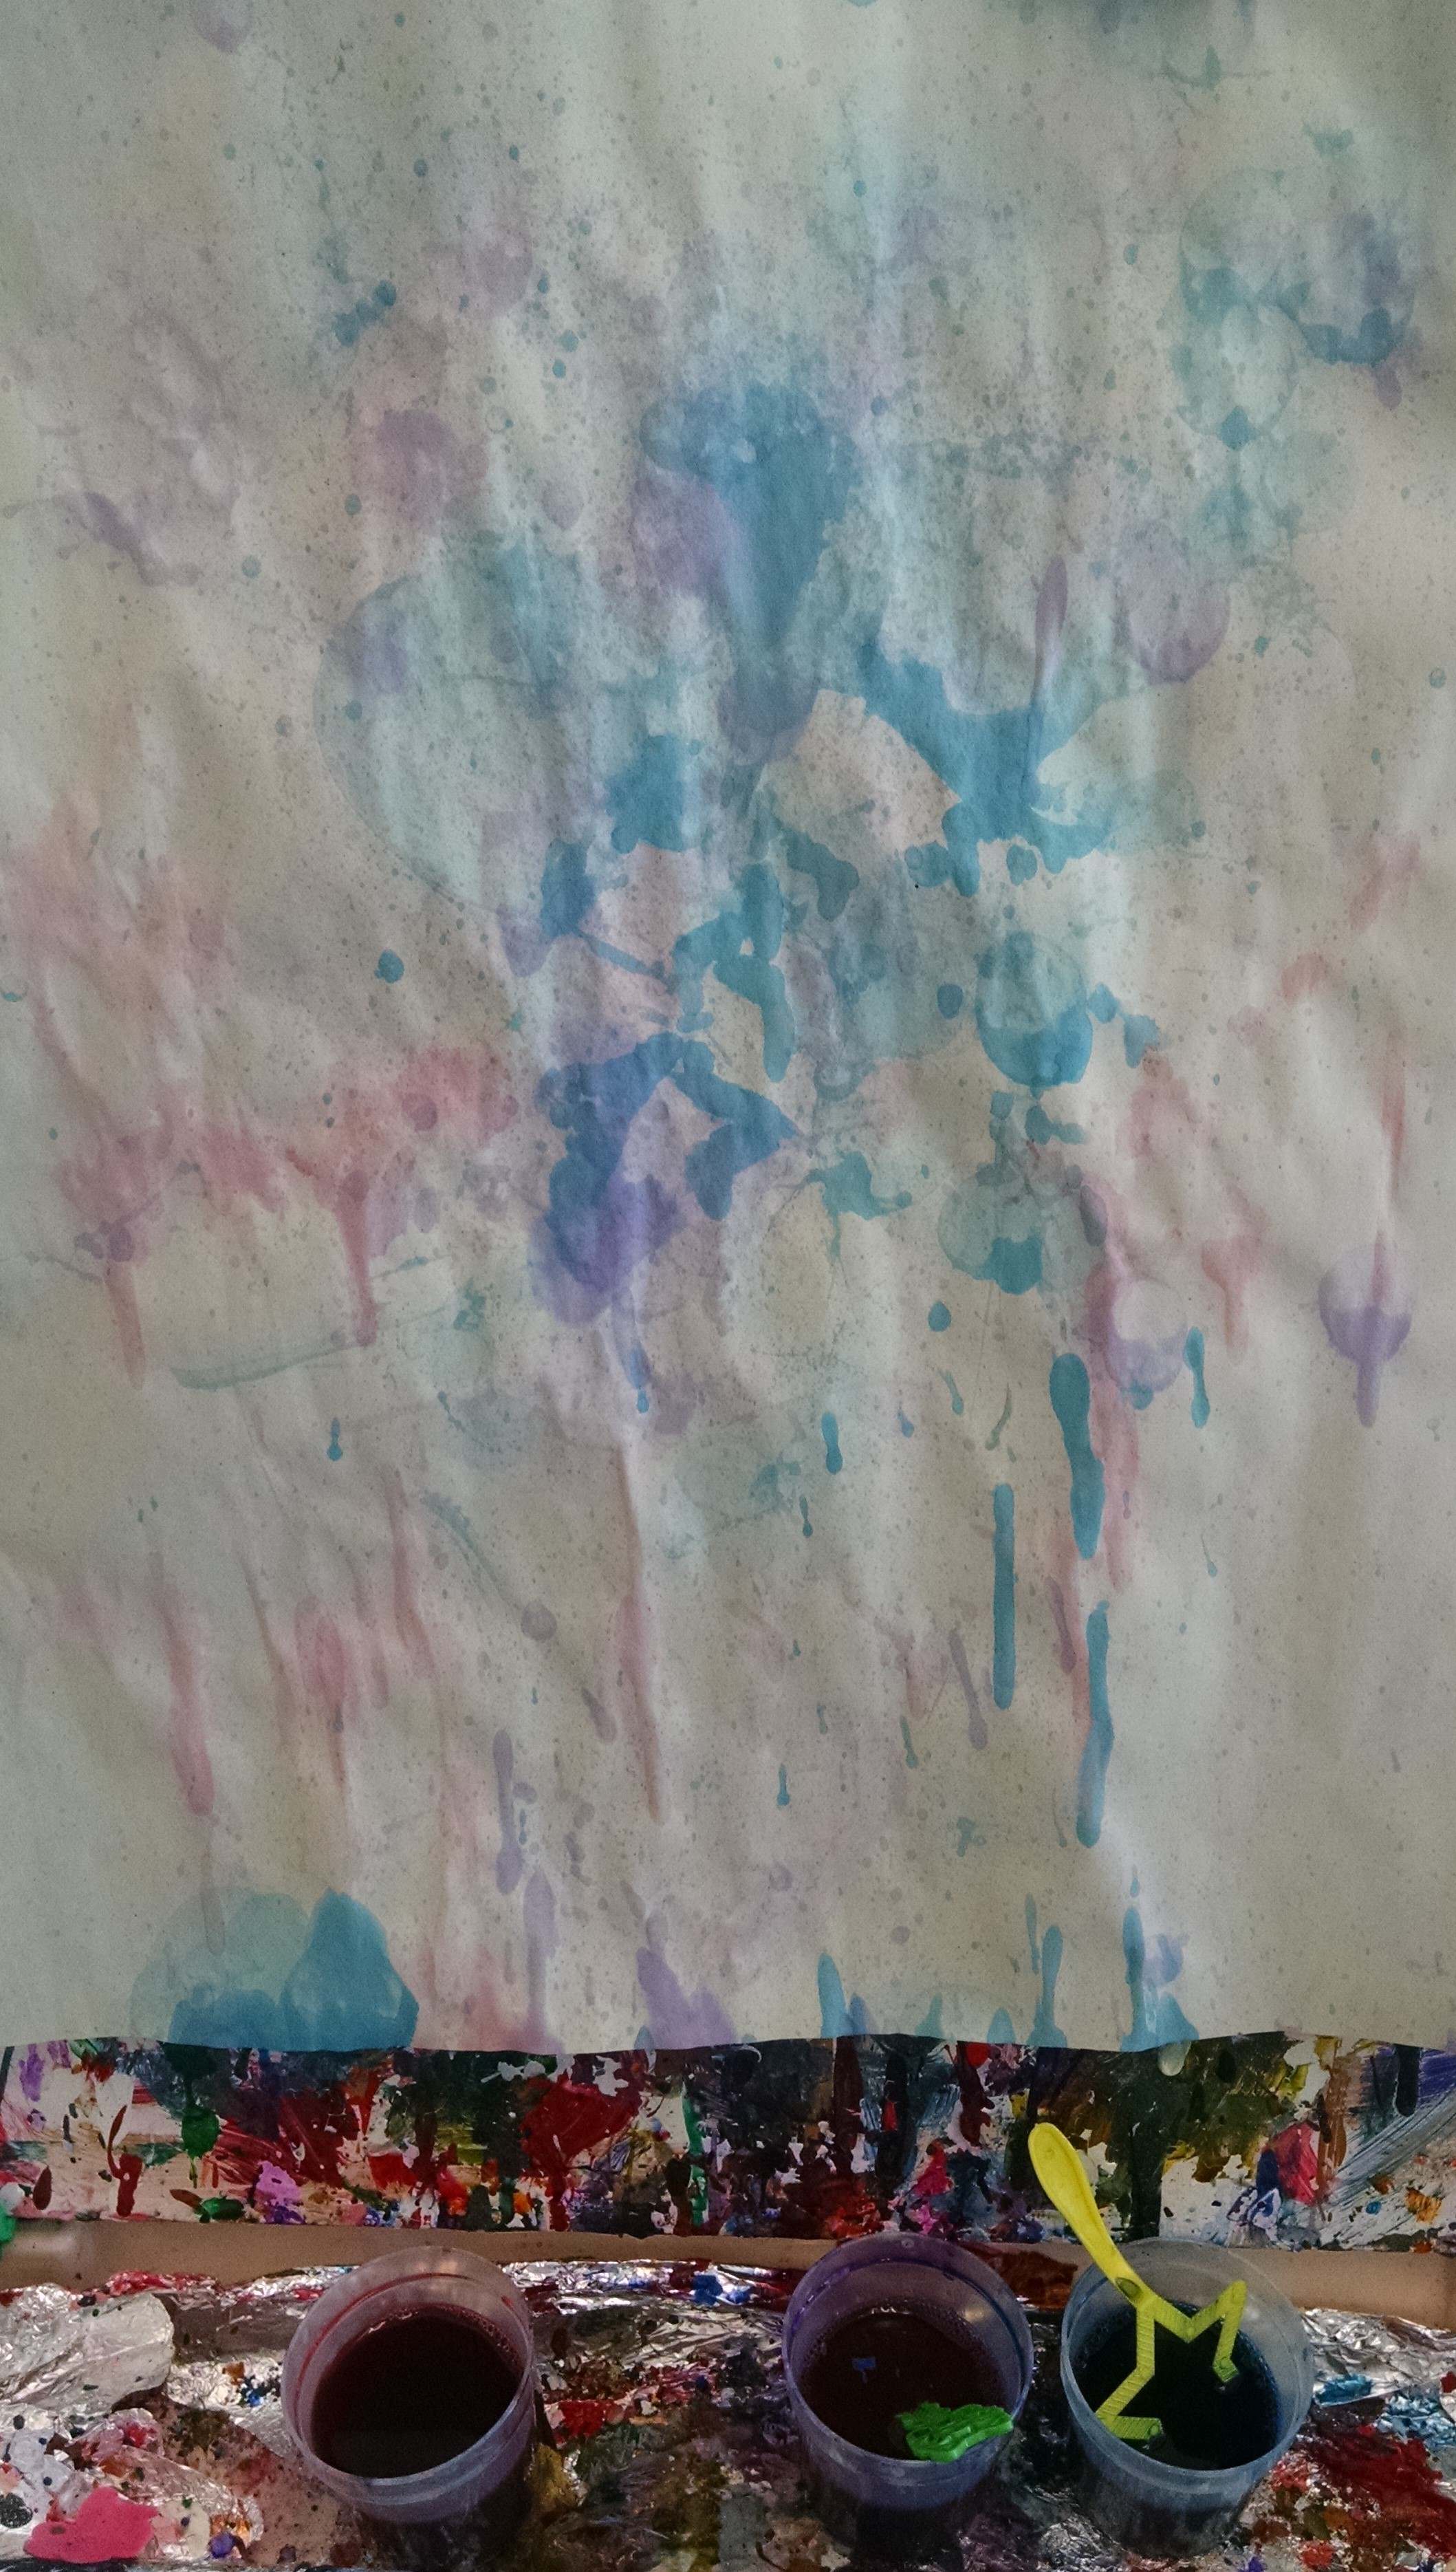
Bubble Blowing Art. Make your own bubble solution, using colored water. Kids blew bubbles at the paper, and as the bubbles popped, they made splashes of color. Our youngest children (3 and 4) are still learning to blow bubbles, so this was good small motor learning for them. We’ve tried it with the paper laying horizontally on a table, and vertically on the easel, and prefer the easel.
You can try just mixing food color or liquid watercolor into commercial bubble solution, but we’ve found it dilutes the solution too much so it doesn’t make good bubbles.
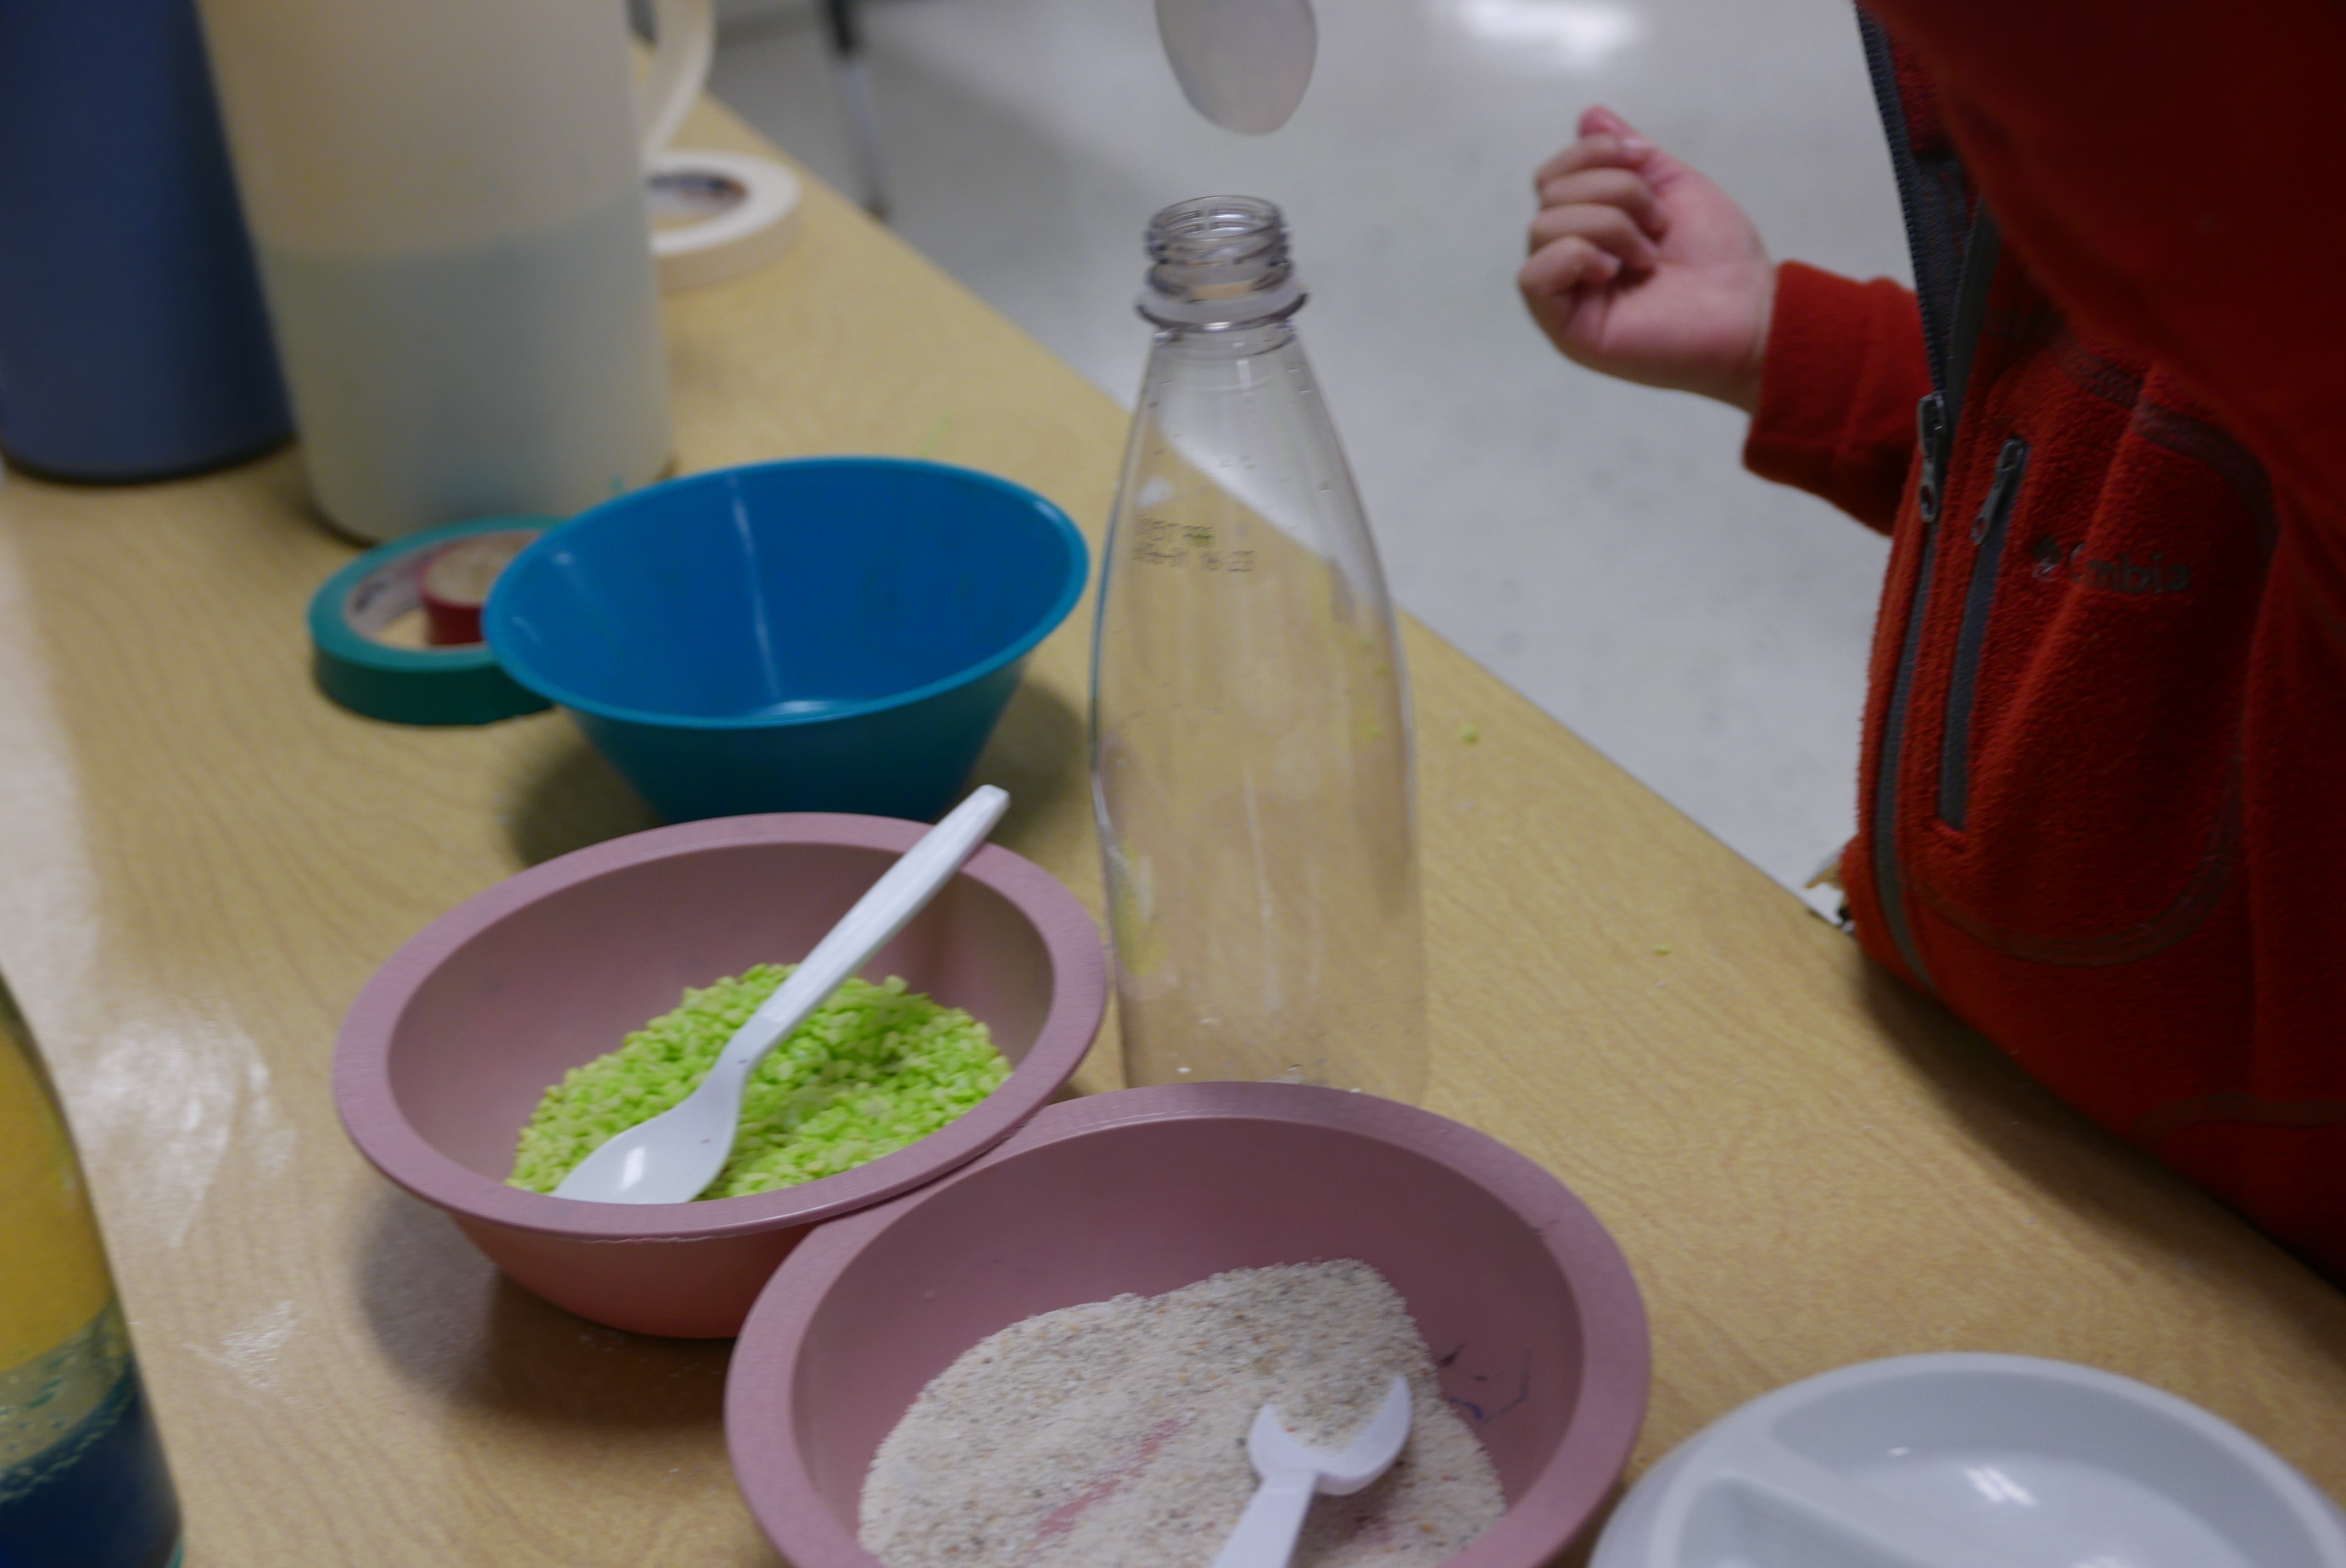
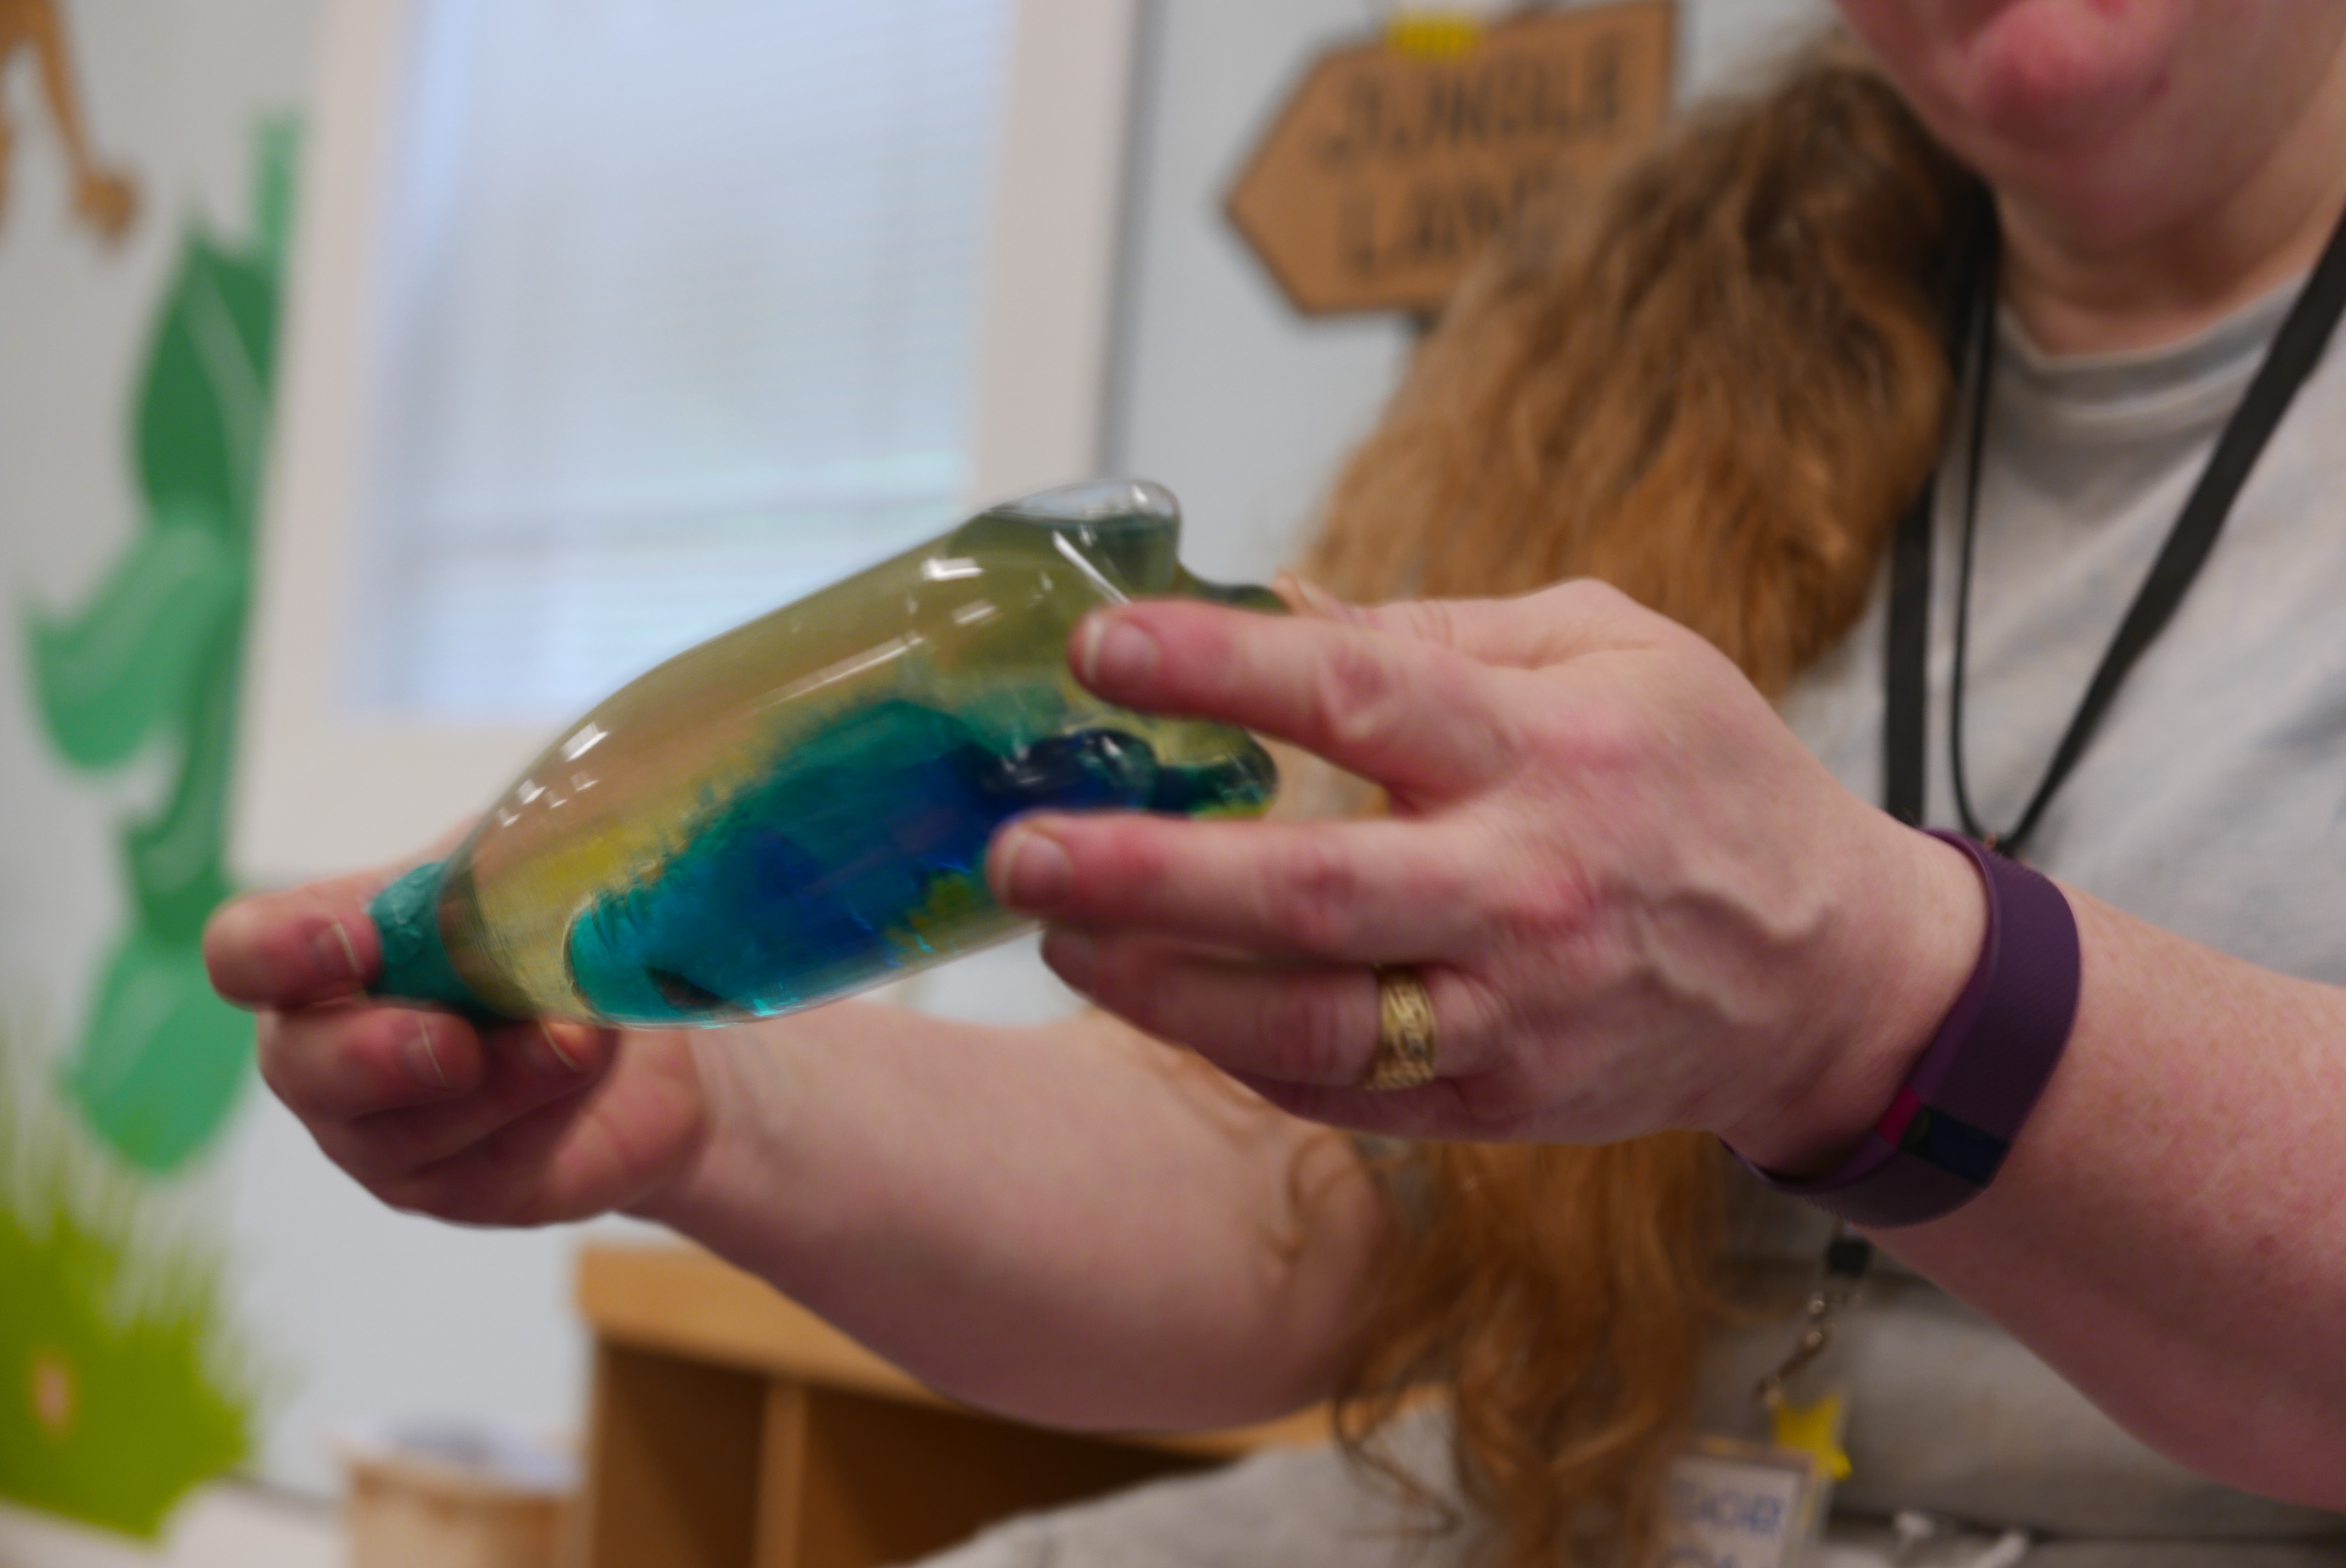
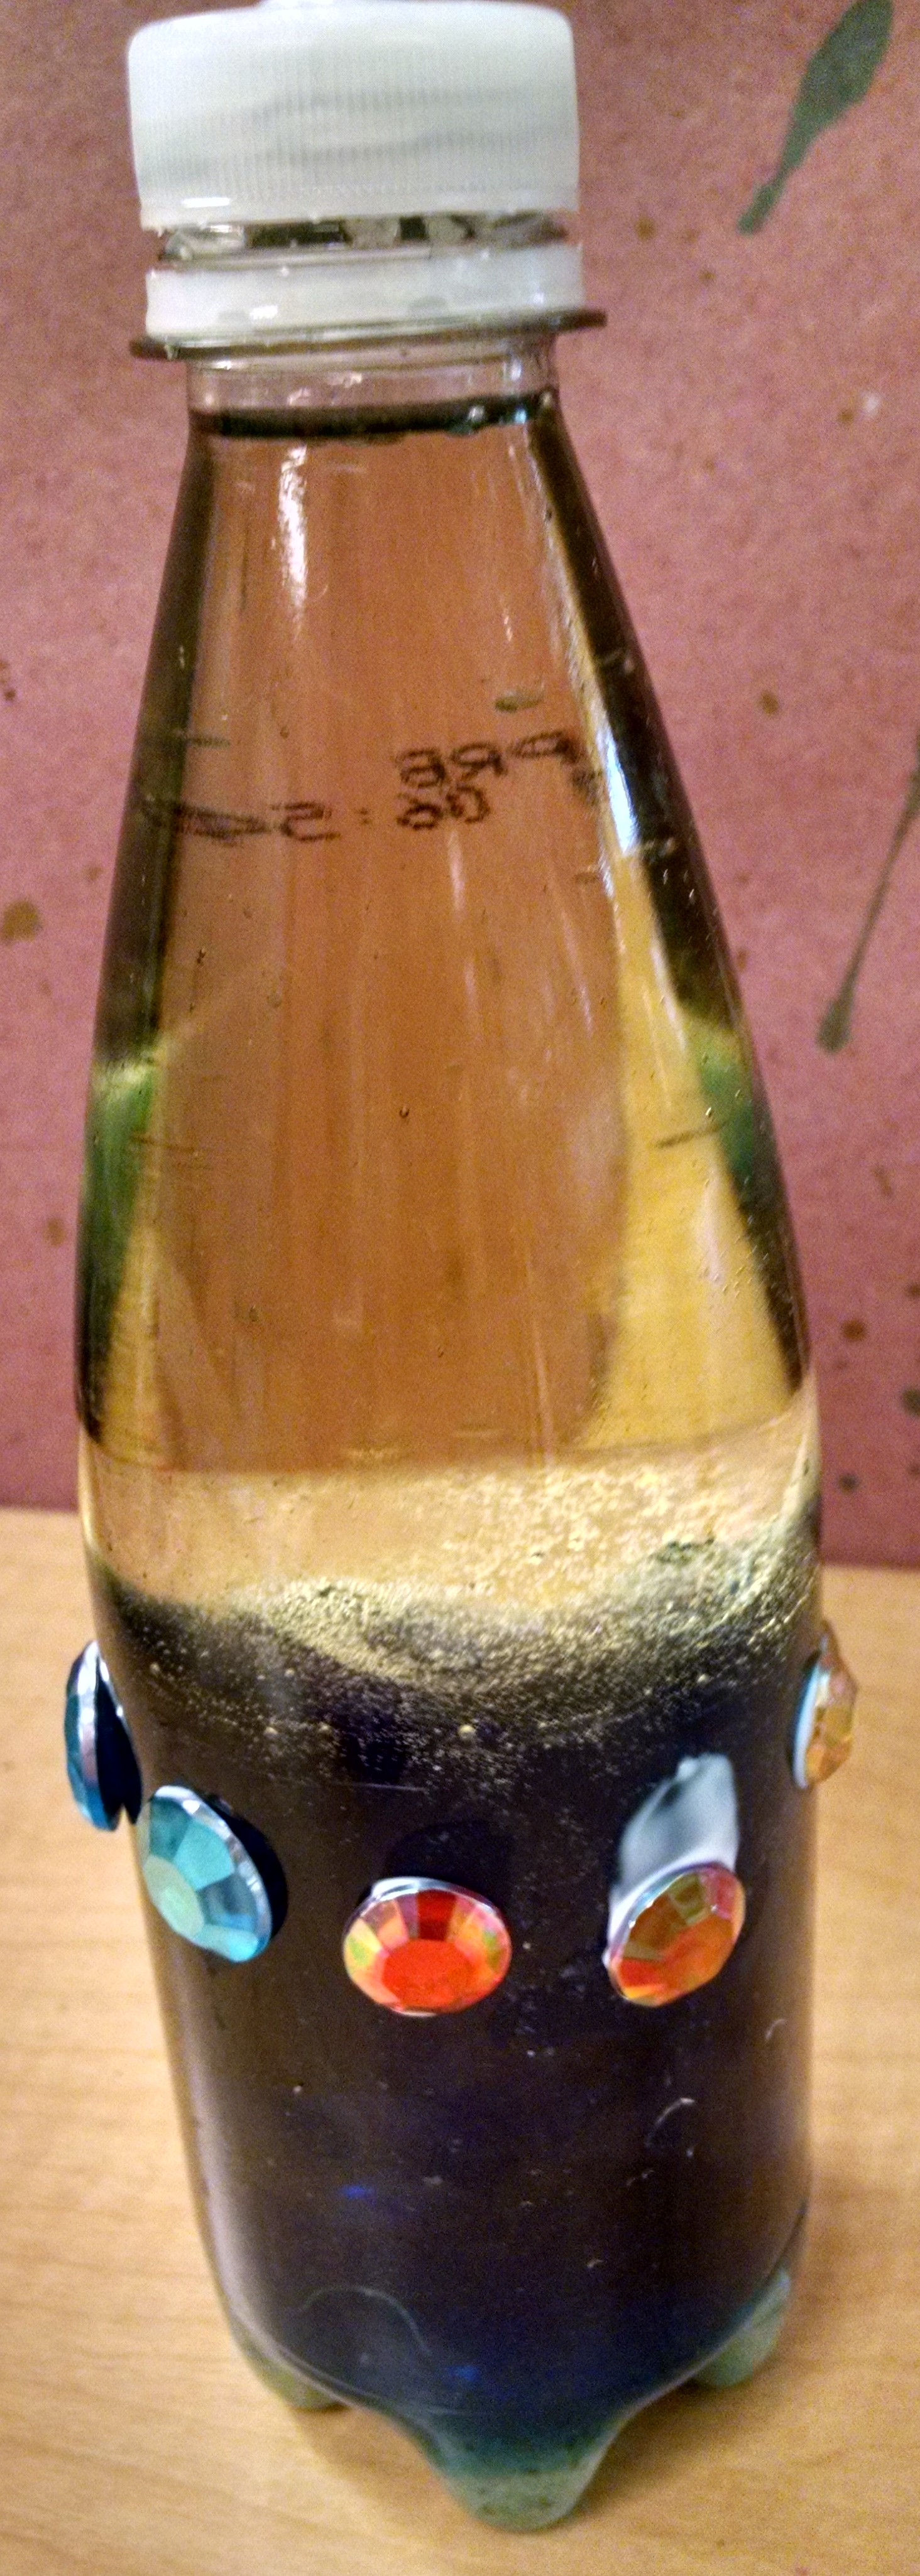
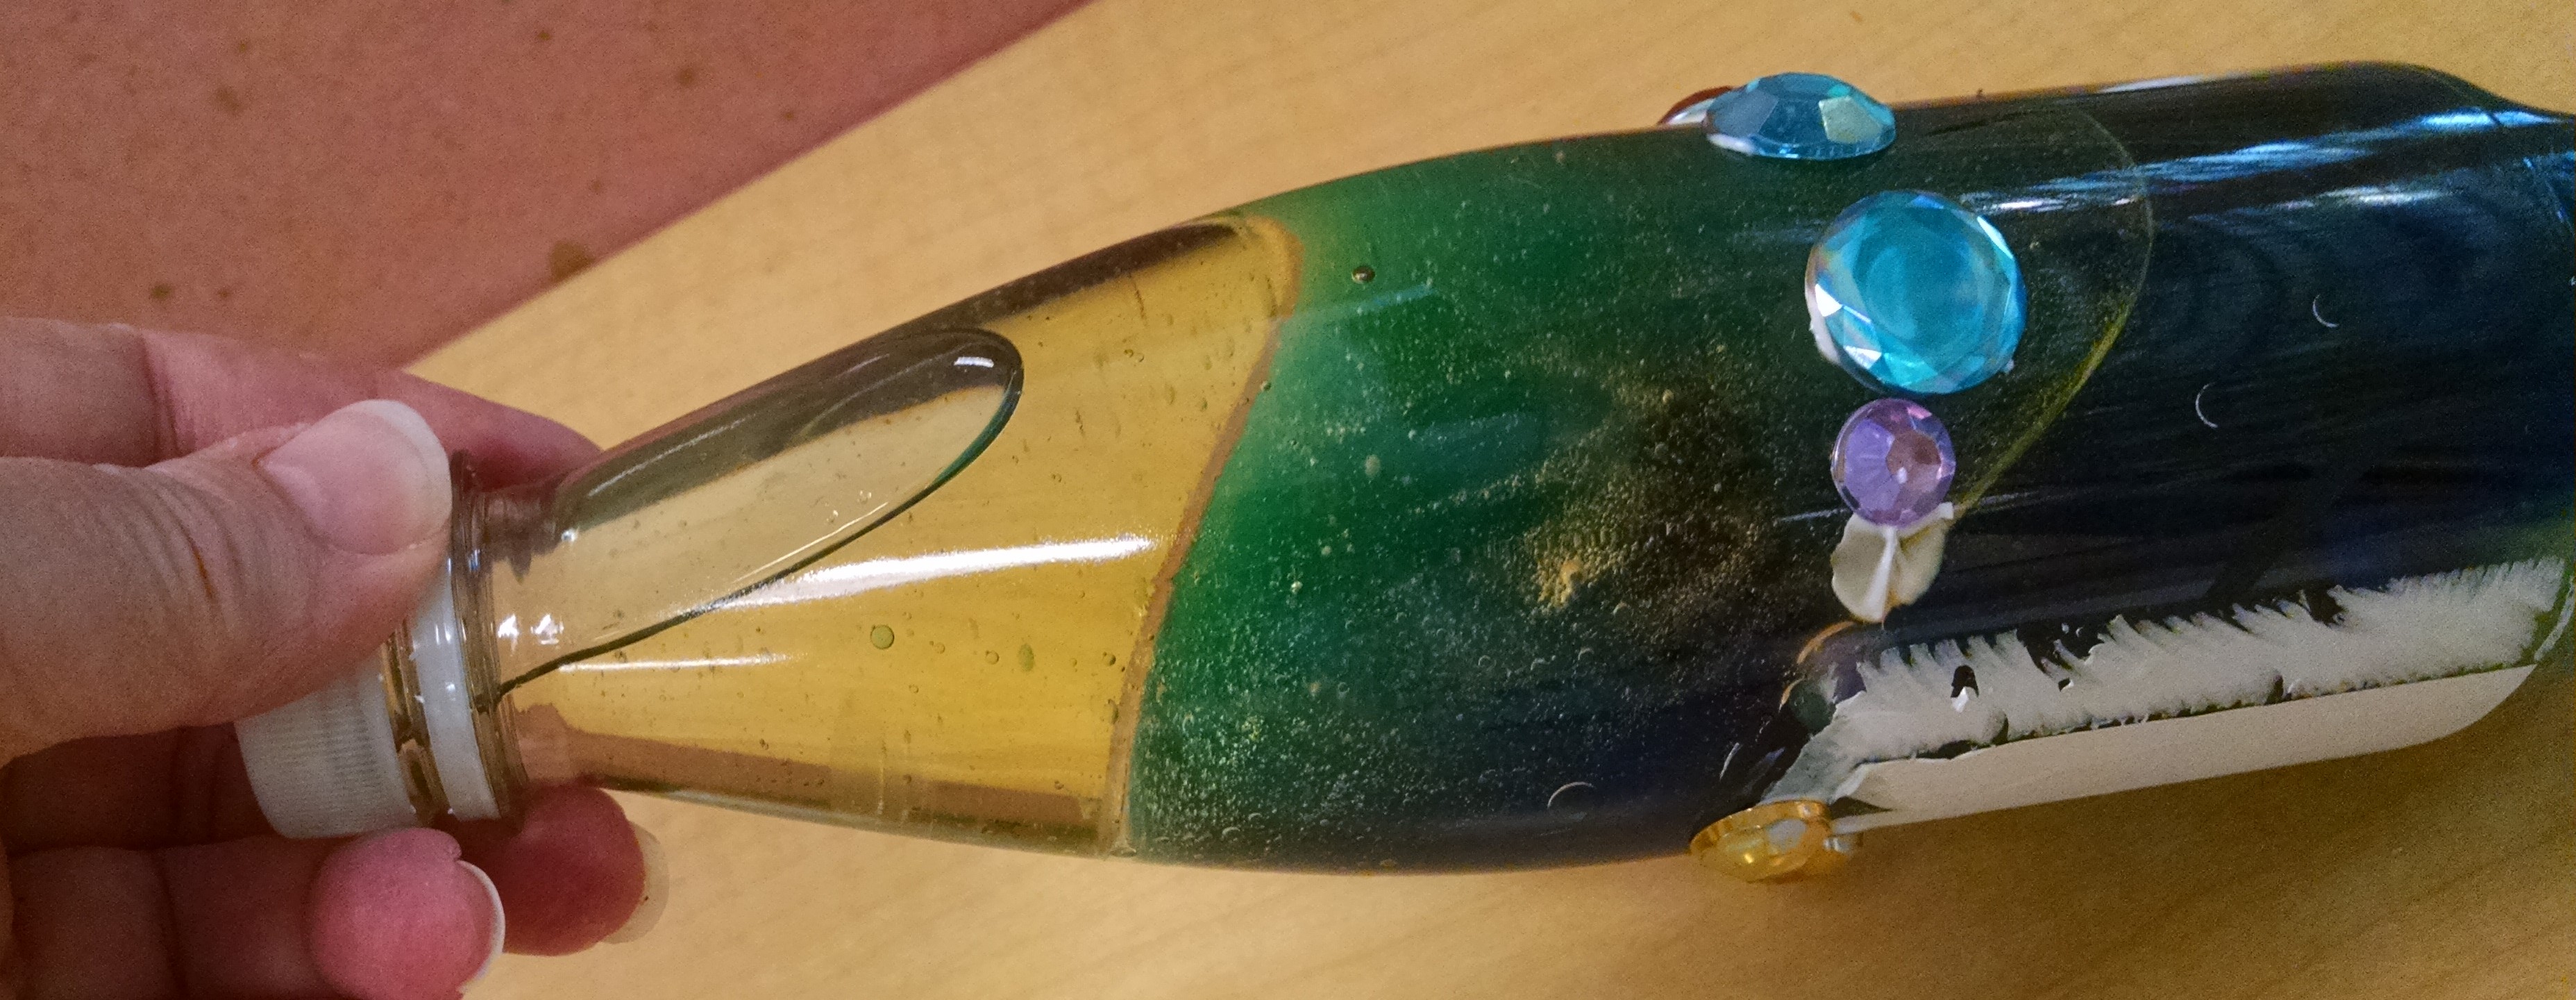
Create Discovery Bottles: We filled water bottles with a mix of colored water and vegetable oil, then added some sand, small rocks, and small sea shells. Then we sealed the bottles. The bottles create their own slow motion waves when tipped or shaken. (Point out that the oil floats on top of the water, because it’s “lighter” (less dense) and the sand and rocks sink because they’re heavier than the water.

Other Art Ideas: You could try Floating Chalk Art, where a child scrapes chalk dust onto the surface of a tray of water then takes a print of it. Or you could try paper marbling.
Sensory Experiences and Observations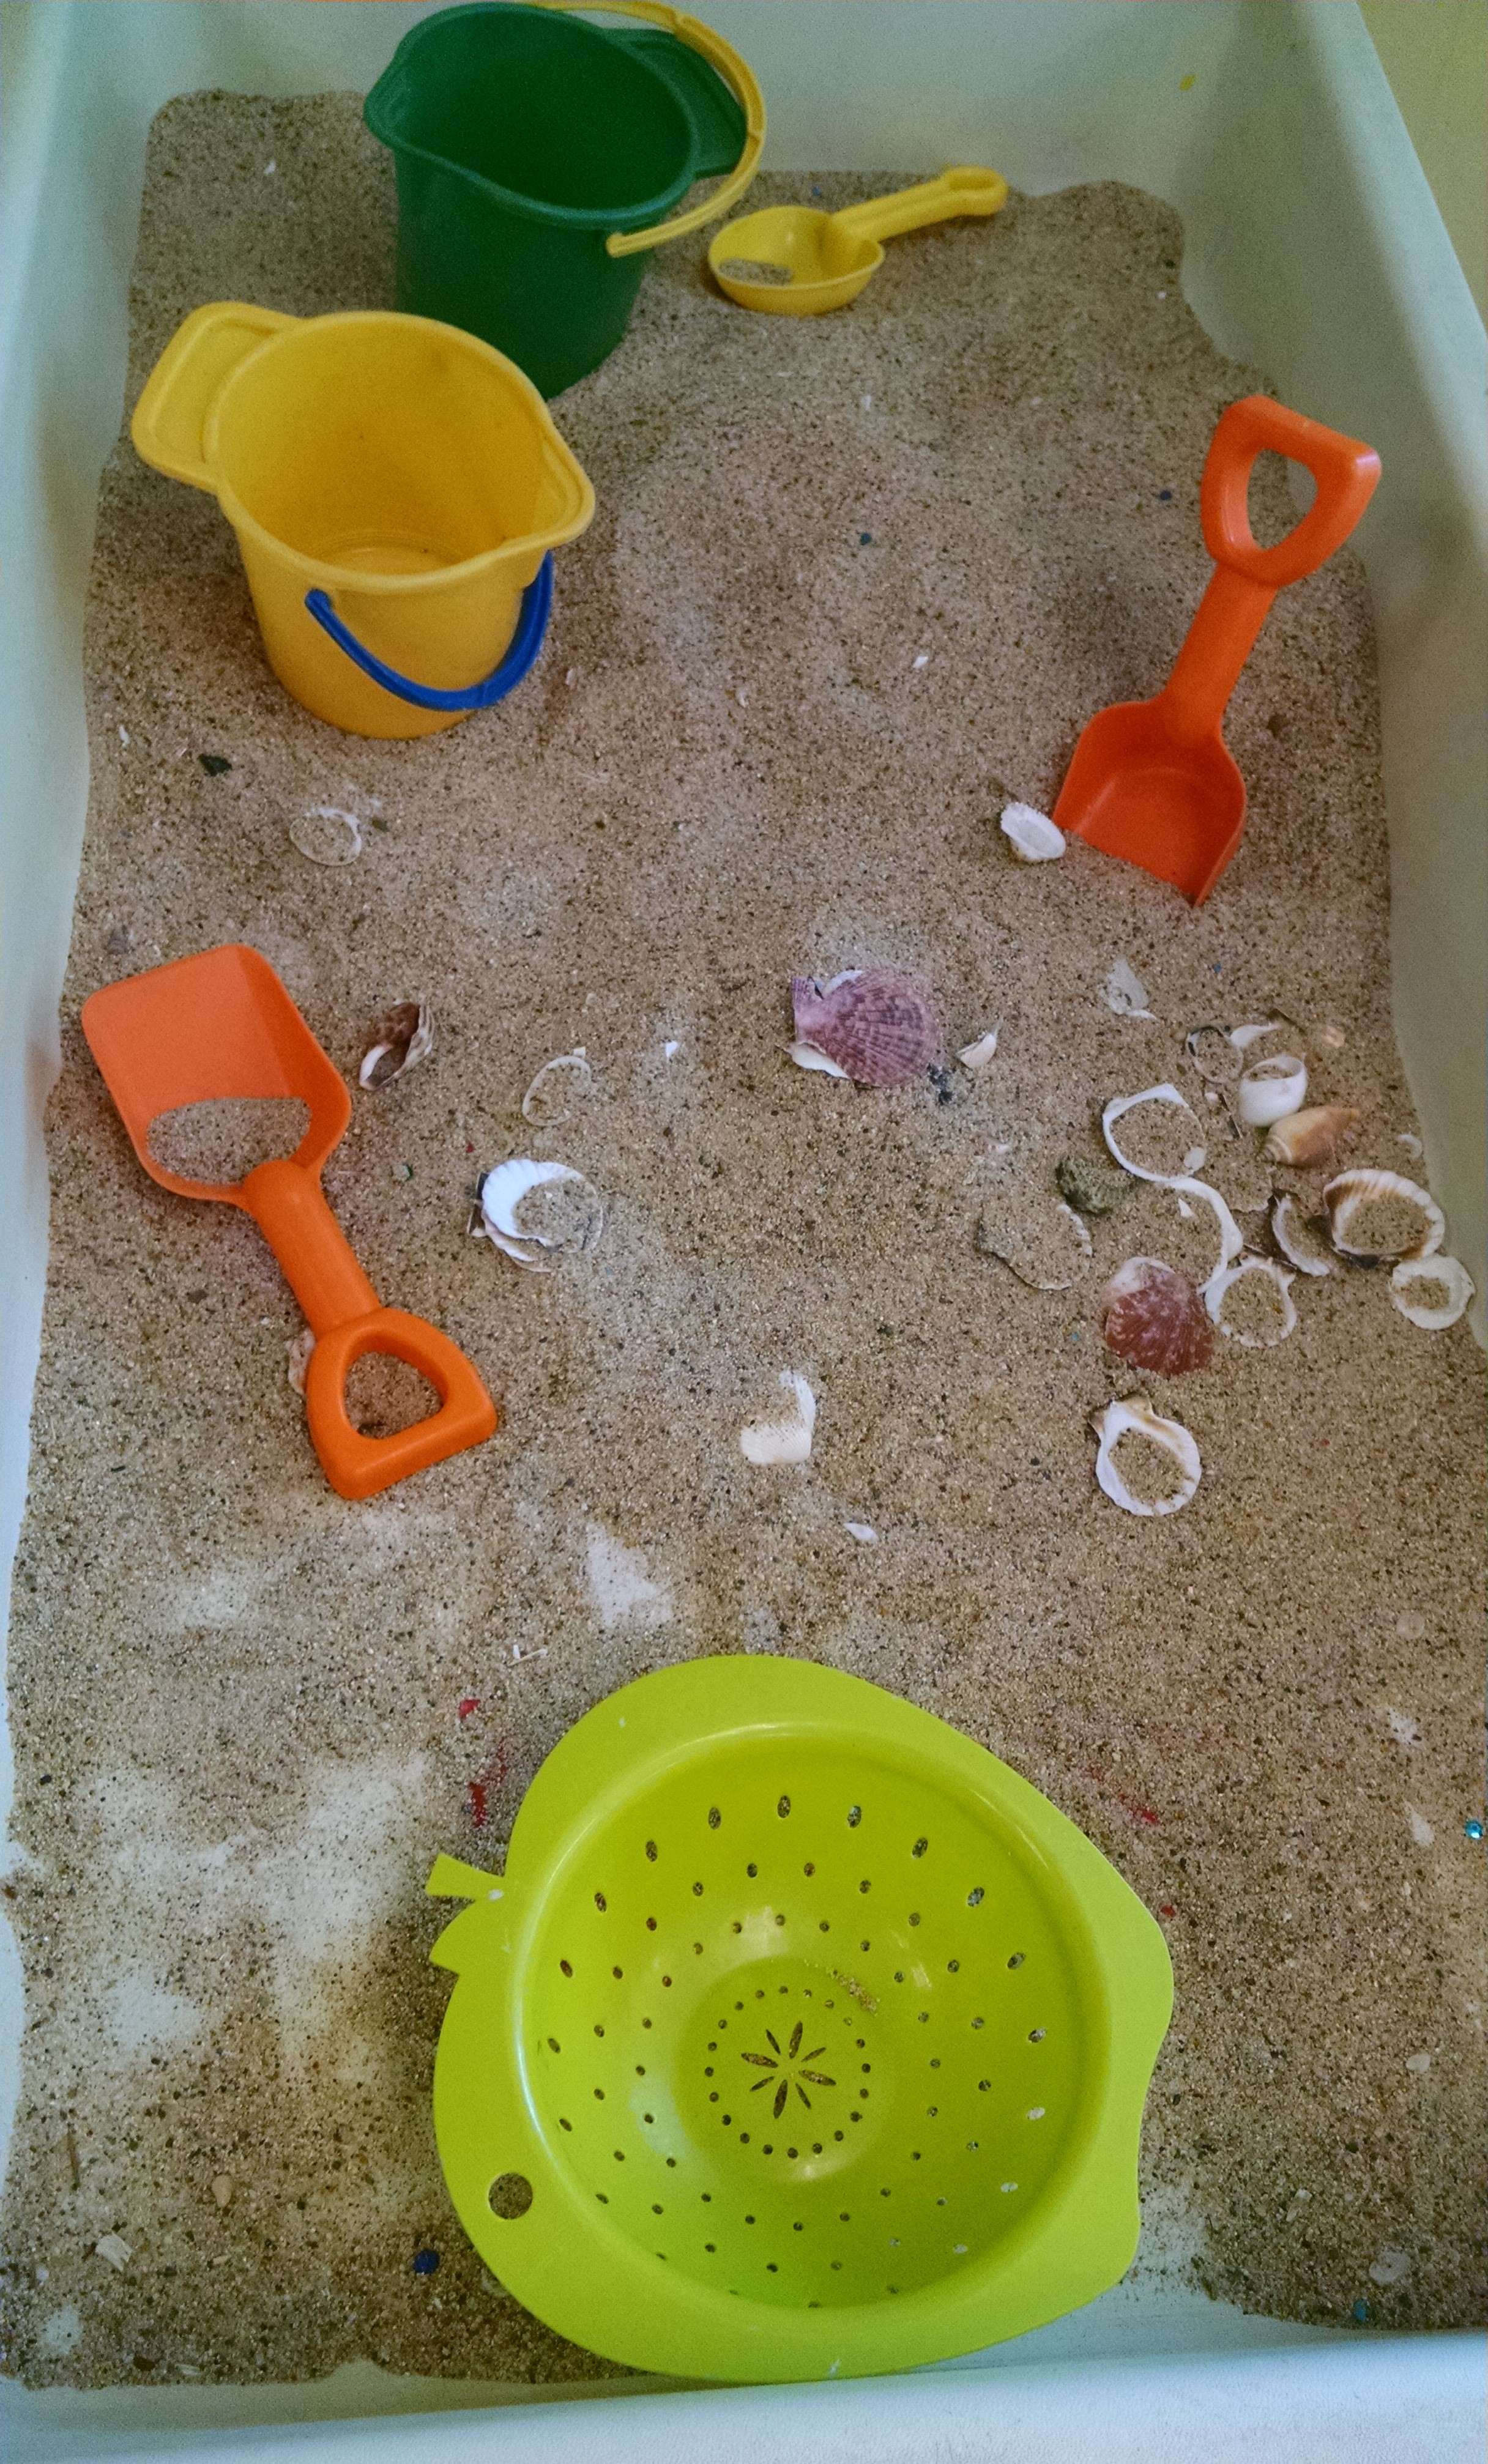
Sensory Table: We filled the sensory table with sand and small seashells.
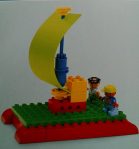
Building: Next year, we’ll add in this Duplo raft project.
 Dancing Raisins: Simple, cheap and easy way to delight small children…. Pour a cup of carbonated soda. Add raisins. The bubbles of gas collect in the ridges of the raisin until it floats to the surface, then they pop and the raisin sinks back down… over and over again.
Recycling. Show them an HDPE plastic container and an LDPE. Cut them up, dump them in water and shake. The high density sinks, the low density floats -that’s how they separate plastics for recycling.
Imaginary Play
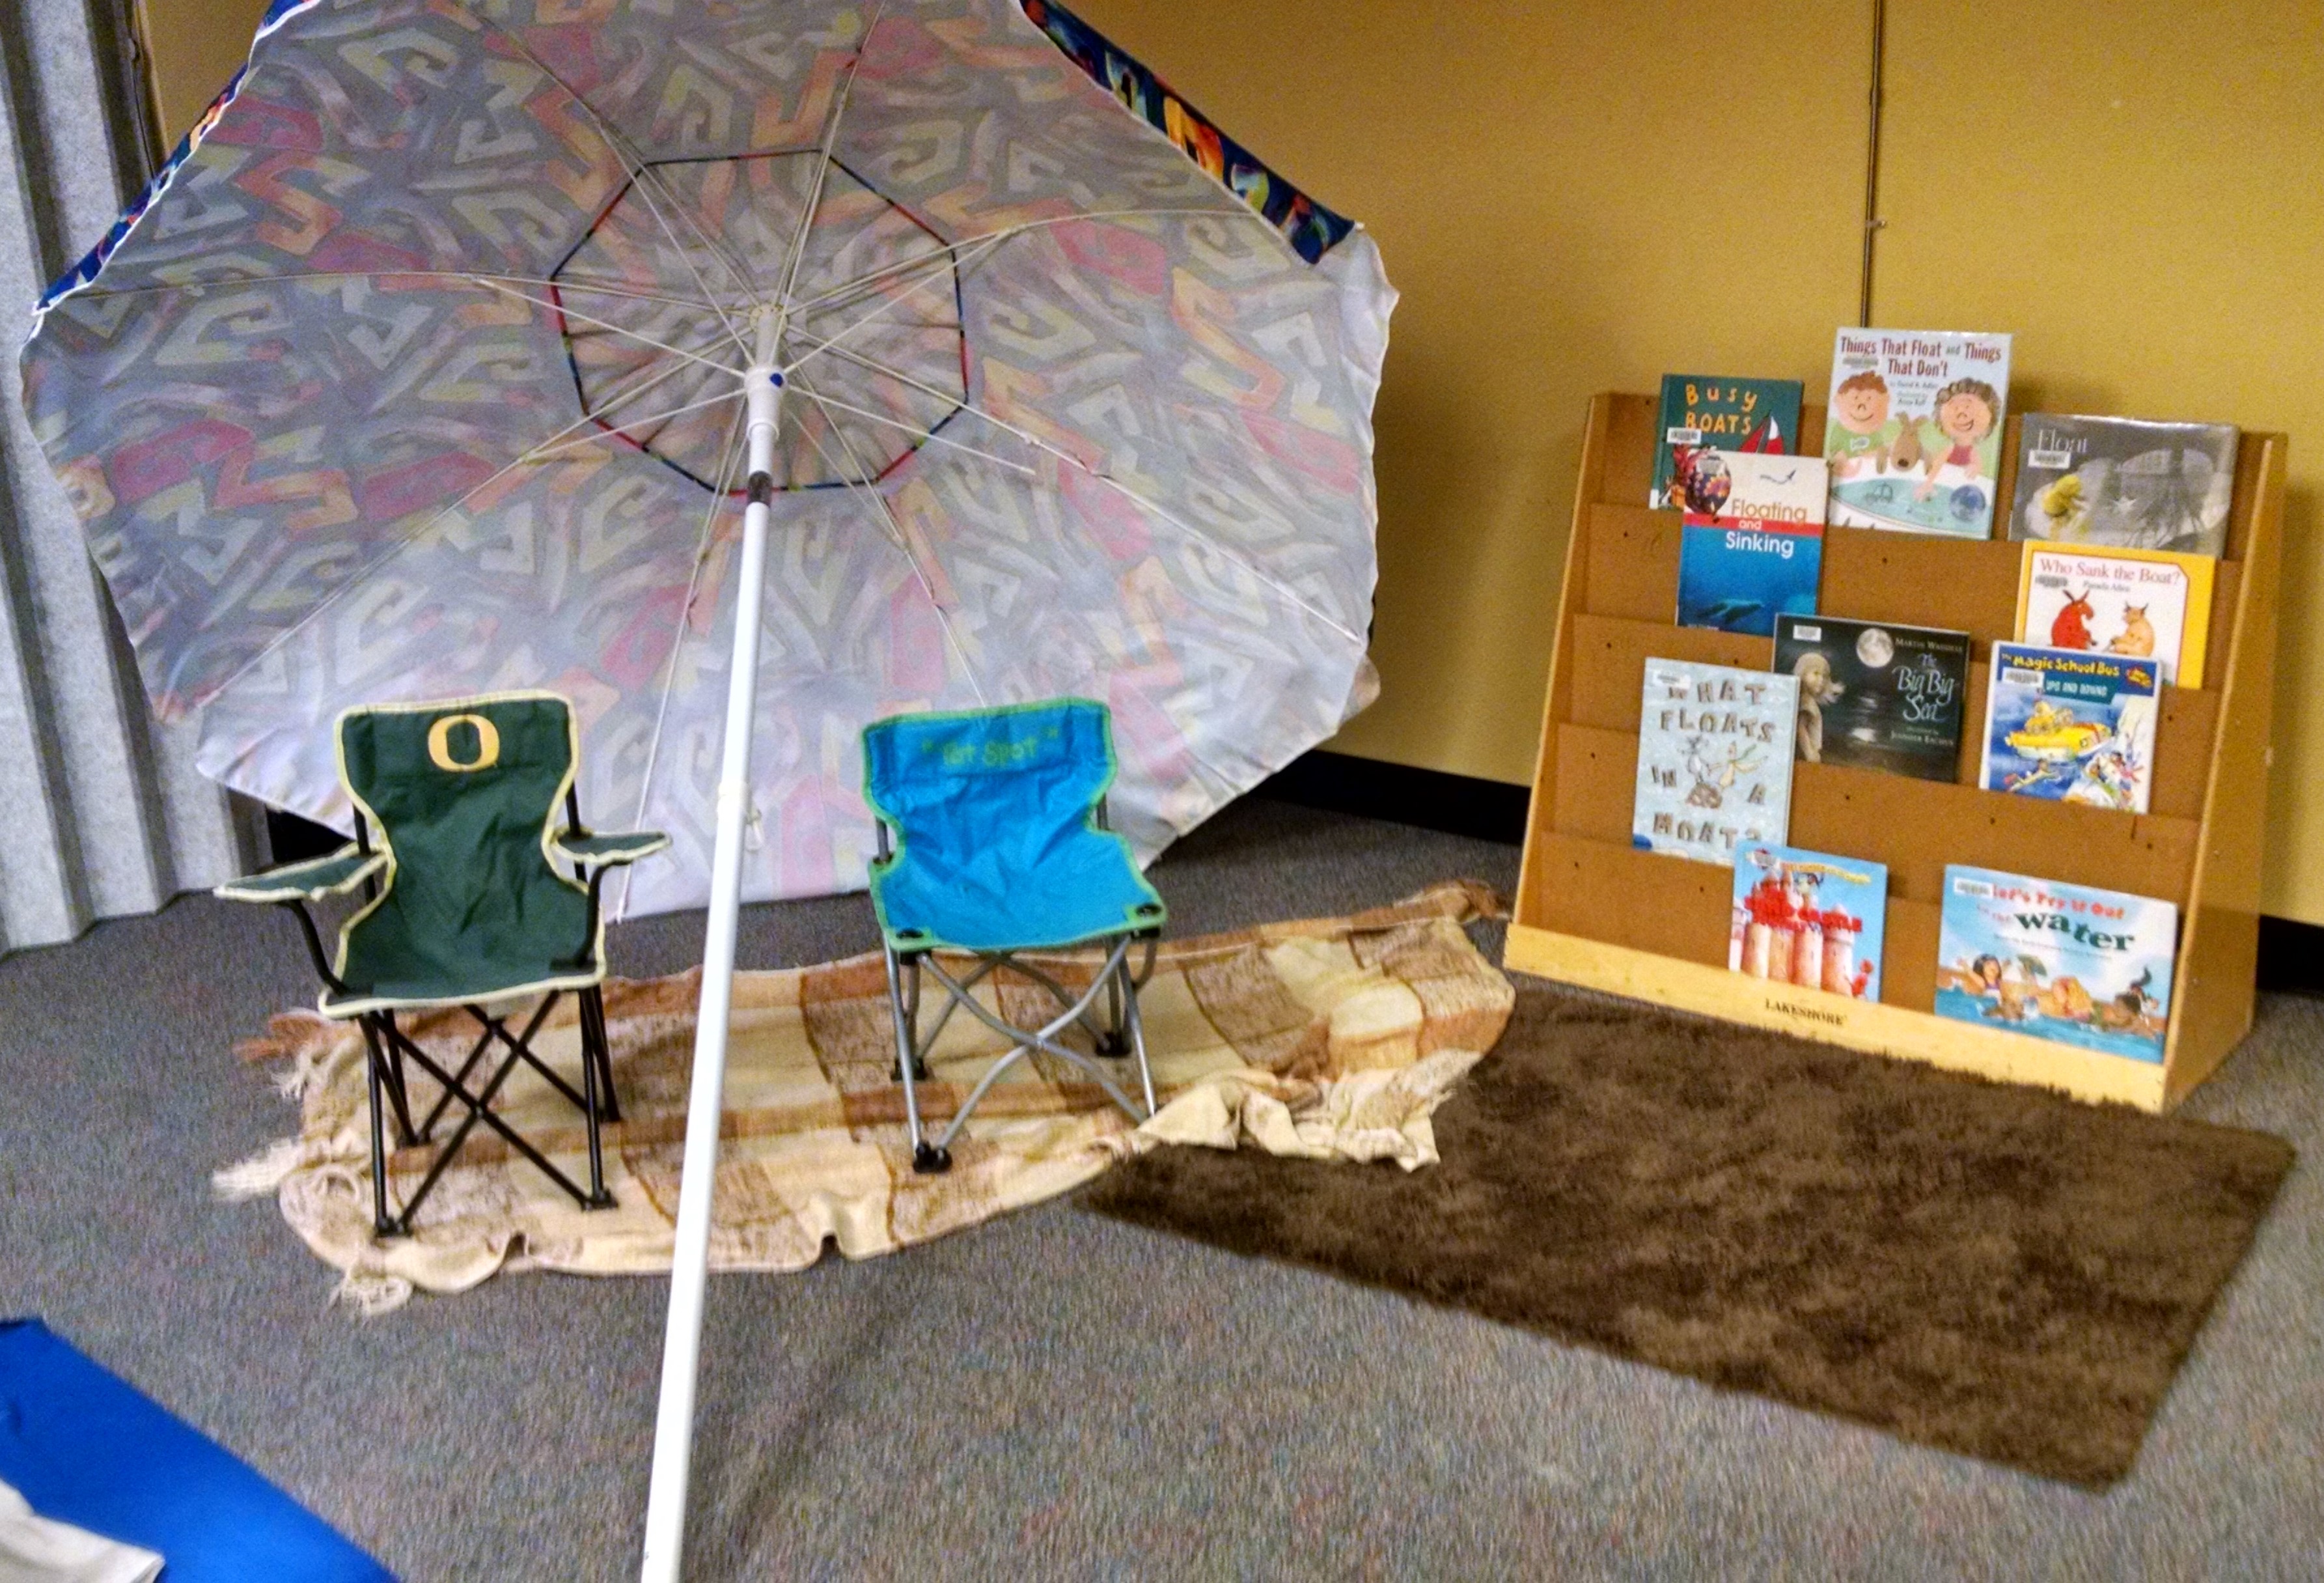
Beach Reading – We set up a beach umbrella, some towels, and some beach chairs in the reading nook. I have one student who even after two years in my class tends to hang close to his dad and not be open to hanging out with me and my co-teacher that much. But, he LOVED the beach reading zone, and we laid on our tummies on the towel and read book after book together.
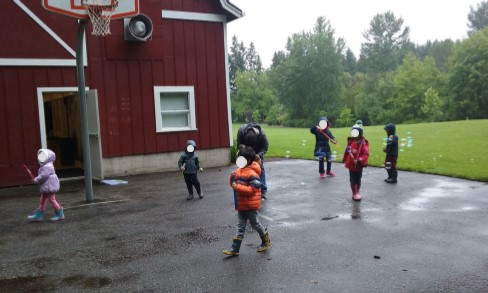
Big motor play: We took the kids outside with bubble wands to blow bubbles and let them float away on the breeze.
There is a pond at one of our classroom sites, and we’d hoped to be able to float some boats on the pond, but that year, the surface of the water is really scummy, and while it might have been a good opportunity to study bugs and water plants and eco-systems, it wasn’t a good place to float boats we had built. Maybe next year…
Opening circle
Question of the Week: What floats and what sinks?
We asked kids to share their observations from discovery time. One of the first answers that will come up is that heavy things float and lightweight things float. But through the discussion, you can guide them toward the realization that it’s not really about the weight – it’s about the shape of the part that’s touching the surface of the water. (Example: Even though ferry boats are very heavy, they float great even when loaded up with cars, as long as the water-tight broad flat bottom is facing down. If you flipped the boat over, it wouldn’t float well at all!) You could also discuss that some things float if they are filled with air (use a balloon as an example.) Explain that even something as big as a blue whale can float because it has air inside of it.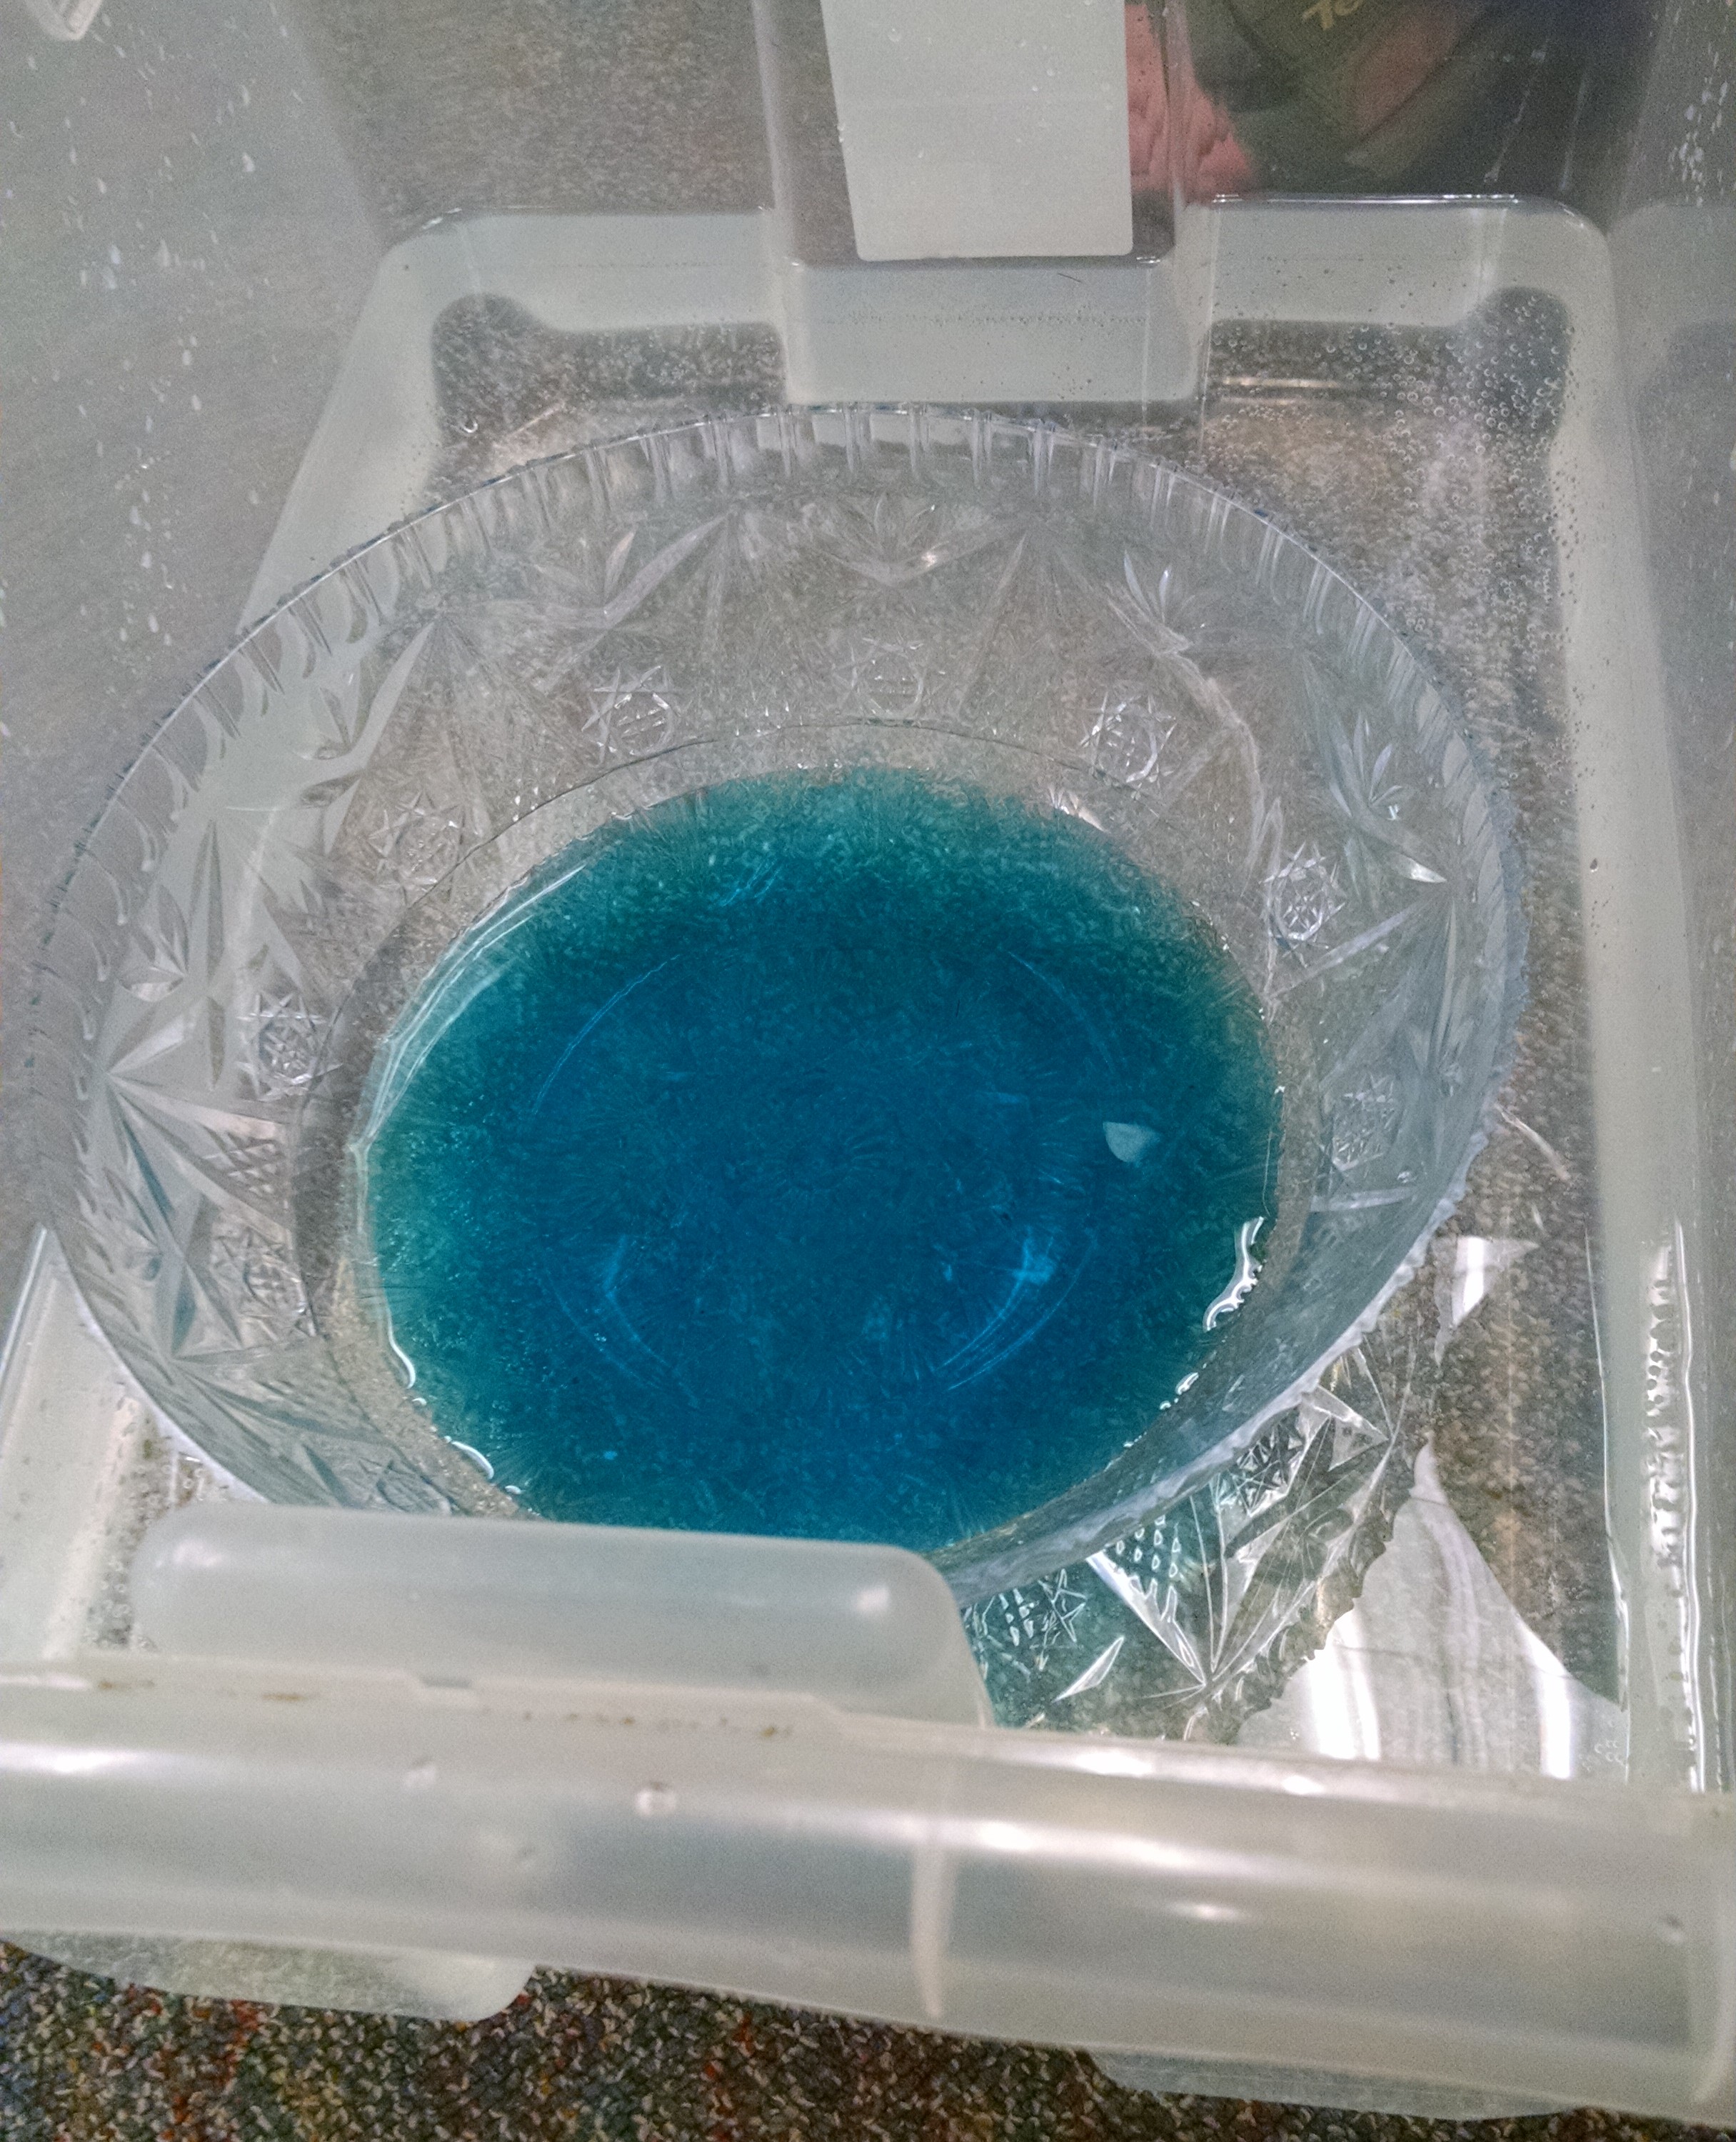
So, if you want to build something that floats, you could try a broad flat bottom, or try filling something with air – it’s all in the engineering.
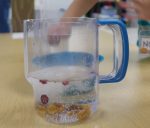
We brought in a clear tub full of water, and a clear bowl filled with water colored blue so it was easy to see. (And a bucket to dump the blue water into when we needed an empty bowl.) We used this to demo a variety of ideas about what shapes float, and whether it floats better when filled with water or air, etc.
Book: Who Sank the Boat?
Closing Circle
Gathering Song: Row Row Row Your Boat
Discussion of Key Points – We asked them to discuss what they learned about what floats and what sinks. Summarize what we’ve learned into these key points:
- Weight matters…. Lightweight things are more likely to float than heavy things
- Shape matters… flat shapes are best. ( Ask them to use their bodies to show you a shape that would float and a shape that would sink.)
- Materials matter… glass, stone, metal are very dense – usually sink. Wood, plastic, cork usually float.
- What’s inside the container also matters: Things with holes that let water in are worst. Things that hold air are good.
Book: What Floats in a Moat.
Books
What Floats in a Moat? by Berry and Cordell. This is not just a book about sinking and floating, it’s also a good book about inventors (Just click on that link to learn more about this book and other great books!) And it’s a fun rollicking read-aloud. Archie the Goat wants to cross a moat. He muses that a barrel might float. So he builds a boat with a barrel full of buttermilk – it sinks. He builds a second boat with an empty buttermilk barrel. It floats but then capsizes. Then he builds the third boat, the S.S. Ballast with a barrel half-full of buttermilk. It’s perfect! Read the book, then talk about displacement. Caveat: I think the text of the book doesn’t really make it clear what’s happening with the third barrel – you may want to say something to the kids when reading it to clarify that this time the hen only drank half the buttermilk, so the barrel is half full.
Who Sank the Boat? by Allen. A great book for even very young audiences (age 3 – 7.) One by one, a cow, a pig, a donkey, and a sheep climb into a boat. Will it sink? When will it sink? The suspense builds and builds. Then the final creature steps in – a tiny mouse. And the boat sinks. Fun read, and interesting examination about the cumulative effects of things. (Like the straw that broke the camel’s back.) You could also re-create this in class with a container and plastic animals… how many can fit before it sinks. Make sure they understand that it’s not that the mouse was heavy… it was about all the animals.
Things That Float and Things That Don’t. This is not something I would read aloud to 3 -5 year olds – too complex. But, it’s a FABULOUS book for 6 – 10 year olds, especially in a home school setting, where you and your child could actually walk through each of the experiments together. Fun illustrations of a boy, a girl, and a dog, plus the fact that the book is addressed to the reader – inviting them to try everything out (“You could have fun guessing which things float…. fill your sink about halfway…”) make this an engaging non-fiction read. Guides kids through a series of observations and experiments with household objects to learn about density.
Captain Kidd’s Crew Experiments with Sinking and Floating by Weakland. YouTube Silly approach to a non-fiction science book about density, buoyancy, and other science concepts. Good for 6 – 8 year olds.
Swim, Swim, Sink by Harney. YouTube. This is a story about three baby ducks – two of them swim, one sinks. OK, this is not a science book – it never explains why one duck keeps sinking. But it is an absolutely delightful and silly book that would be great to read to 3 – 4 year olds, and the duck does have to get very inventive to figure out how to not sink.
Let’s Try It Out in the Water : Hands-On Early-Learning Science Activities by Simon, Fauteux, and Cushman. This is all about “let’s try it out” – hands-on experiments to try. “Imagine you’re at the ocean… you throw [a pebble] as far as you and watch it splash. Then it disappears. The pebble sinks to the sandy bottom…. now you see a large ocean liner… but it is not sinking… Let’s find out why.” Then is suggests you collect objects from the house that won’t get damaged if they get wet. Then test the weight of each in your hands – which is heavier? Then put in water – which things float, which sink? Then you make a foil boat and try loading it up with objects. Nice project book for kids 5 – 7. You could even use this book as a basis for a lesson plan for your class or at home school – kids would walk through these experiments, in order:
- Fill different size and shape containers with water – how much do they hold? How many cups of water does it take to fill the tub?
- Find a variety of items to test to see if they sink or float.
- Build a foil boat. How much weight can it hold? If you put some of the items that sank on their own into the boat, do they sink or float?
- Run a shipping business – send things back and forth to your friends on the other side of the tub. How can you ship the most items at once?
- Crunch the foil boat into a ball. What happens?
- In a pool or tub, try floating on your back.
- Use a squirt gun to drip water into a boat – how much water does it take on before it sinks?
- How many cups of water can you float on a tray?
- Take an empty plastic water bottle and a full one. Place in a tub. Which sinks?
Floating and Sinking (Start-Up Science) by Challoner. Though it doesn’t have the same cute, playful illustrations as the previous two books – it’s aimed at age 7 and up – it also is a project based book that you could use to inspire a full lesson plan. (But it’s not really something I’d read aloud in class.) I like that the author did a good job of sequencing the learning. It starts simple and gets more complex, building on each previous idea throughout the book. Here’s the activities:
- Lesson 1 – some materials are more buoyant than others. Take a lightweight coin and a heavy wood block. Which will float and which will sink?
- Collect cork, Styrofoam, rubber, and wax items and test them. They all float – they are buoyant materials.
- Lesson 2 – materials that are denser than water sink. Test a small block of wood, and a block of modeling clay the same size. Which floats?
- Collect chalk, modeling clay, steel and glass – all sink.
- Lesson 3 – objects seem to weigh less when they’re in water because the water supports them. Tie a rubber band around a heavy but somewhat buoyant object. Hold the rubber band so the object dangles from it. How far does the rubber band stretch? Now let the object float on the water. Does the band stretch less?
- Displacement: put a doll in a full bathtub (or any other object in any full container of water). The container overflows because the water is displaced.
- Lesson 4 – boats float because they have a large base – they hold air which is less dense than water. So the water pushes up on the boat. Drop a ball of clay in the water. It sinks. Make a boat out of the clay. It floats.
That’s just the first third of the book… it keeps going.
Floating and Sinking (How Do Things Move?) For ages 3 – 5. Lots of bright, engaging photos and nice graphic design. Nice simple overview, if you want a quick read for little ones without much science detail.
Floating and Sinking (Junior Science Series). From 1990. And I have to say that graphic design and children’s non-fiction writing seems to have improved since then. It’s got some good examples and some good projects, and if your library has it, and not the other books, it will serve you… just the others are better. Age 6 – 8.
Sinking and Floating (Simply Science)by Rosinsky. The format of this book is strange. A typical picture book has self-contained info on a page or a page spread where it completes a paragraph or a thought. Then you turn to the next page for the next thought. This book flows the text from page to page, more chapter book style with a lot of pictures thrown in. The info is fine, though better for age 7 – 9 than my age group (3 – 6). But it’s not as easy to digest as other books.
The Magic School Bus Ups And Downs: A Book About Floating And Sinking. I haven’t read this but include it because I know there’s a lot of MSB fans. I find these books too advanced for my 3 – 6 year olds, but they’re generally quite good.
Making Things Float and Sink by Gibson. Not really a book I’d use in class – aimed at older children. But source for some good experiments. Like freezing colored water, then placing that ice cube in a glass of hot water – you can see that ice floats, and because of the color, you can see that as it melts, the cold water sinks to the bottom of the glass. It also has directions for making a hydrometer to test density with a straw and clay. Plus marbled paper, boats from ping pong balls and straws, a Styrofoam boat with a rudder, and a balloon powered water bottle boat. Plus some of the activities we describe above.
Big Machines Float! by Veitch. If you have a child who LOVES big trucks books about construction equipment, they’ll like this book, which is basically just a collection of pictures of big boats at work: ice breakers, floating cranes, galleons, cargo ships, and cruise ships. Ages 3 – 6.
Float by Miyares. Like nothing else on this list. For ages 4 – 8. A wordless book with lovely, quiet, contemplative illustrations. A boy folds a newspaper into a boat. He goes for a long walk in the rain by himself (may appeal to those who like a more nature-based, free range style childhood) and sails the boat on many puddles. Eventually the boat is destroyed. He is sad and his father comforts him (nice depiction of emotions and support) and then helps him fold a new boat which he goes out to enjoy on a now beautiful sunny day. It’s a lovely wordless book, but whether it would work for your audience all depends on how you “read it”. If you’re going to read a wordless book to a group of kids, first practice it out loud several times by yourself or with one or two kids listening so you can figure out what to say to capture the magic of the book.
Next year, I’ll check out Busy Boats by Mitton and Parker. I like their Roaring Rockets and Super Submarines for the 3 – 5 year olds. They’re all part of the Amazing Machines series.
Also check out this post on books about the beach and this one on books about the ocean and fish. And PBS’ Whatever Floats Your Boat, an activity guide from Cat in the Hat Knows All About That.
Note: be sure to bring lots of old towels to this water-filled week!

[…] Sink or Float […]
LikeLike
[…] Sink or Float […]
LikeLike
[…] Sink or Float […]
LikeLike
[…] Sink or Float […]
LikeLike
[…] Sink or Float […]
LikeLike
[…] Sink or Float / Beach; Submarines / Ocean; Robots […]
LikeLike
[…] Sink or Float / Beach; Submarines / Ocean; Robots […]
LikeLike
[…] Sink and Float – Battleship […]
LikeLike
[…] Social play: How will kids interact? Sometimes this is a tinkering activity they can do together, like a marble maze, or ramp play. Sometimes it’s an imaginary play activity, like astronaut play, camping, or beach reading. […]
LikeLike
[…] Sink or Float […]
LikeLike
[…] Sink & Float / Under the Sea. Goldfish crackers! Or take bagel (or rice cake), spread on blue cream cheese (take whipped cream cheese and mix in a little blue gel food coloring), and put goldfish crackers in the “fish bowl.” Make your own goldfish crackers (I have a fish shaped cookie cutter. Here’s one recipe for the crackers…) […]
LikeLike
[…] Sink or Float […]
LikeLike
[…] Beach week, we fill our bin with sand, buckets, shovels, and seashells. We have a mural on the wall […]
LikeLike
[…] sailboats – these appear in our Wind and Flight class, and we build them on Sink and Float […]
LikeLike
[…] Sink and float. Give your child random objects and tub of water. What floats? What sinks? Why? […]
LikeLike
[…] I have 40+ complete lesson plans on all sorts of science topics. You can find links to all of them on the Inventors of Tomorrow home page. Just a few of the science themes are: Planets and Space Travel; Human Body; Chemical Reactions Light and Shadow; Sink or Float. […]
LikeLike
[…] In the bathtub, or a large tub of water, let your child experiment with a wide variety of objects. What sinks? What floats? Help them notice any patterns (e.g. these metal things sink, these plastic things […]
LikeLike
[…] Boat: Create a boat factory with corks, Popsicle sticks, straws, paper, aluminum foil, clay, rubber bands, water-bottle bottoms, etc. Plus tape and glue. Challenge them to build a boat that can float. Learn more in our Sink and Float lesson plan. […]
LikeLike
[…] learned how to evaluate materials: what will float, what will fly in the wind, what is heavy, what is light, what is strong, what is fragile, how to […]
LikeLike
[…] our kids’ STEM class, we have two weeks in a row of beach-themed activities. The first is Sink and Float, which included discussion about boats, and some activities with seashells that might wash up on a […]
LikeLike
[…] had two weeks in a row of beach-themed activities. The first was Sink and Float, which included discussion about boats, and some activities with seashells that might wash up on a […]
LikeLike
[…] can read reviews of the following books in my old sink and float post, but I’m not including details here because they’re not available in e-book or […]
LikeLike
[…] I have 40+ complete lesson plans on all sorts of science topics. You can find links to all of them on the Inventors of Tomorrow home page. Just a few of the science themes are: Planets and Space Travel; Human Body; Chemical Reactions Light and Shadow; Sink or Float. […]
LikeLike
[…] Method Poster to show the steps. We re-visit that discussion when we talk about Magnets and about Sinking and Floating, since those topics offer an easy way to practice over and over the steps of forming a hypothesis […]
LikeLike
[…] Sink and Float – Battleship […]
LikeLike
[…] strength, absorbency). Test materials to see which is best suited to a particular purpose. (Sink or Float is one fun approach to this […]
LikeLike