
This is part of my 15 minute focus series of preschool science activties.
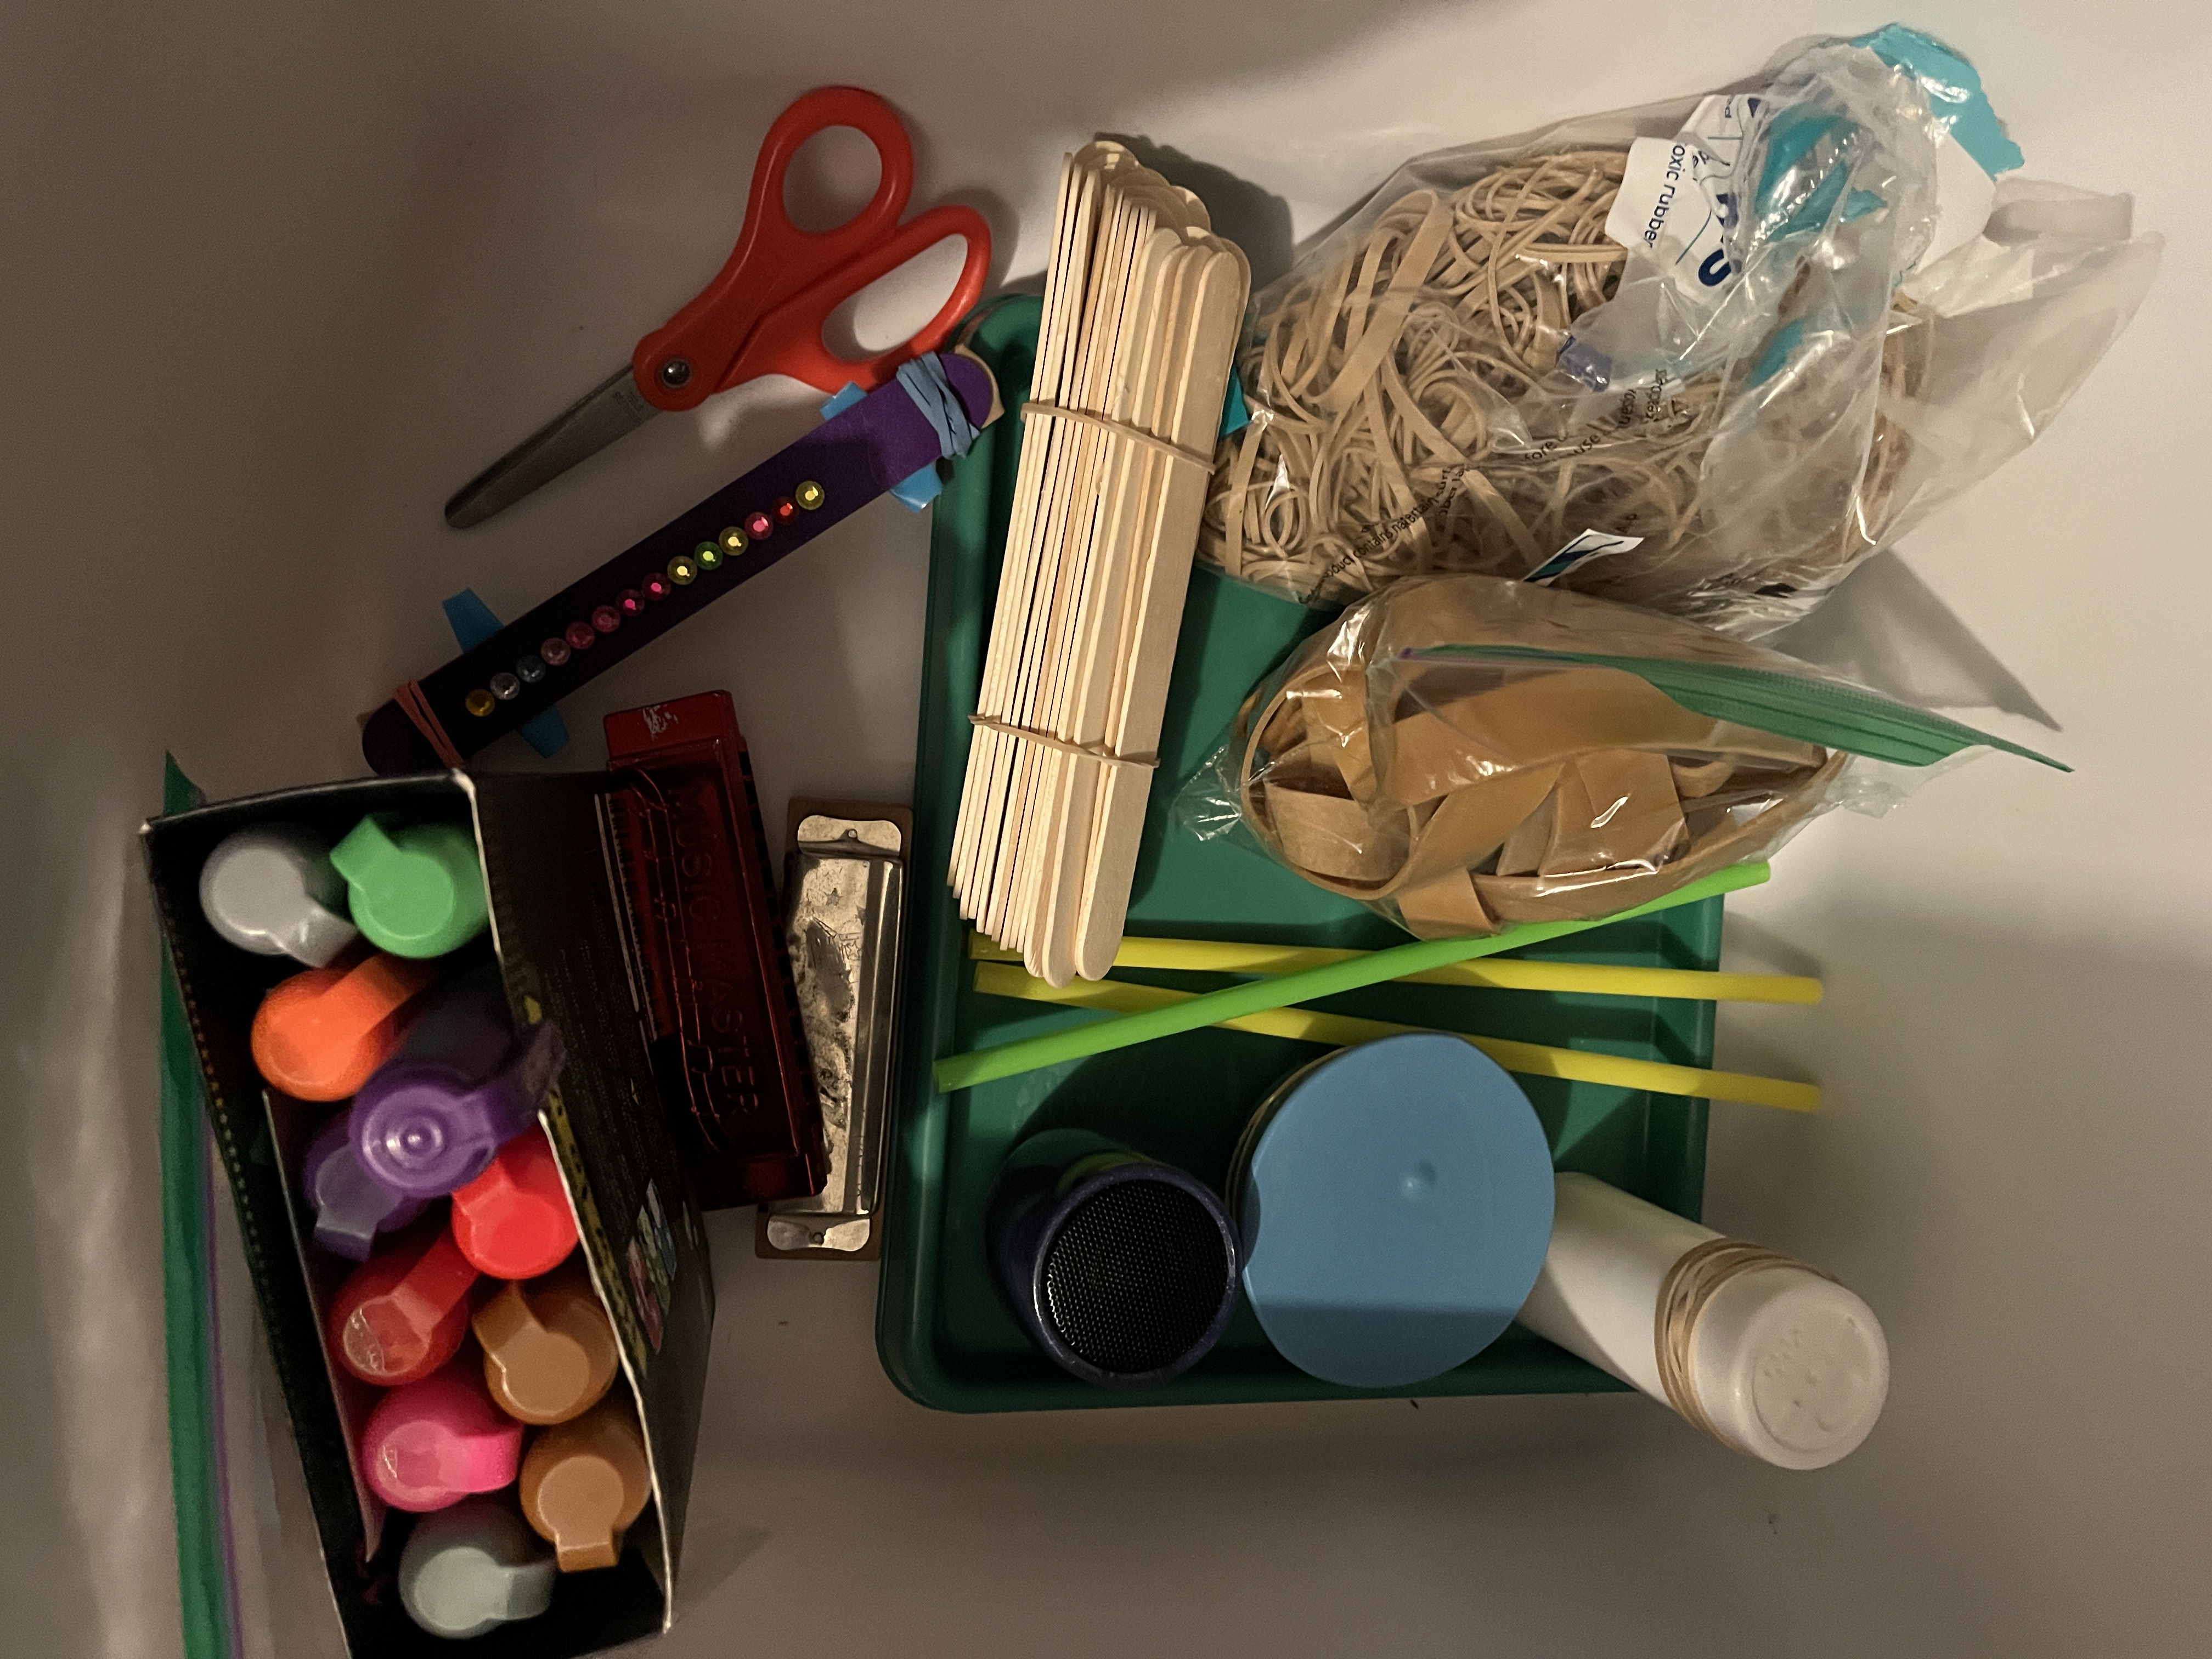
Supplies: rubber bands of various sizes, jumbo craft sticks (2 per kid – use plain ones, not colored, as the color comes off on kids’ lips 🙂 ), tape, harmonica (if you have one), BIG rubber bands – 1 per kid (I use size 105 rubber bands), sharpies, chalk markers or other decor option, plastic straws, cut to be ~1-1.5 inch
Optional preview: I previewed this topic during the day’s music time by showing them that:
- when I play my ukulele the strings vibrate (wiggle back and forth)
- the fattest string makes a low sound, the skinniest string makes the highest note, and I can make it even higher by “shortening the string” by pressing on a fret on the neck
- on a xylophone, the big keys make low noises, the little strings make high noises
- big drums make lower noises than small drums
During our 15 minute focus time, I showed them how if I stretched a big rubber band out over the fingers of my left hand, then plucked it with my left thumbnail it vibrated and made a sound. Then I showed how if I used different sizes of rubber bands and wound them around to make them tighter, I could change the sound they made when I plucked. I gave them rubber bands to play with this idea for a while.
I played the harmonica to show them what a harmonica is, then said we were going to make harmonicas.
They each decorate one side of one stick (optional). We use sharpies, but you could choose to do stickers, or chalk markers, or other options.
Here are basic instructions for assembly, but FYI, there are full instructions on Exploratorium Science Snacks, and Frugal Fun for Boys.
You wrap the big rubber band around one stick from end to end. Put one piece of straw under the rubber band, about a third of the way from one end. Put another craft stick on top of this, and table one pair of ends together. Then put another straw on top of that wide rubber band (i.e. between it and craft stick #2) about a third of the way from the other end, and tape the other end together. (We used to always use rubber bands to band these together, but preschool kids just can’t manage this so we just had to take the sticks away, rubber hand them and hand them back. We recently discovered that if we tape them, the kids still need help, but can at least participate.) Then they blow!

In my supply bin picture, you’ll notice a few extra items. I had a metal dish with a balloon stretched over it, a salt shaker and a bluetooth speaker. That’s to demonstrate salt vibrations, similar to this:
Here’s more ways to explore the Science of Sound.

[…] Sound Vibrations – learn about sound and make a craft stick harmonica […]
LikeLike