
To make this kite, all you need is a piece of 8.5 x 11 printer paper, a bamboo skewer (or coffee stirrer or straw – about 7″ long), a hole punch, tape (masking or whatever), kite string or yarn (about 4 feet long or longer), surveyor’s tape or ribbons (about 3′ long), and scissors to cut the string and ribbons with. A ruler is helpful but not required.

Fold paper in half crossways.

Mark point A (about an inch from the folded edge), and point B (about an inch from the unfolded edge. Fold the top layer from A to B, then turn the paper over and make the same diagonal fold on the other side. (Tip: you could draw a line from A to B to make it easier to see where to fold, or you can place a ruler on the line from A to B and fold along the ruler edge.)

Unfold paper, decorate as desired.

Refold the paper, turn it over, and fold the spine down, in half.

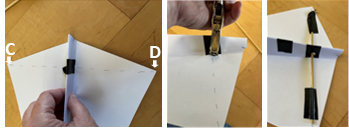
Draw a mental line (or a real one) between C and D. Tape the spine there, then punch a hole, as close to the fold as possible. Slide the skewer through the hole from C to D. Tape it down.
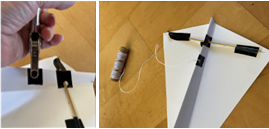
Place a piece of tape on the spine about an inch down from the skewer. Punch a hole there. (The tape reinforces the hole so it won’t tear out.) Tie the string through that hole.
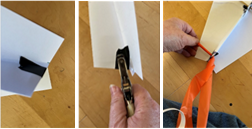
Tape the base of the spine together. Punch a hole at the base. Add ribbon tail.
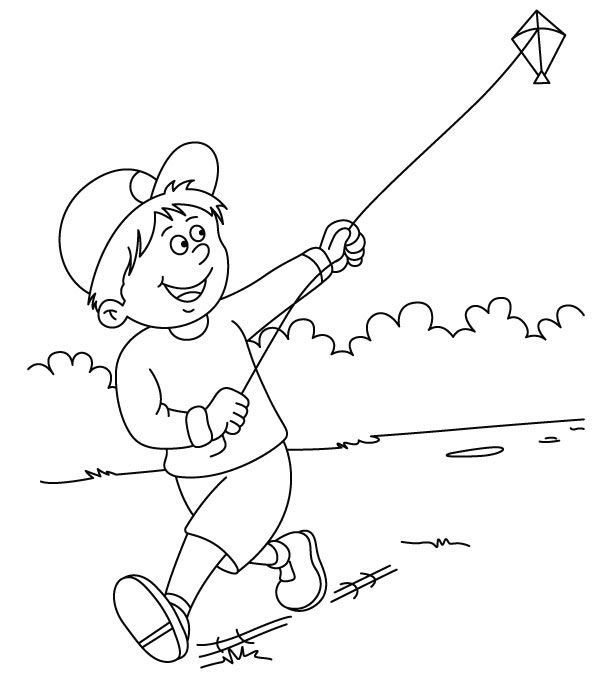
Fly your kite!!
Hold onto the end of the string. Run and it will fly behind you.

image source: https://www.drawingskill.com/wp-content/uploads/5/Flying-Kite-Drawing.jpg
We make this kite when we study wind and flight.
I was taught this method by Cymbric Early-Smith. Here is a printable pdf of the kite instructions.

[…] built kites with paper and bamboo skewers. This is definitely an adult-assistance project for kids. Our design isn’t great at flying in […]
LikeLike
[…] Supplies: paper, bamboo skewer, ribbons for streamers, string, scissors, tape, hole punch. Find a detailed tutorial here. […]
LikeLike