
If you want a project that’s just as easy as paper airplanes, and just as good at entertaining kids, using just a little bit of paper and a pair of scissors, here are a collection of fun and simple ways to fold and shape paper so it flies. For each of these, you can just stand, reach up high and drop them, and they will flutter to the ground. But to get the best effect, we like dropping them from the top of the stairs (assuming you have good railings and your child can do this safely) or using them in the wind tube. Kids love dropping these and watching them flutter.
It’s hard to catch a perfect video, but this will give you an idea:
The Ring
Take a strip of paper. Near one end, make a cut halfway down from the top to the bottom of the strip. On the other end, make a cut halfway up from the bottom to the top. Fold it, and connect the two slits. This one spins / flutters down. (Source: the Orlando Science Museum)
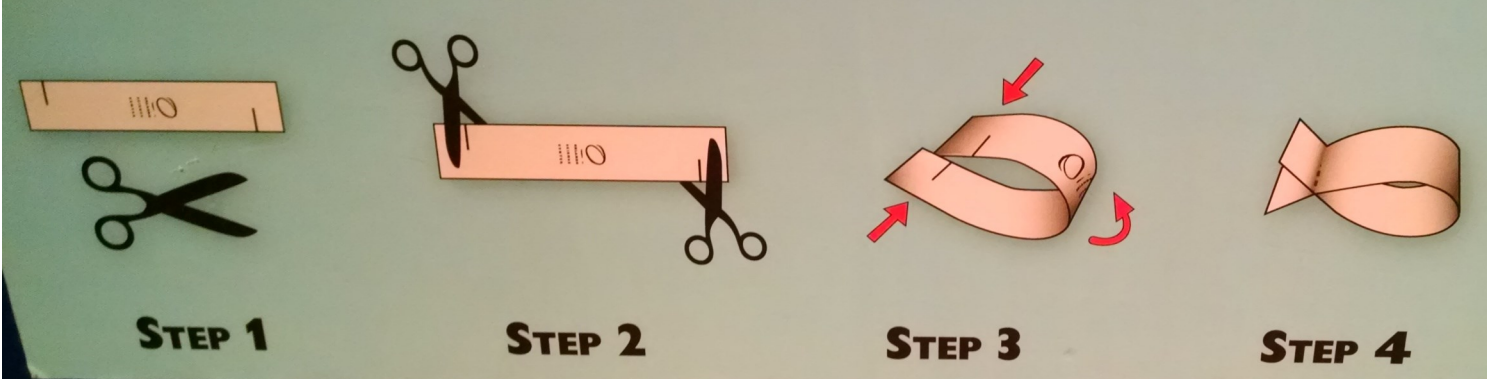
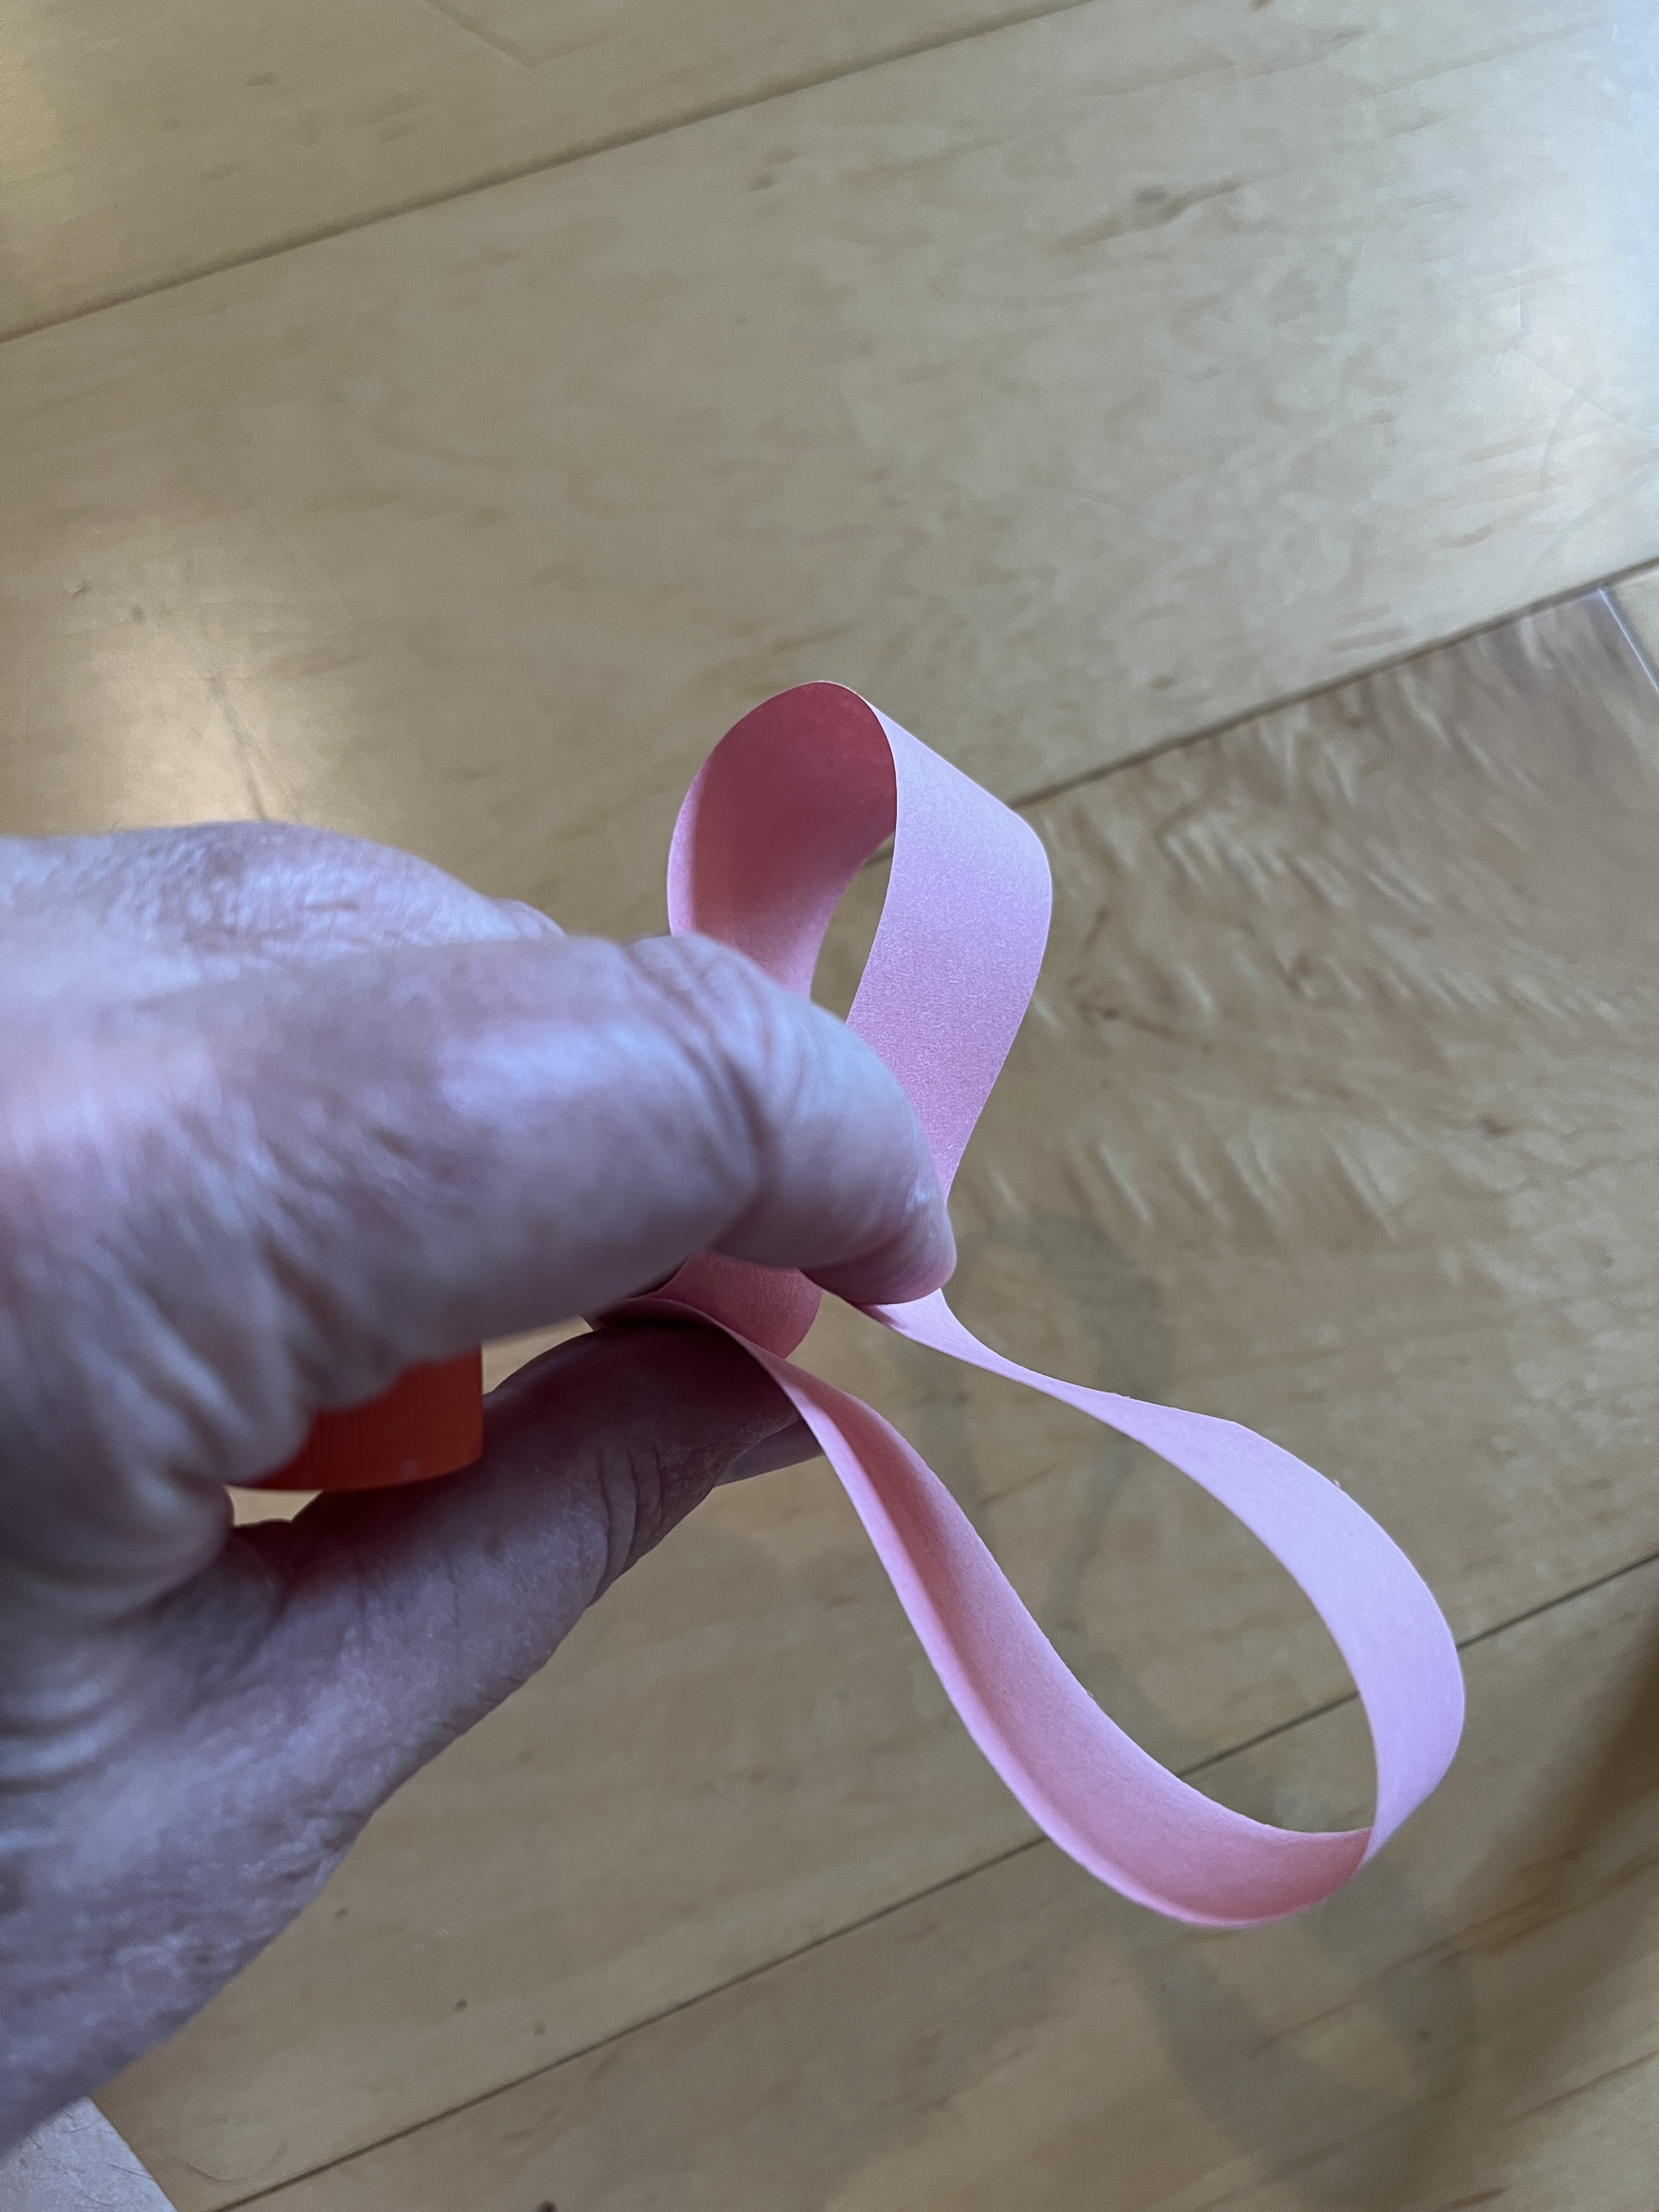
The Maple Seed
This one reminds me of the shape of maple seeds, and it also looks a little like a winged insect, so you could use it as an activity when studying seed dispersal or bugs. (Source: Techno Kri Art)
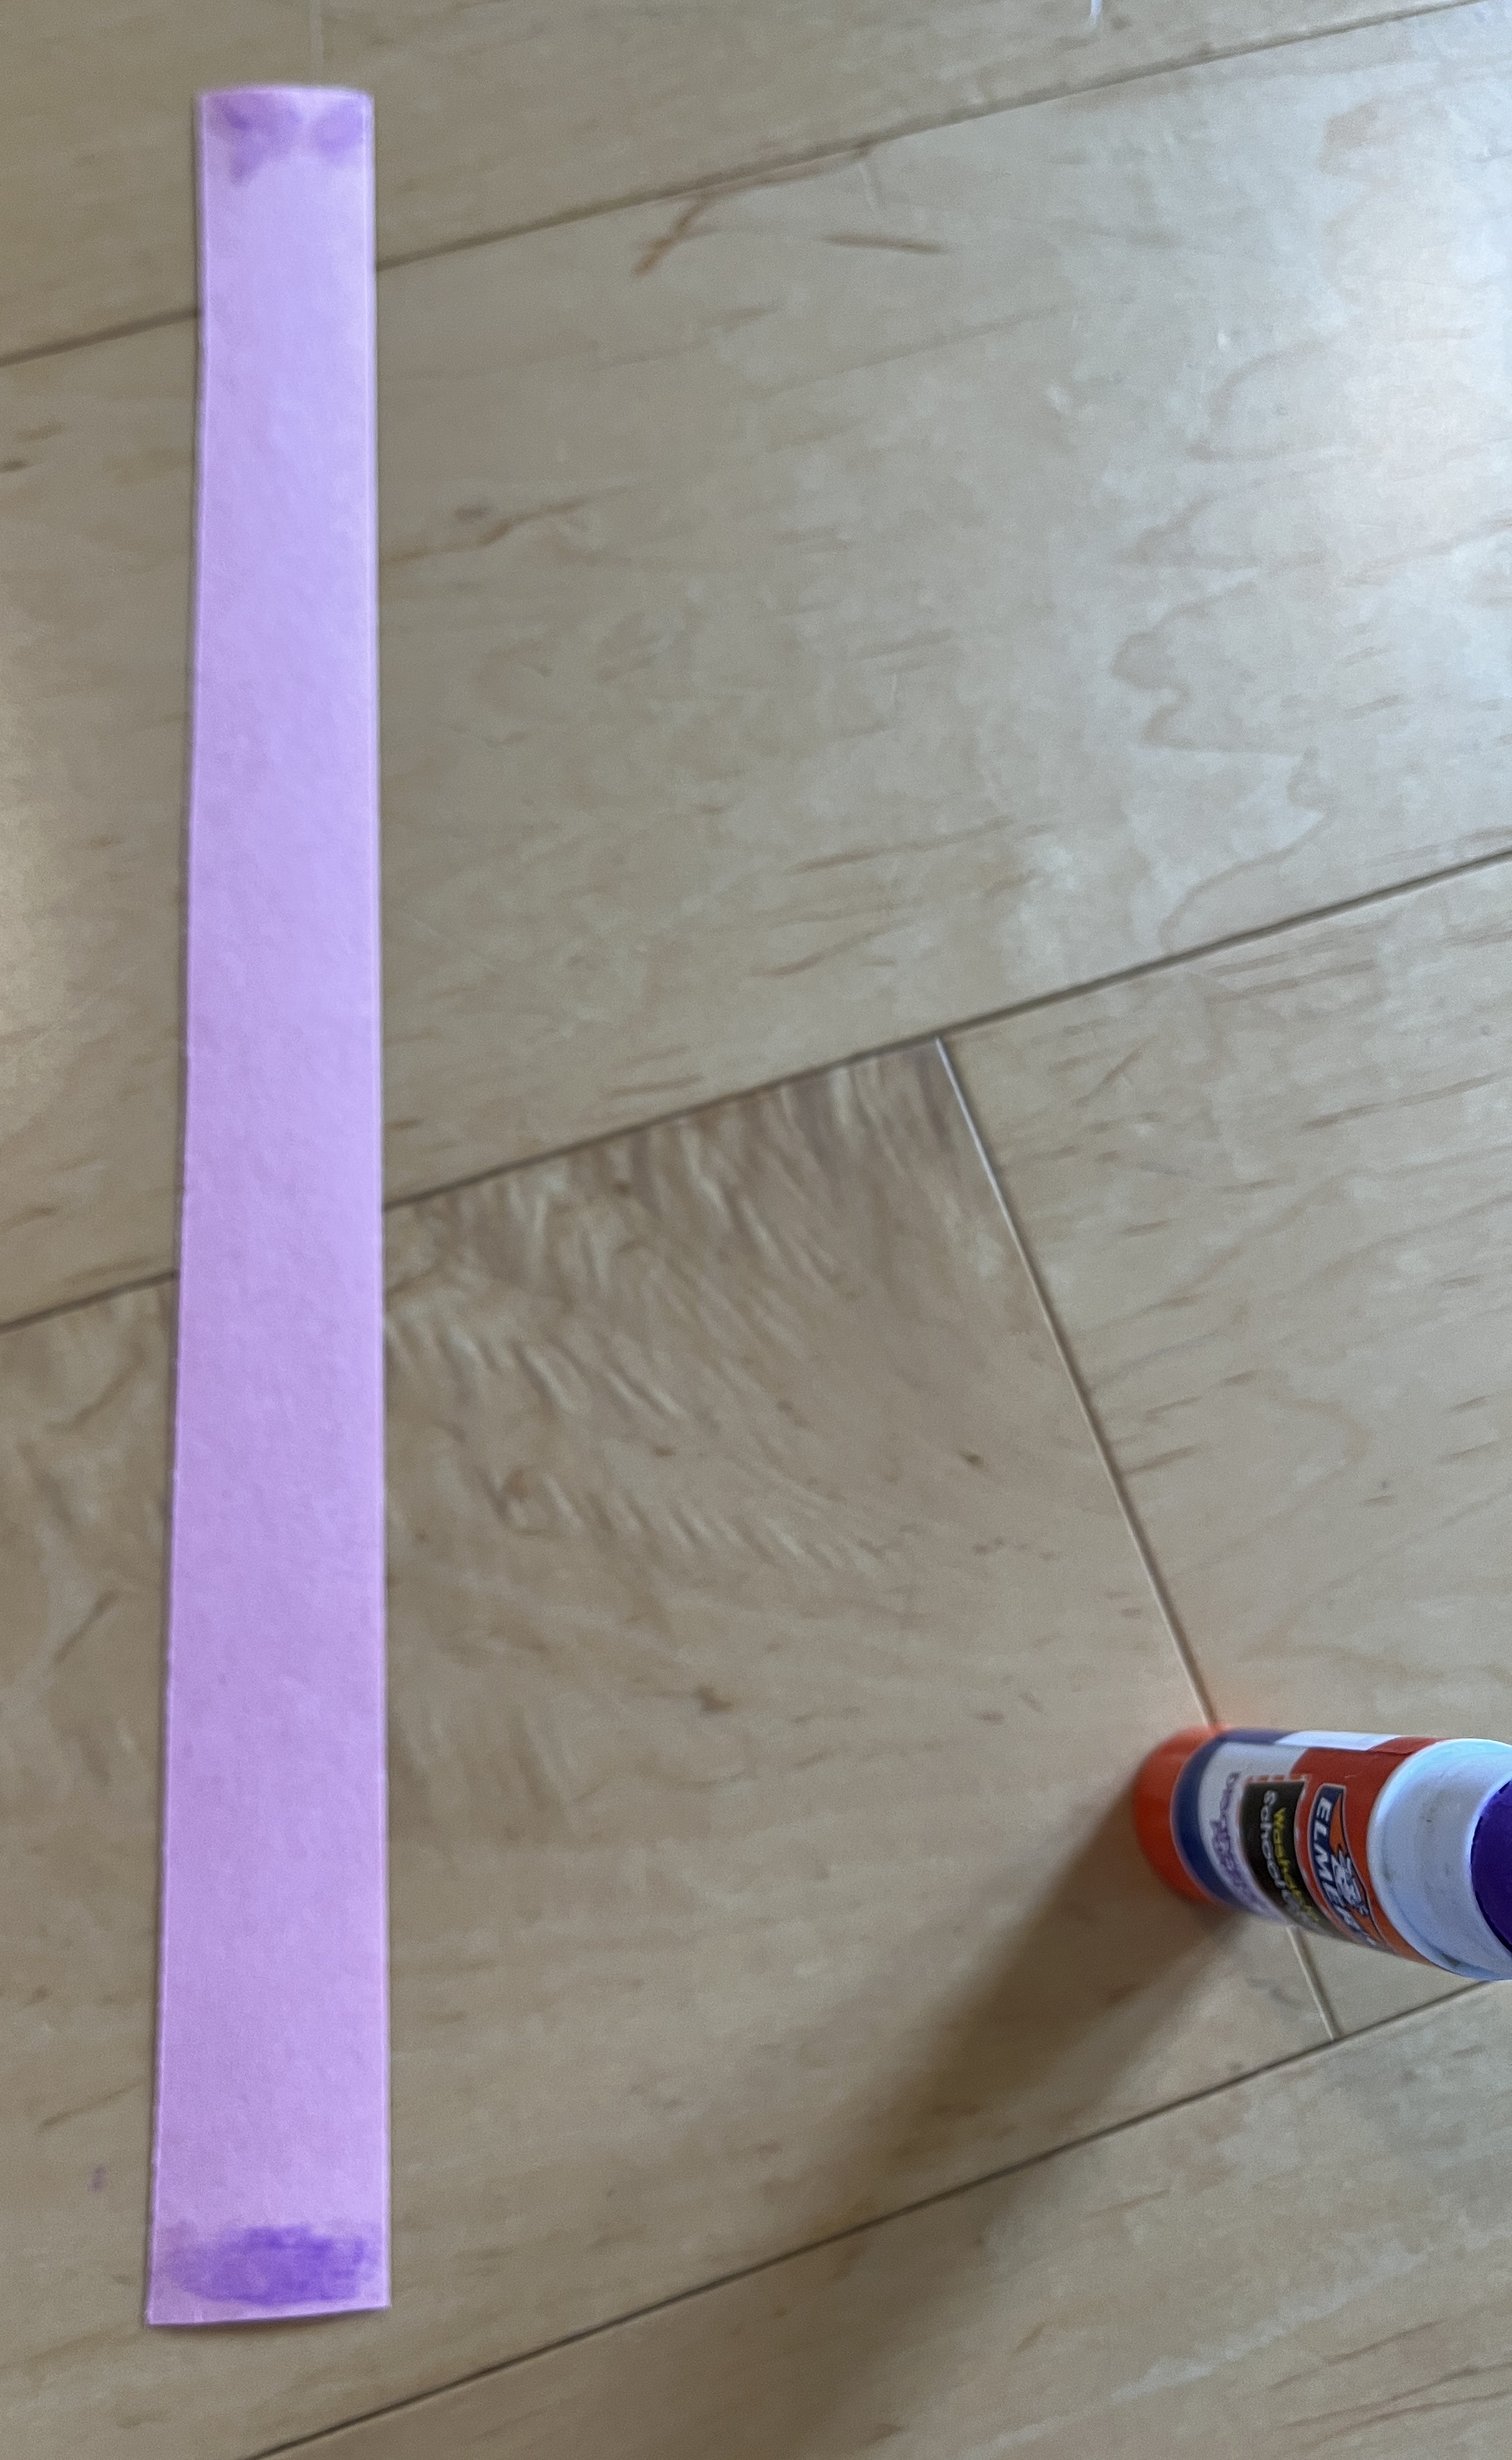
- Take a strip of paper. Add glue to each end.
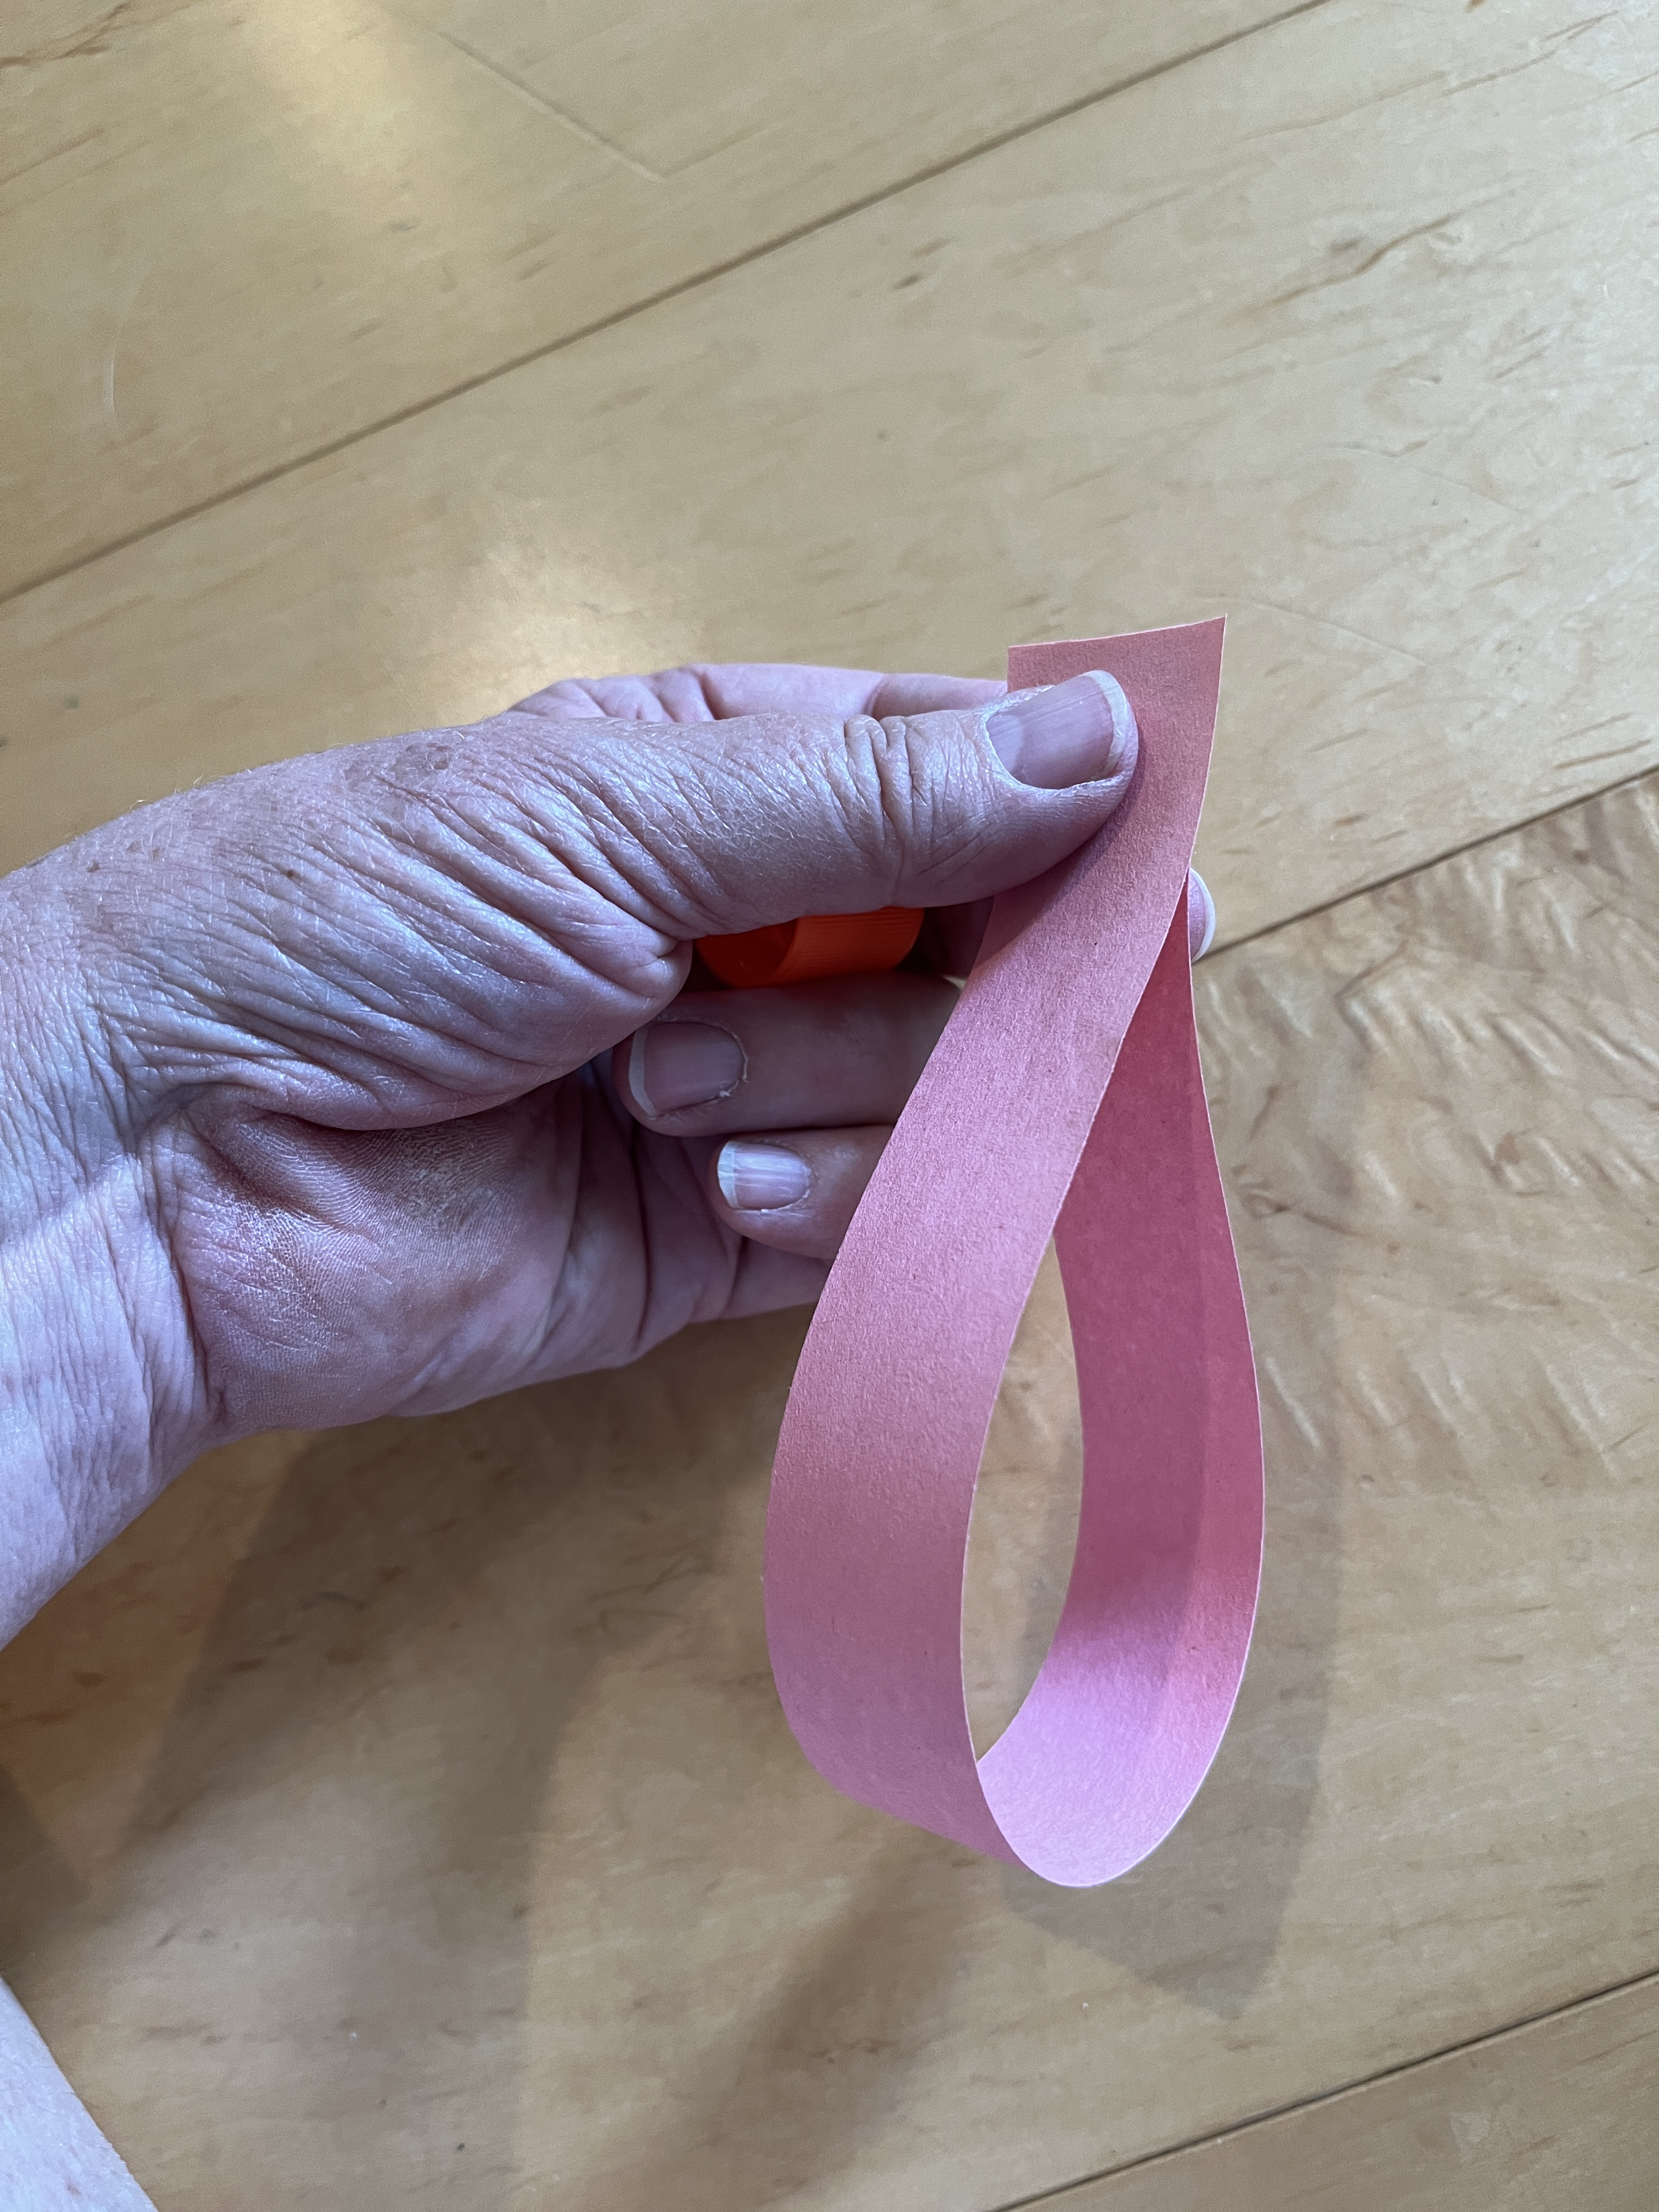
- Fold it and stick the two ends together.
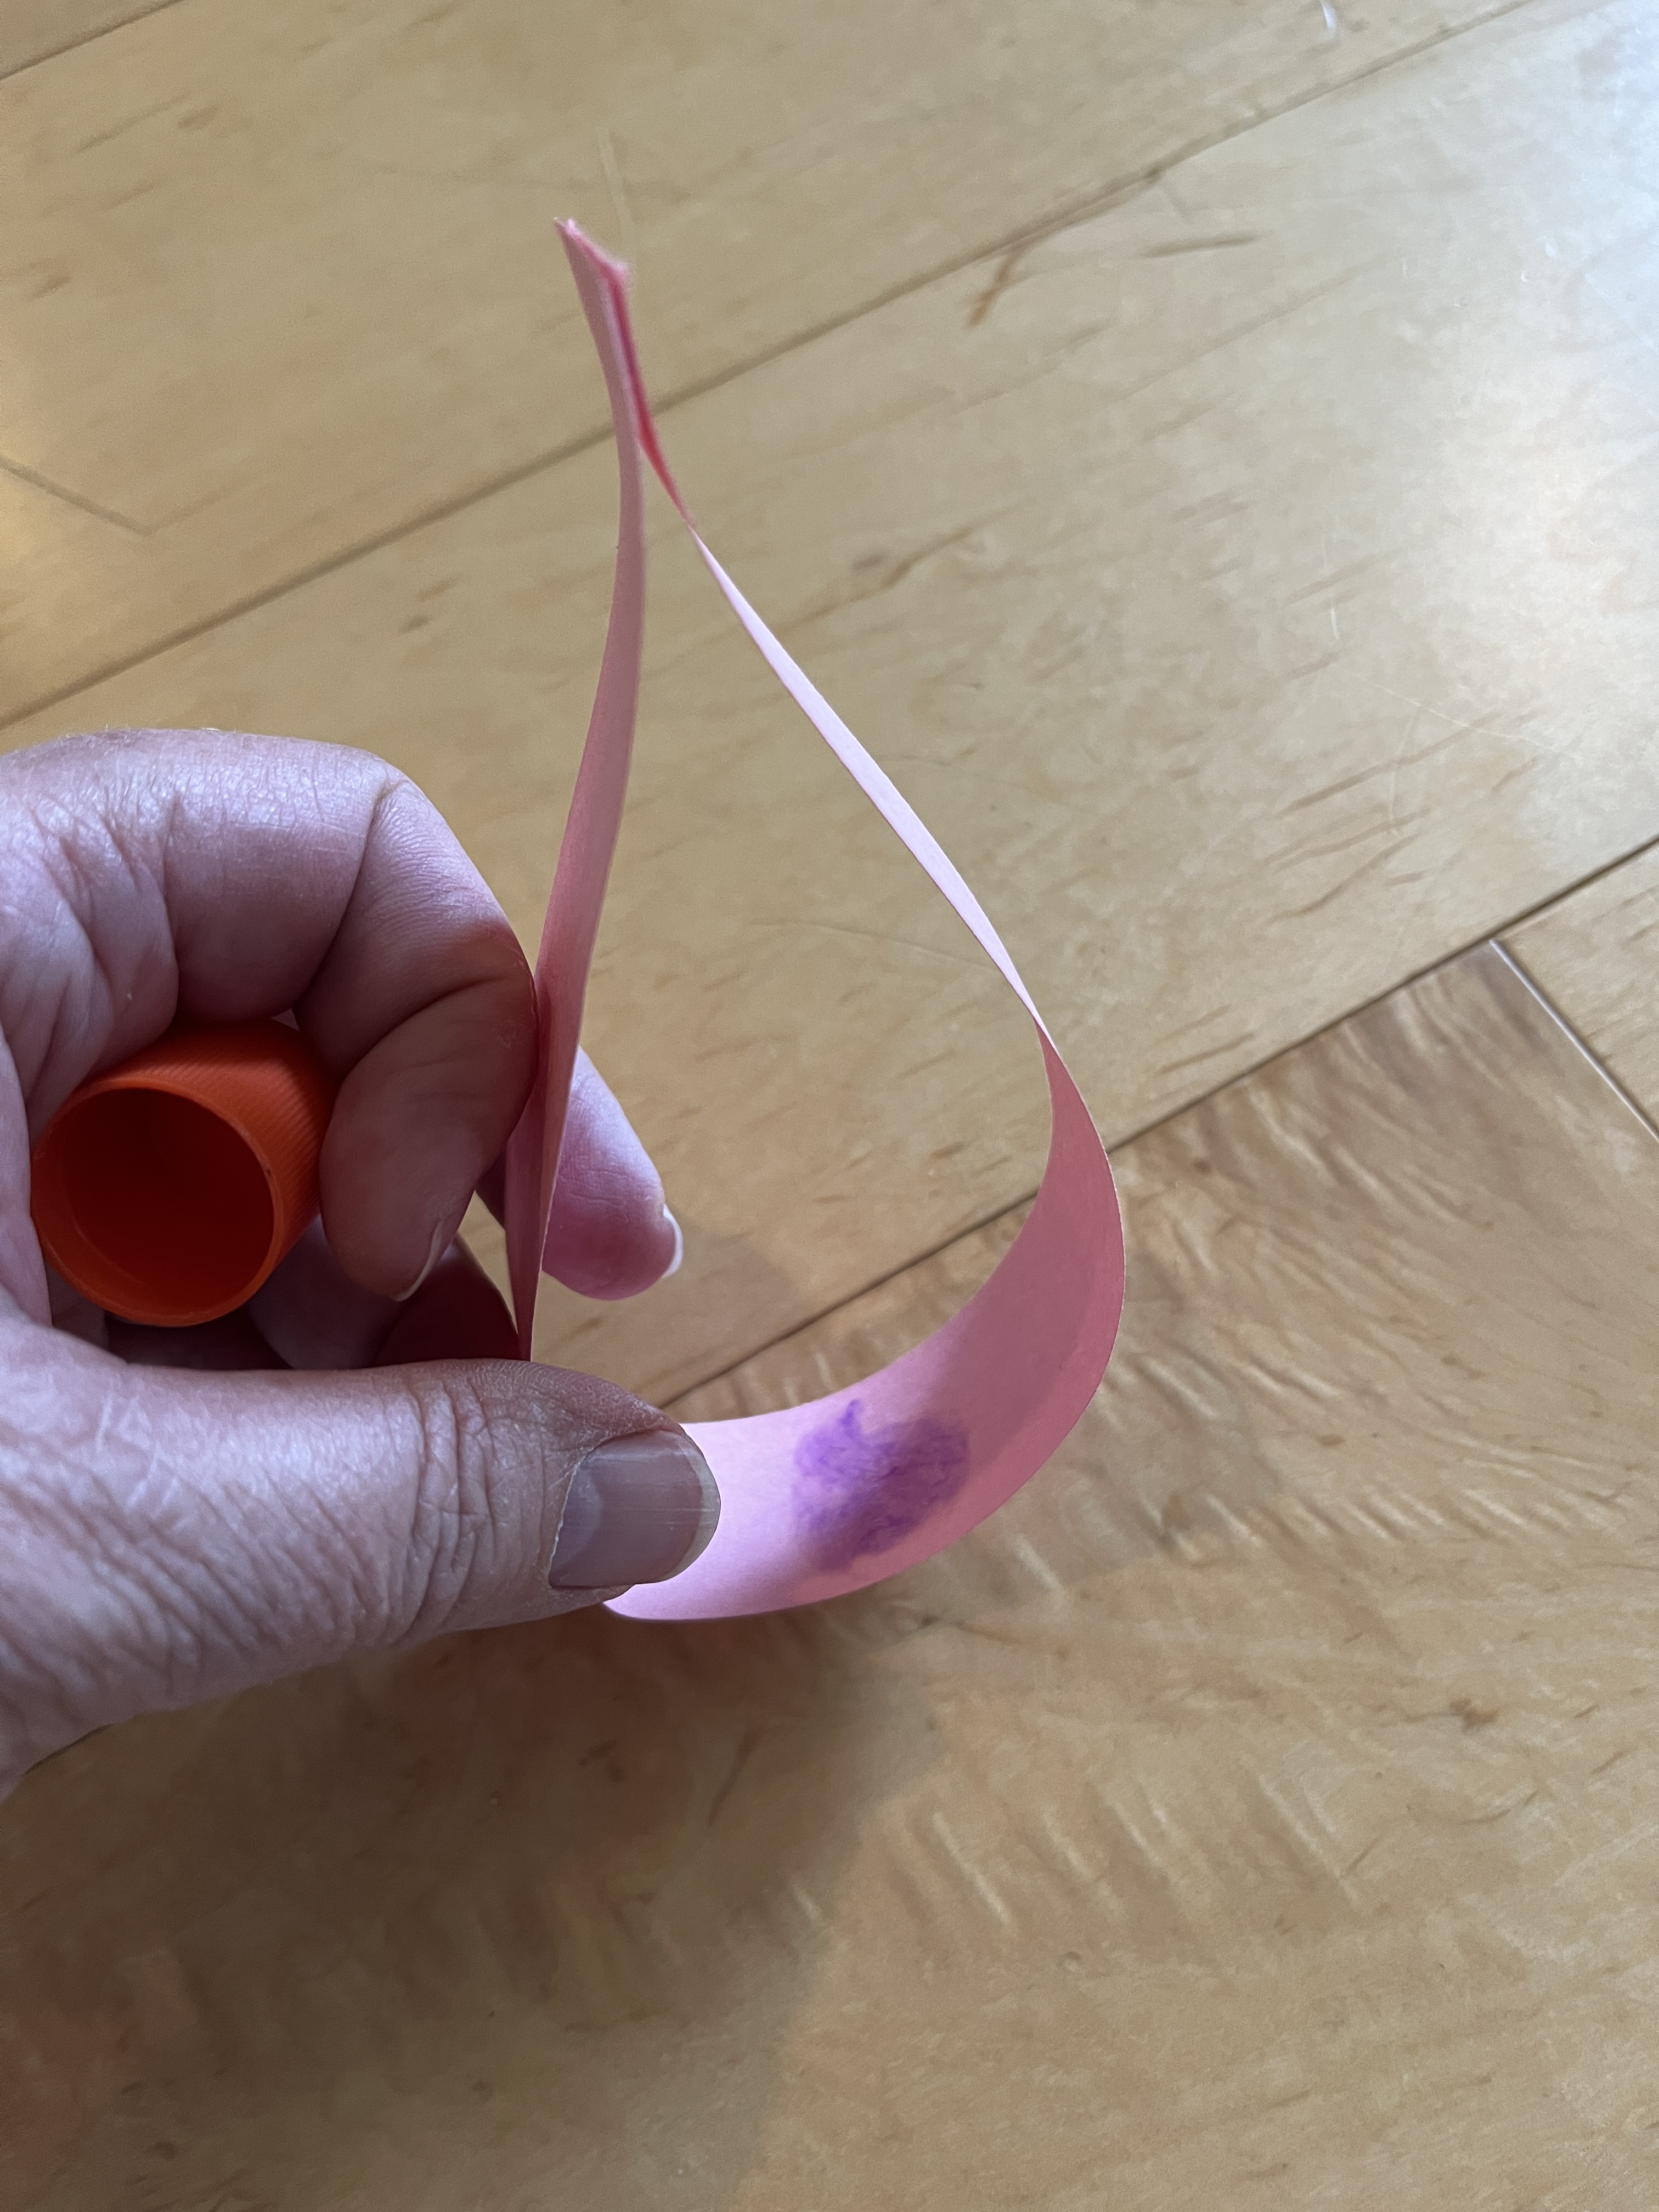
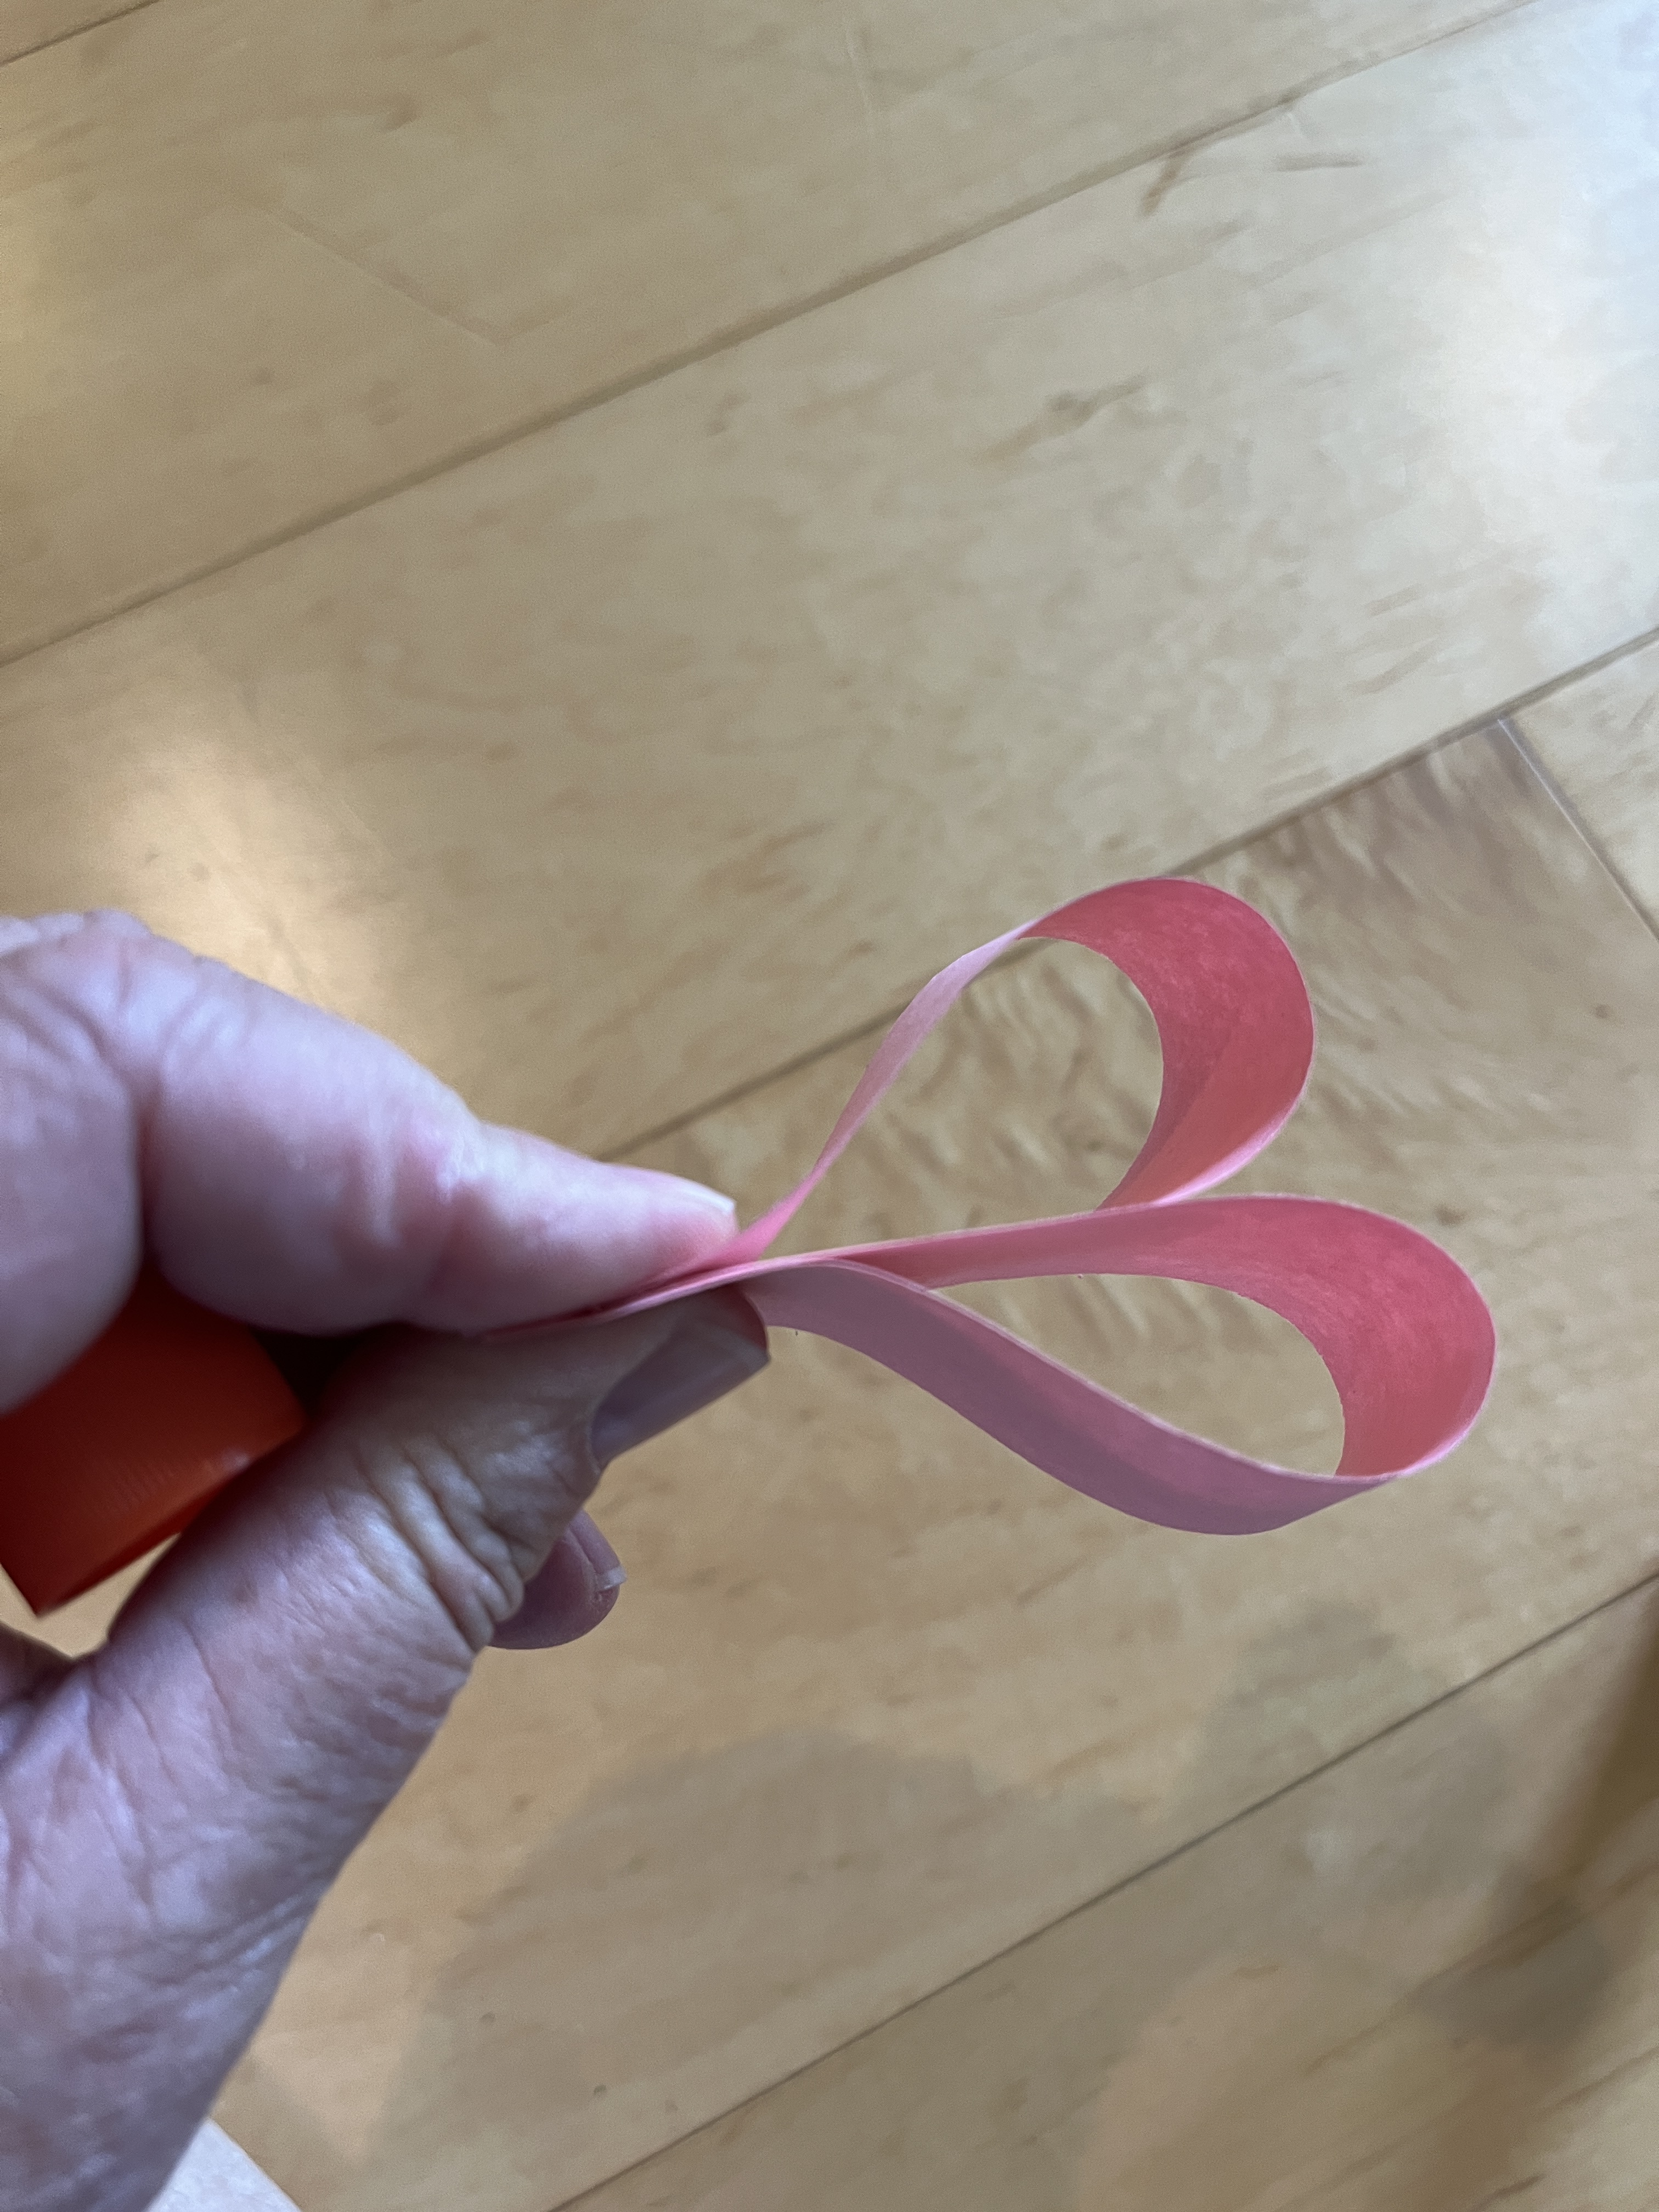
- Now hold it up and add glue to the inside of the loop, halfway round.
- Push that glue down into the “V” of the ends. Pinch together.
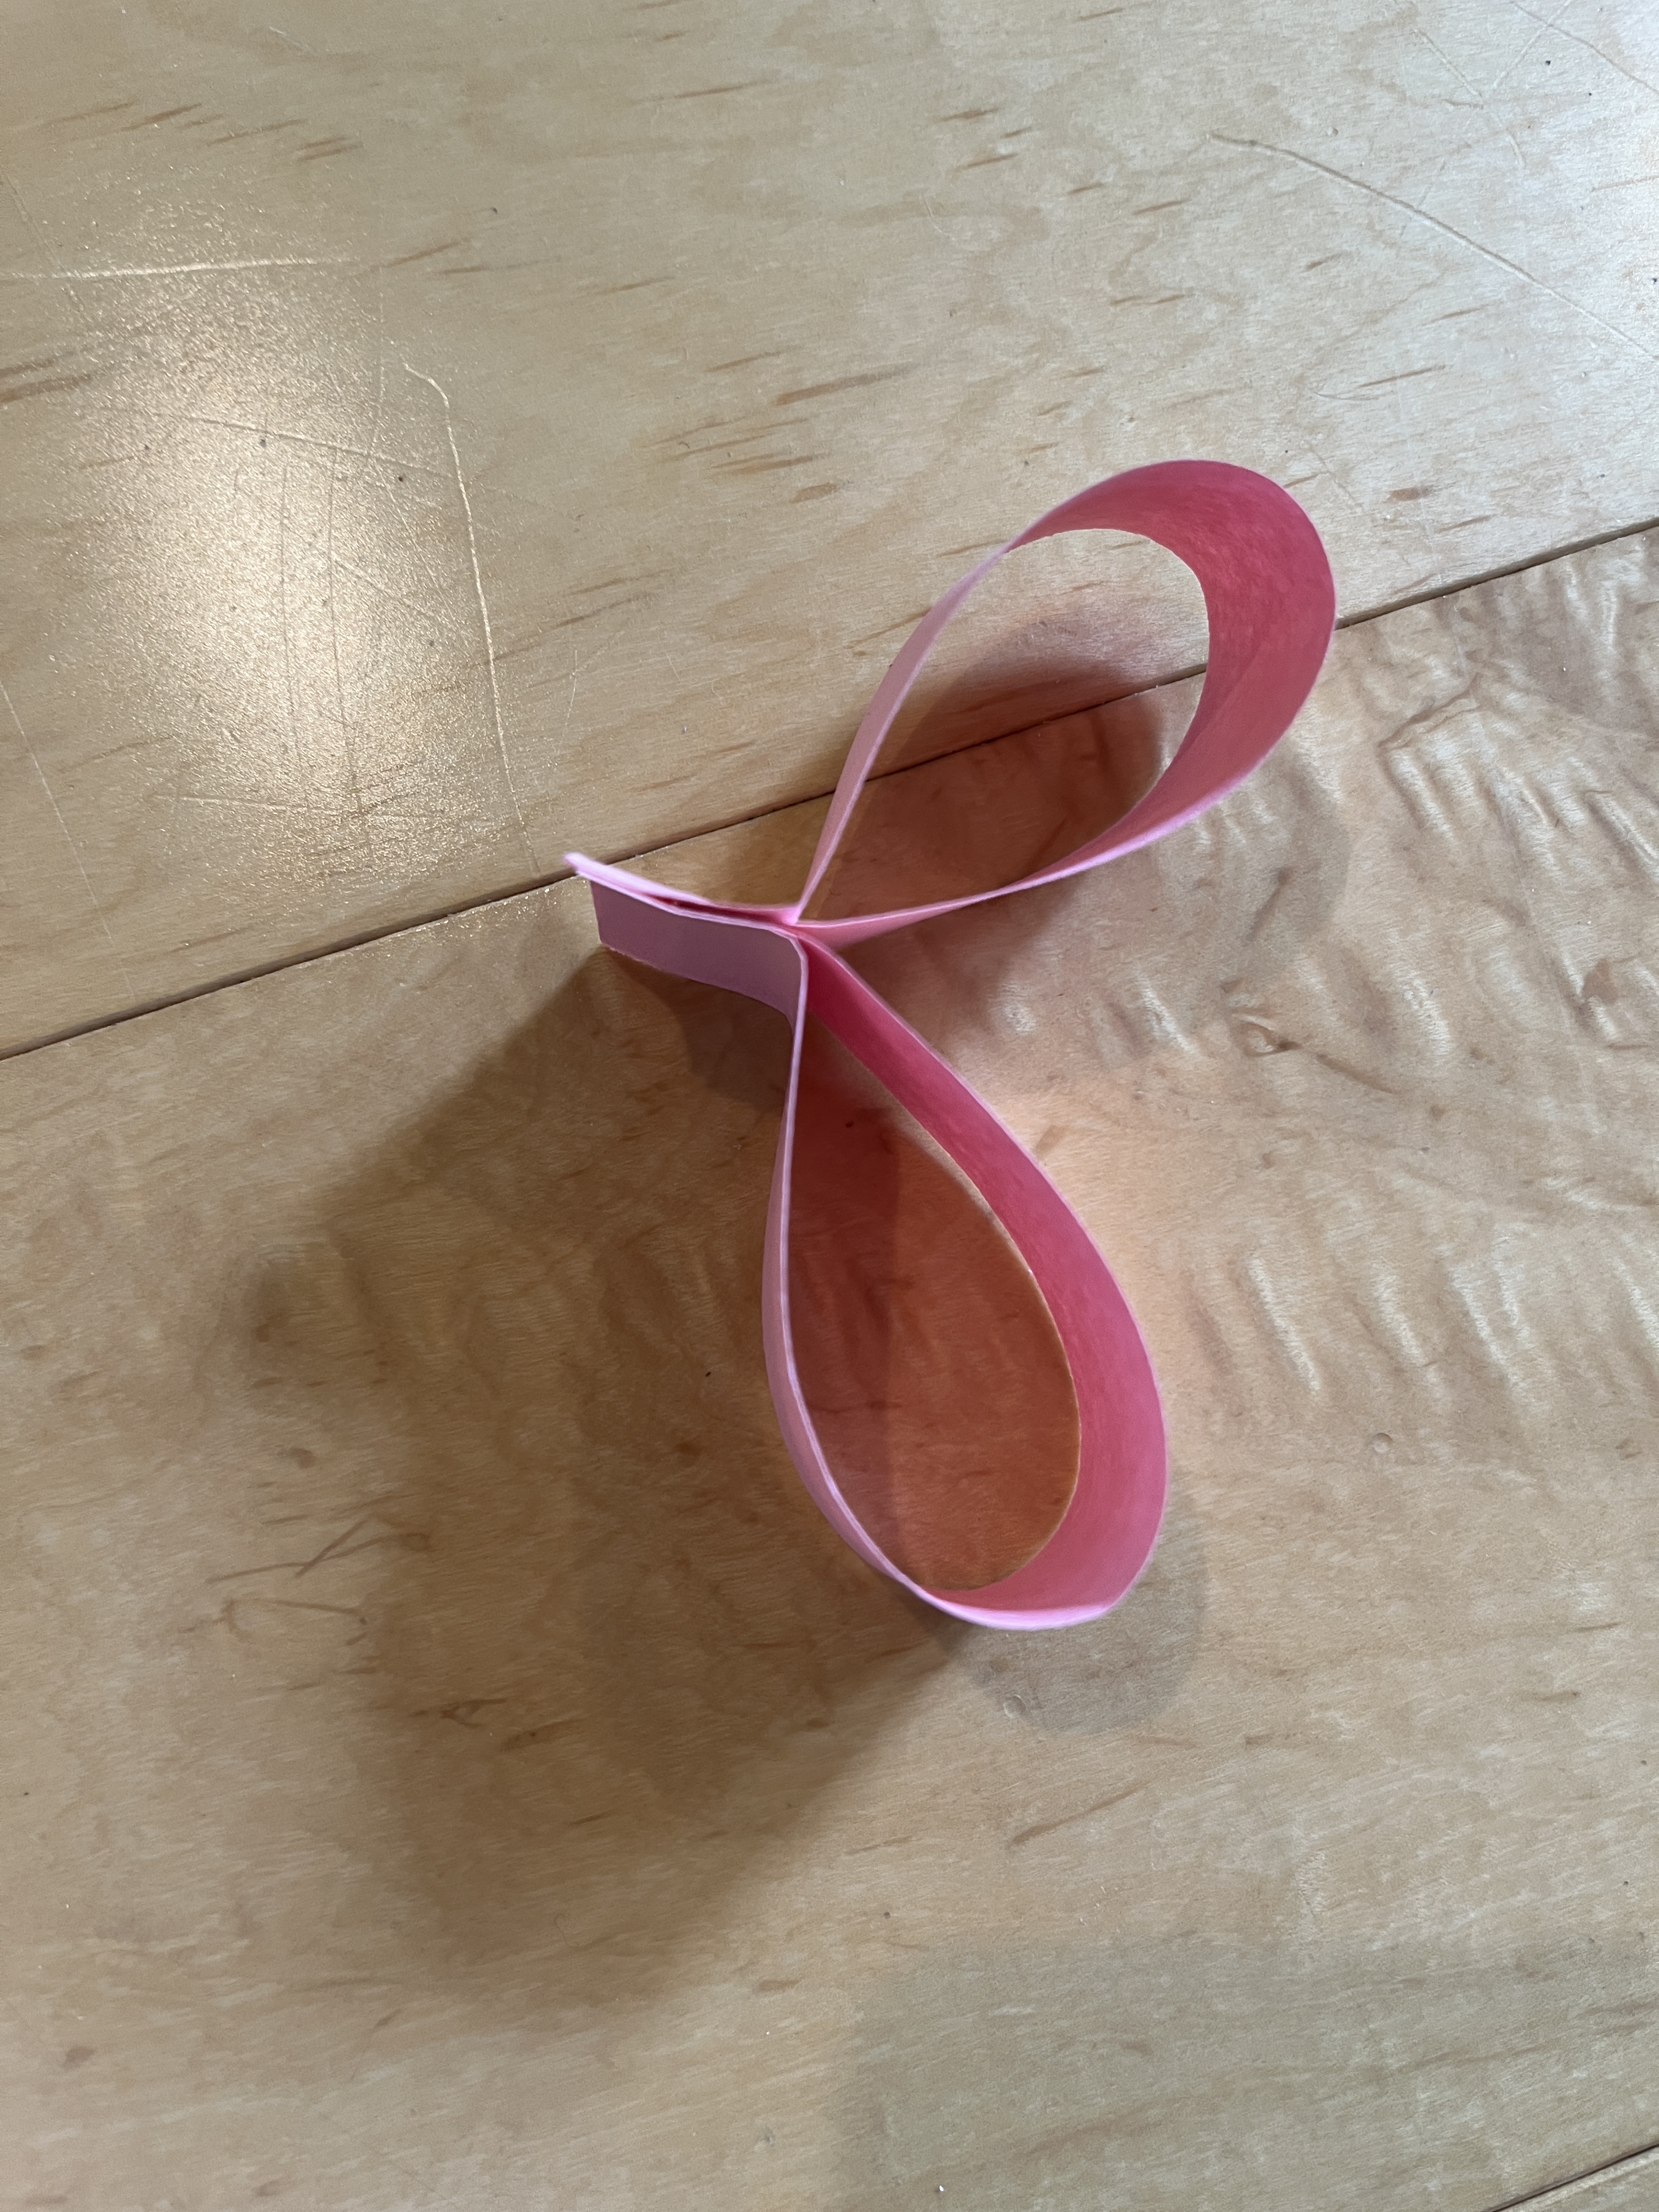
- Spread the wings.
- Let it fly! (Hold it so it is lying on its side when you let go.

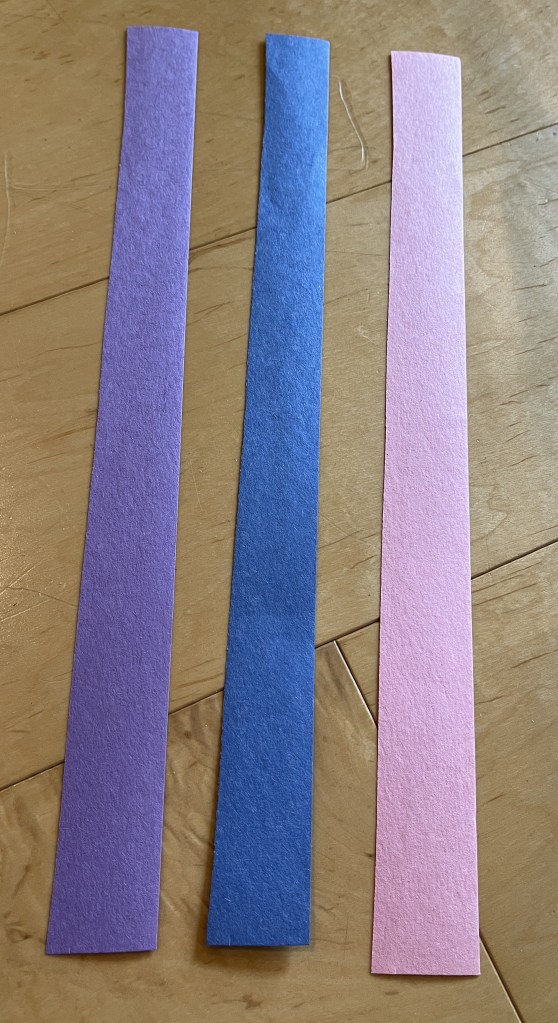
Paper Twirler
This one spins like a helicopter when you drop it. Note: preschool age kids likely can’t do steps 5 and 6, and elementary kids will need support with doing it. (Source: Techno Kri Art)
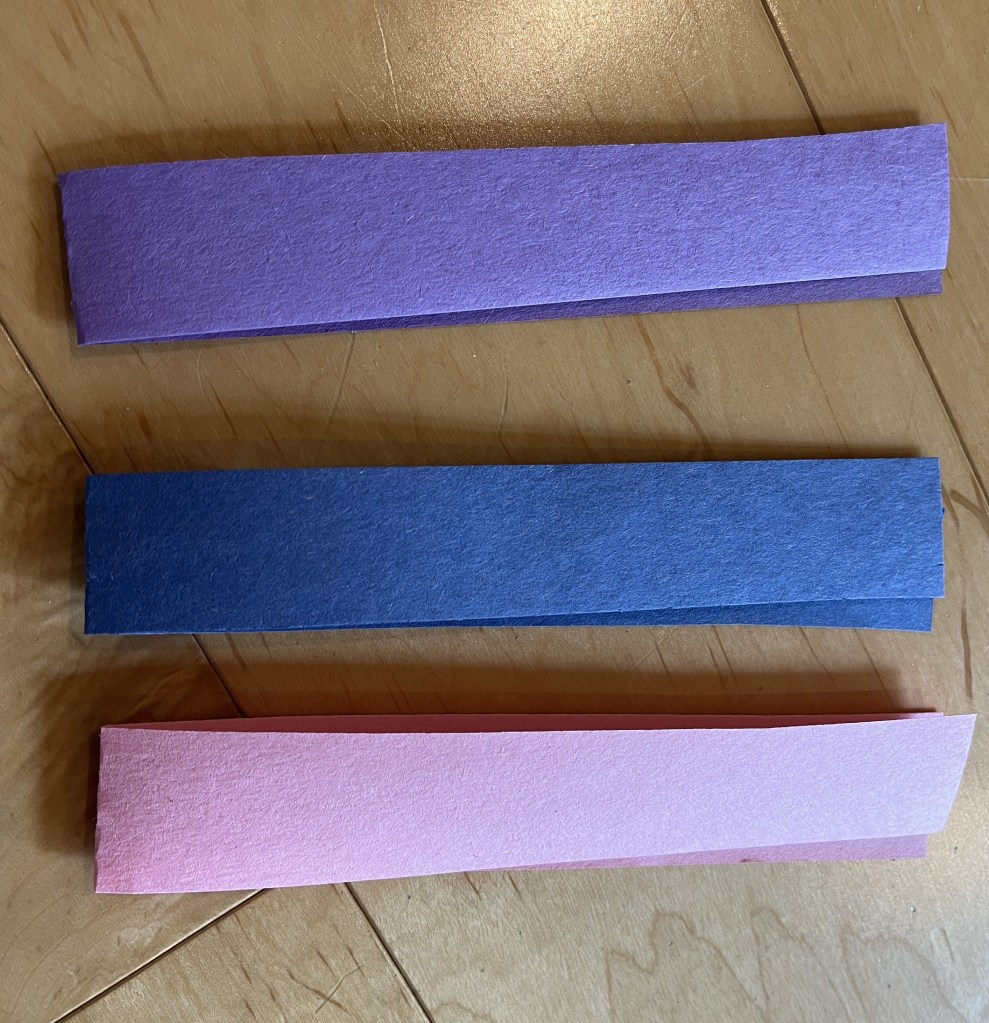
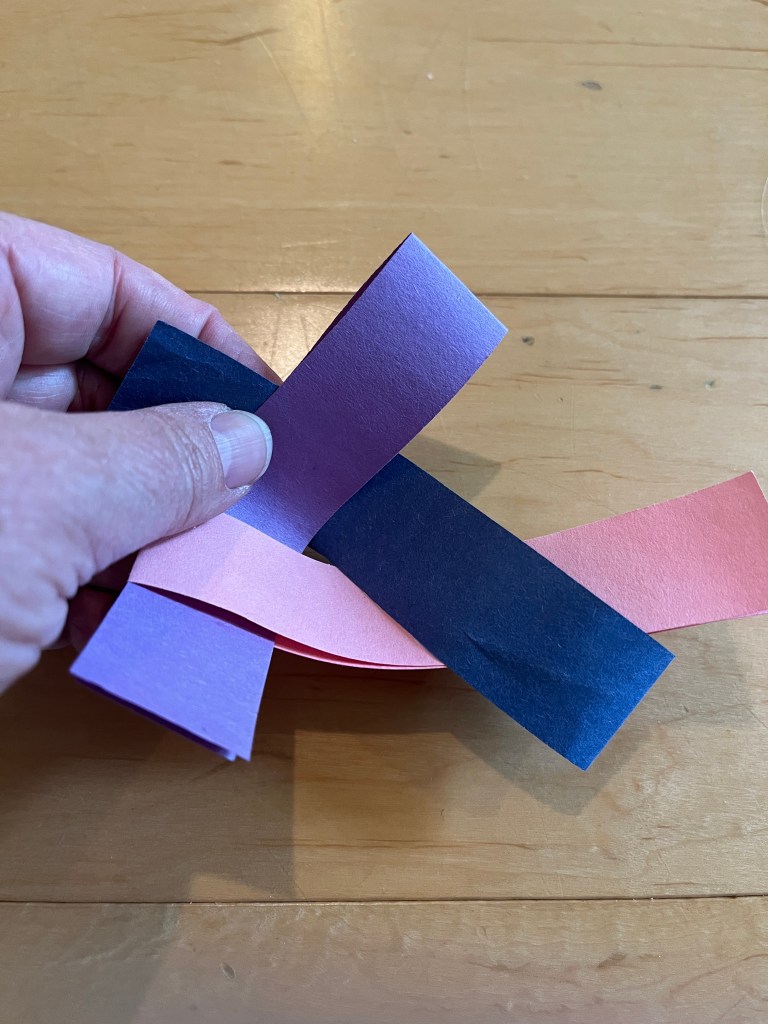
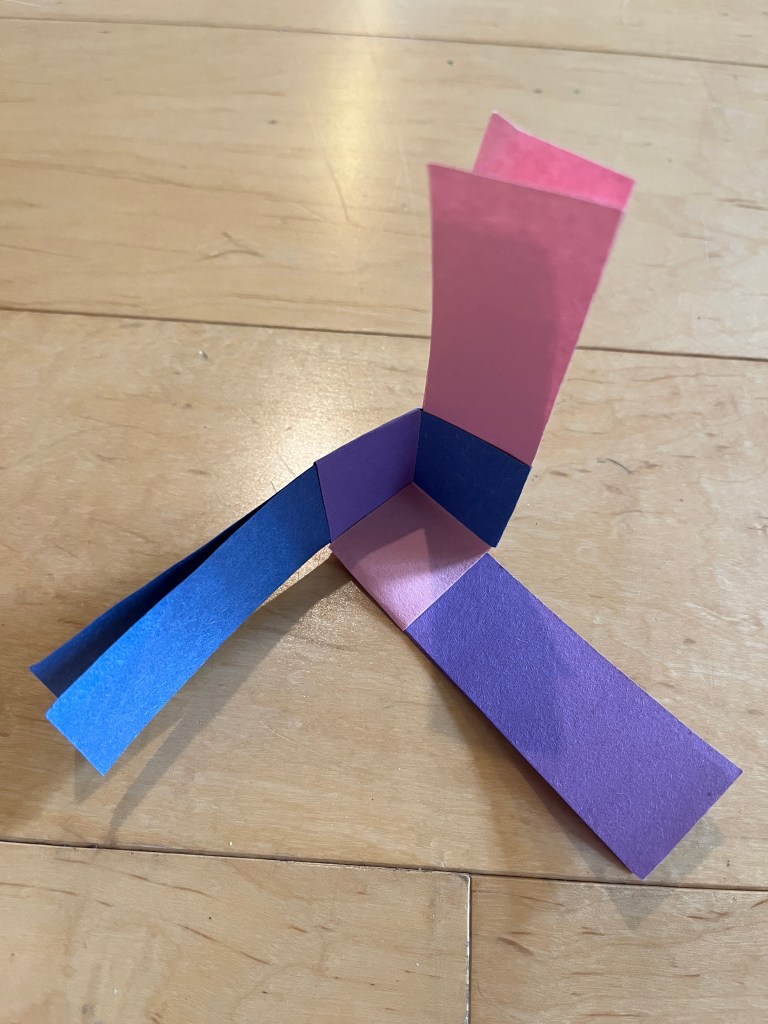
- Cut three long strips of paper.
- Fold each in half.
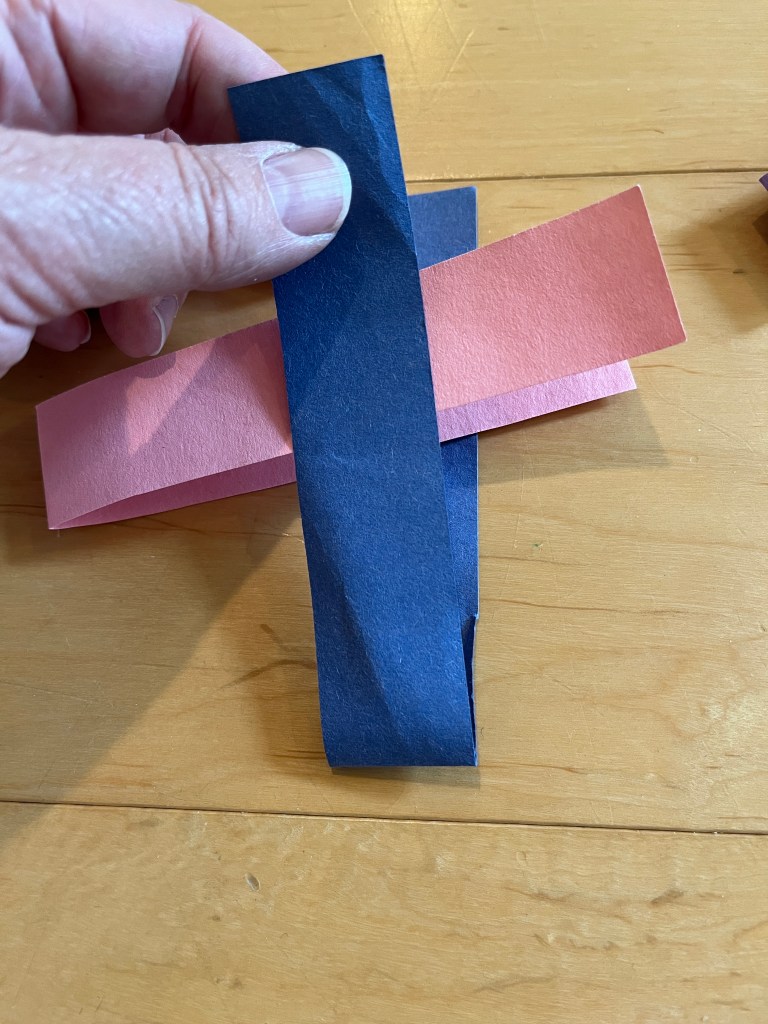
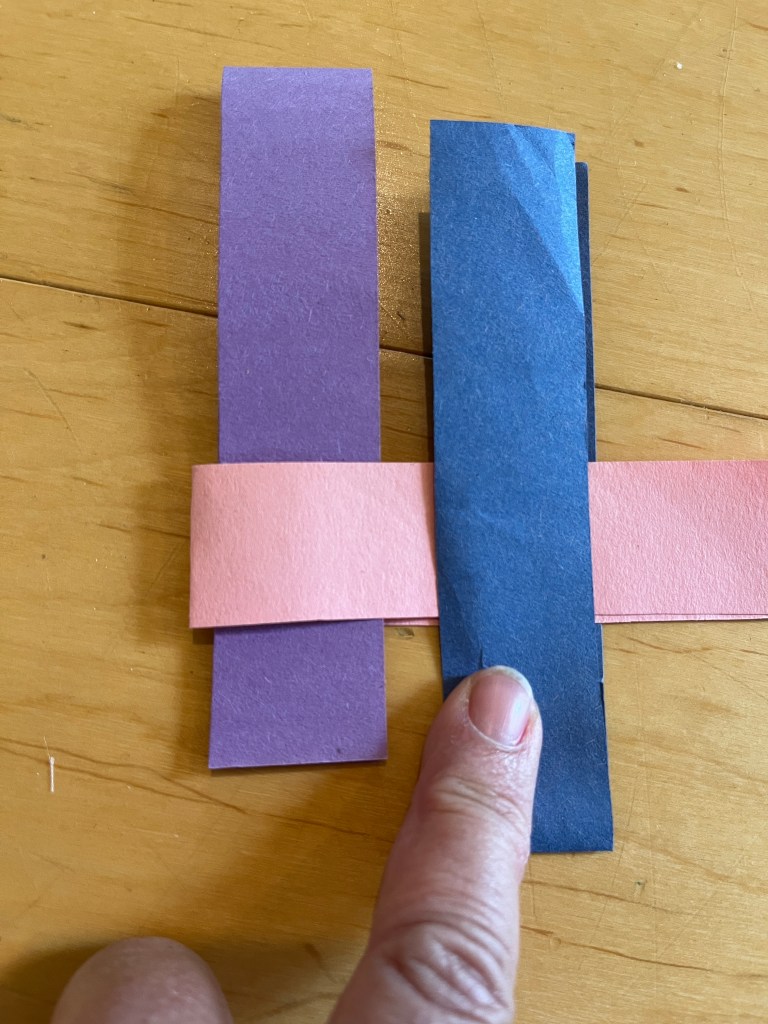
- Wrap B around the outside of A, loose ends to the top.
- Tuck C inside of A, loose ends to the bottom.
- Tuck the loose ends of B inside the folded end of C.
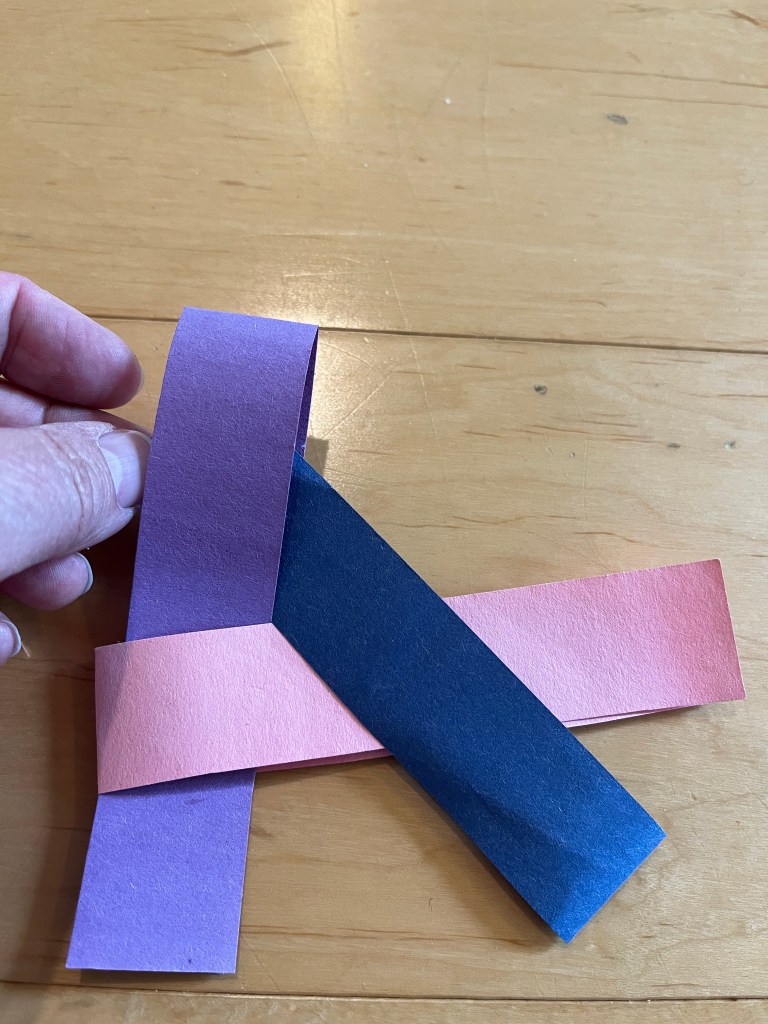
- Now, tighten this up… Tug on A, tug on B, tug on C, and so on, until all the angles are tight. This step is tricky, so I made a video of it – see below.
- Throw into air, or drop from stairs to see it twirl.
Here are the video instructions.
Here are written instructions you can print.
Helicopter
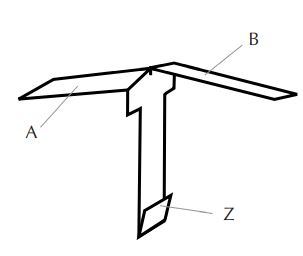
- Print template, or just sketch one out on paper. (original source: Orlando Science Museum)
- Cut along center line on top half. These are the “wings” – fold one forward and one backward.
- Make two short cuts just below midline, as shown.
- Then fold in the sides of the bottom section.
- Fold up the bottom bit. (Can staple or paper clip to add extra weight to see how that affects spin)
- Drop and watch it spin.
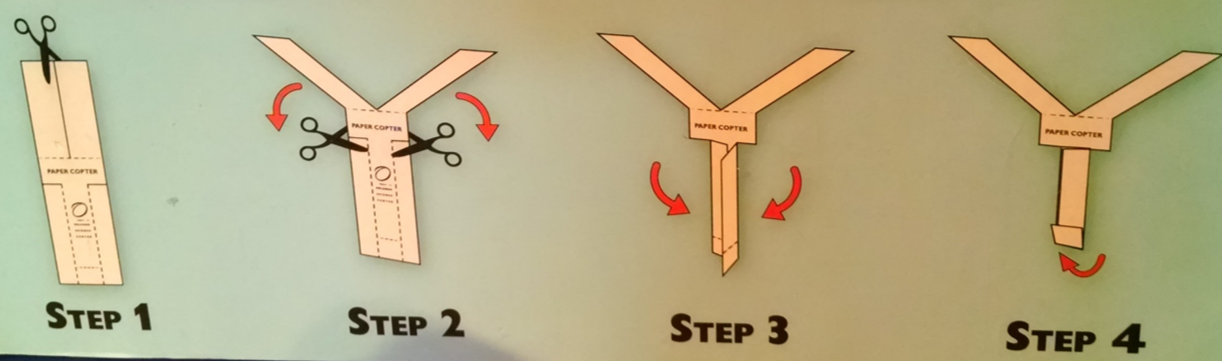
This illustration is from NASA and you can find more instructions at that link.
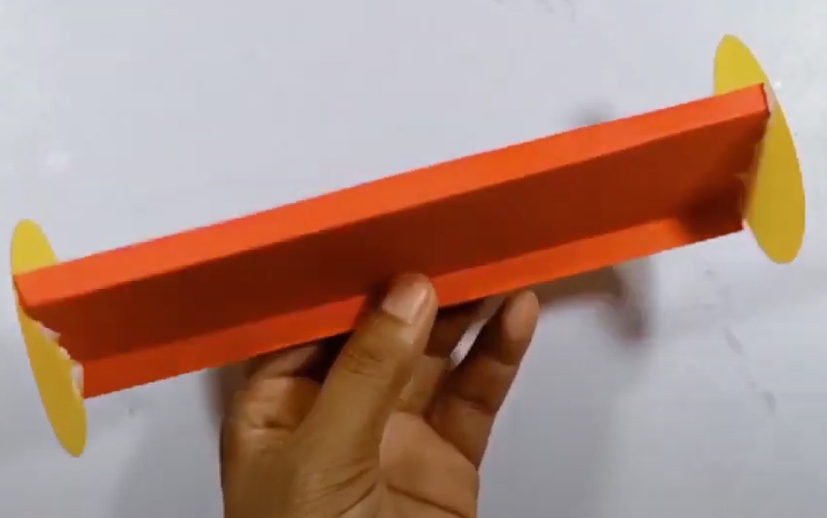
Spinner
At the simplest level, all you have to do is cut a fat strip of paper (maybe 3×8), fold one long edge up, and fold one long edge down.
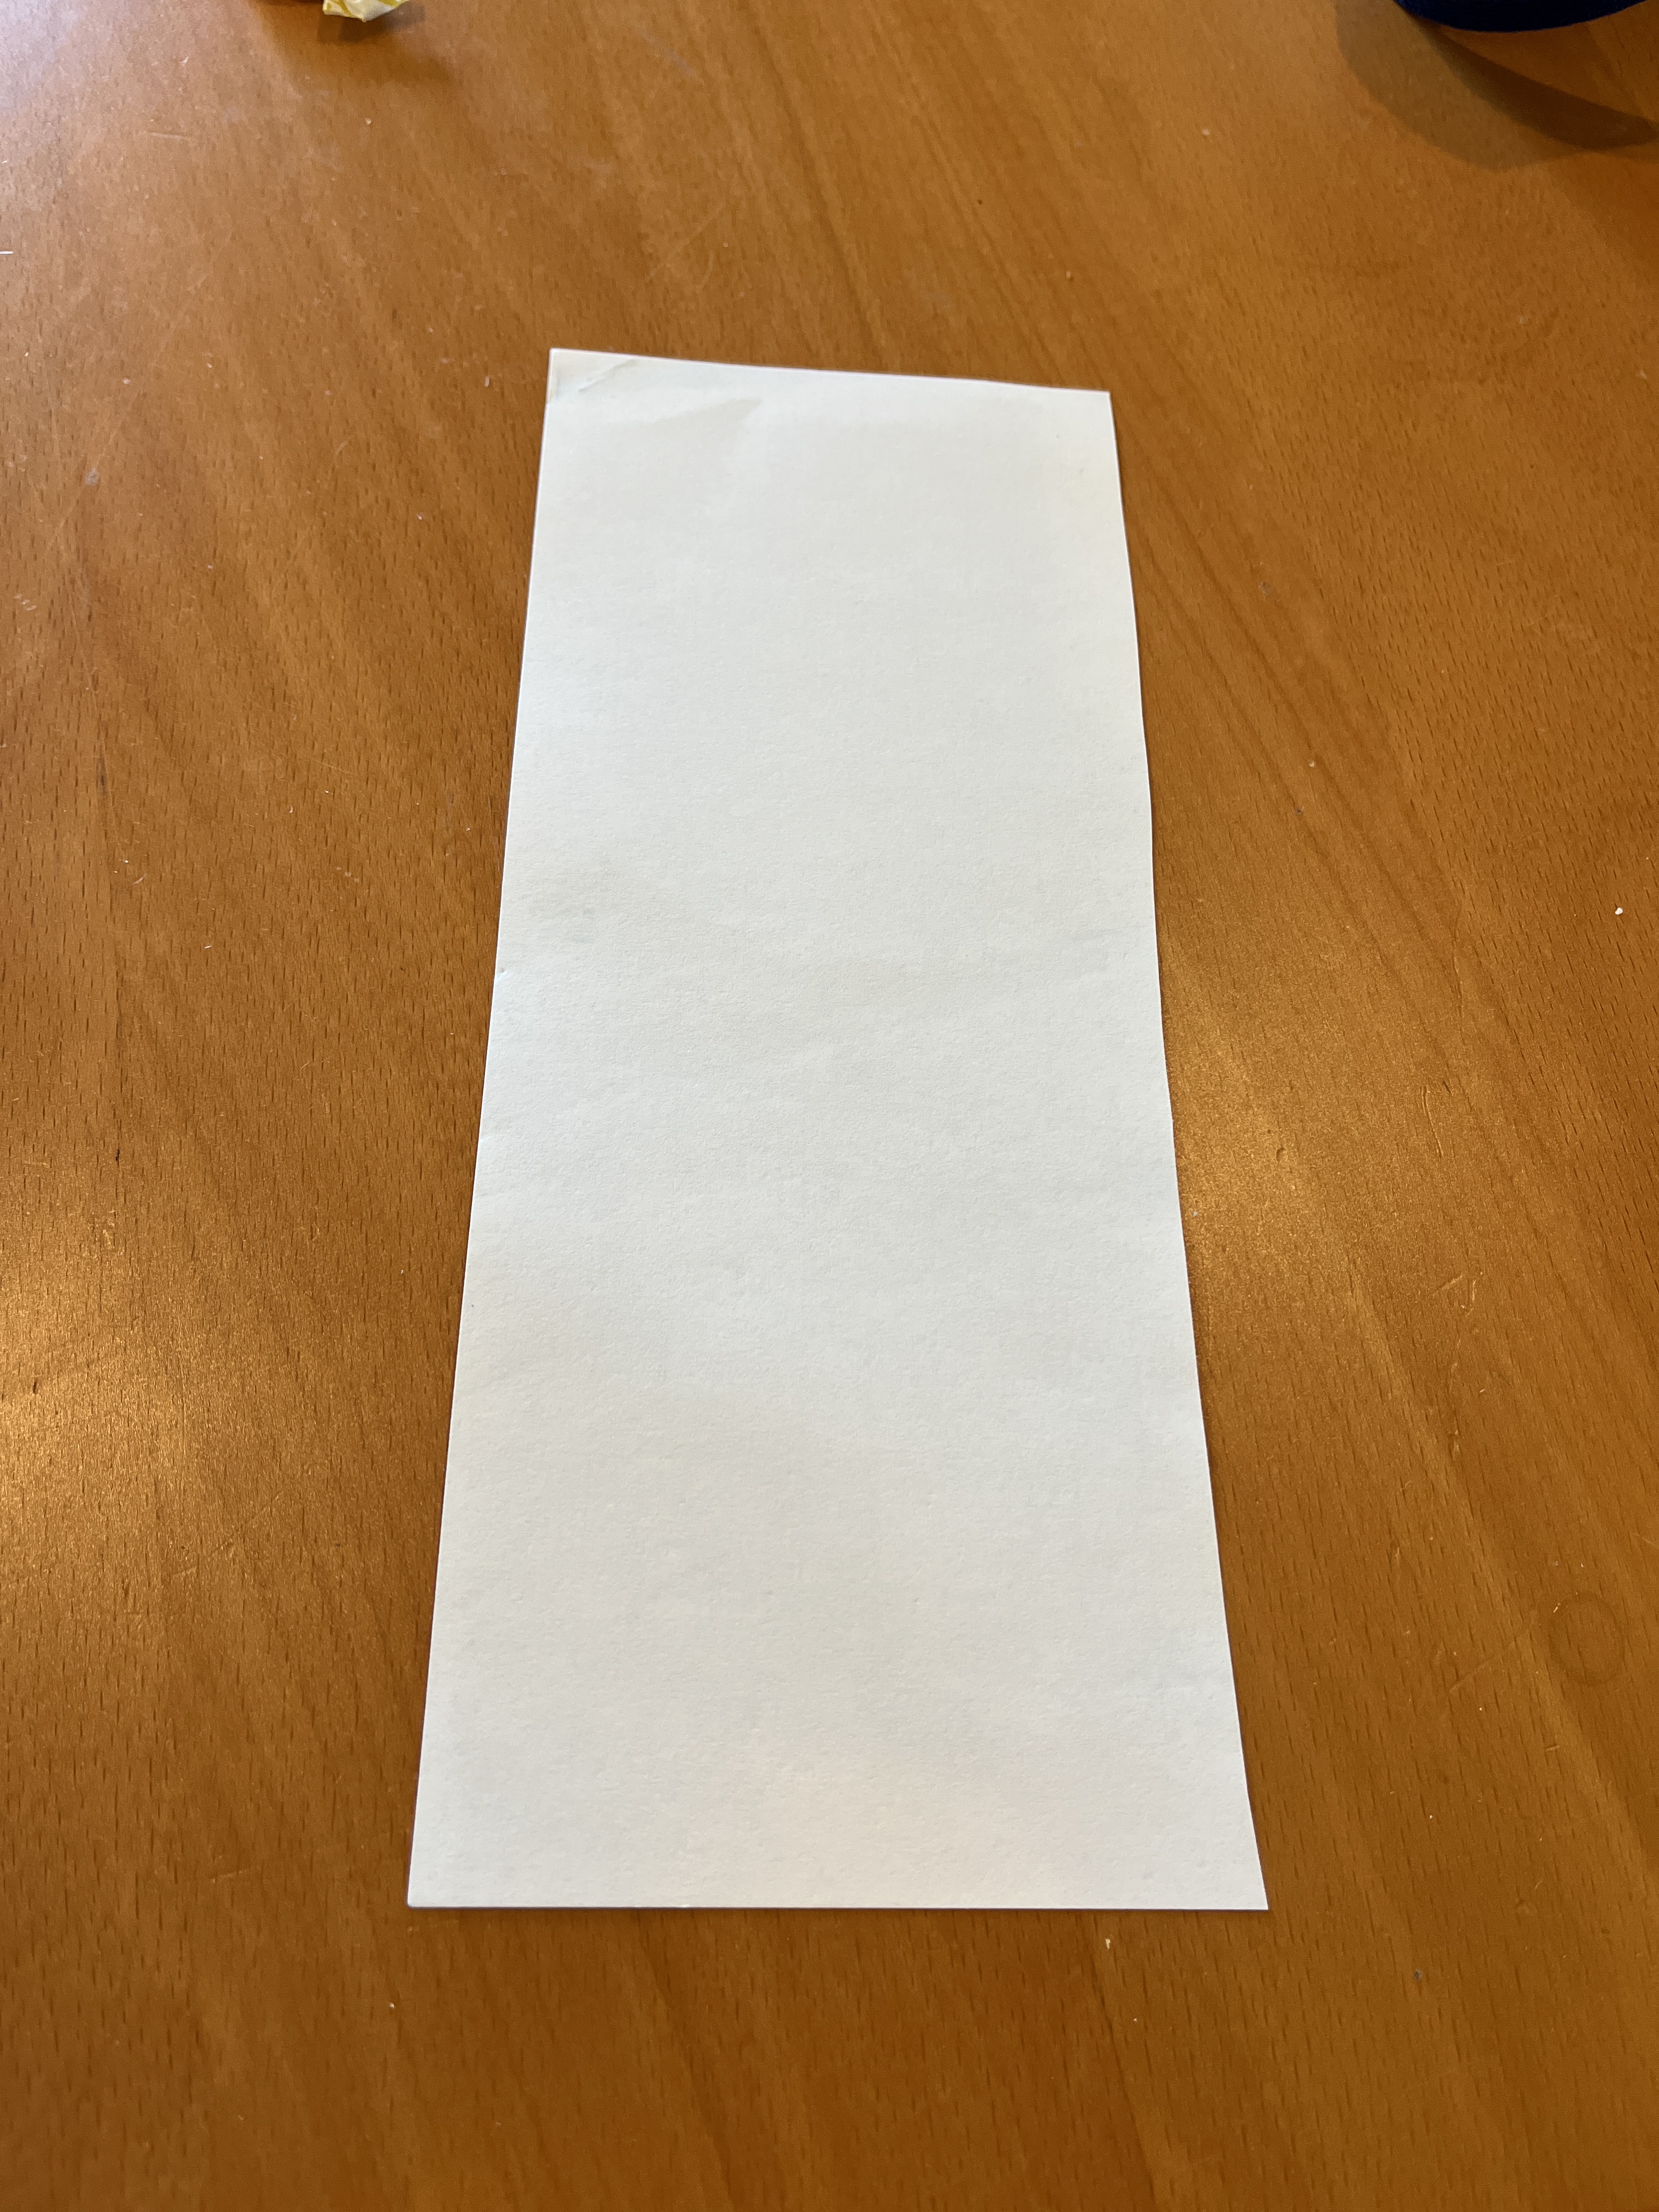

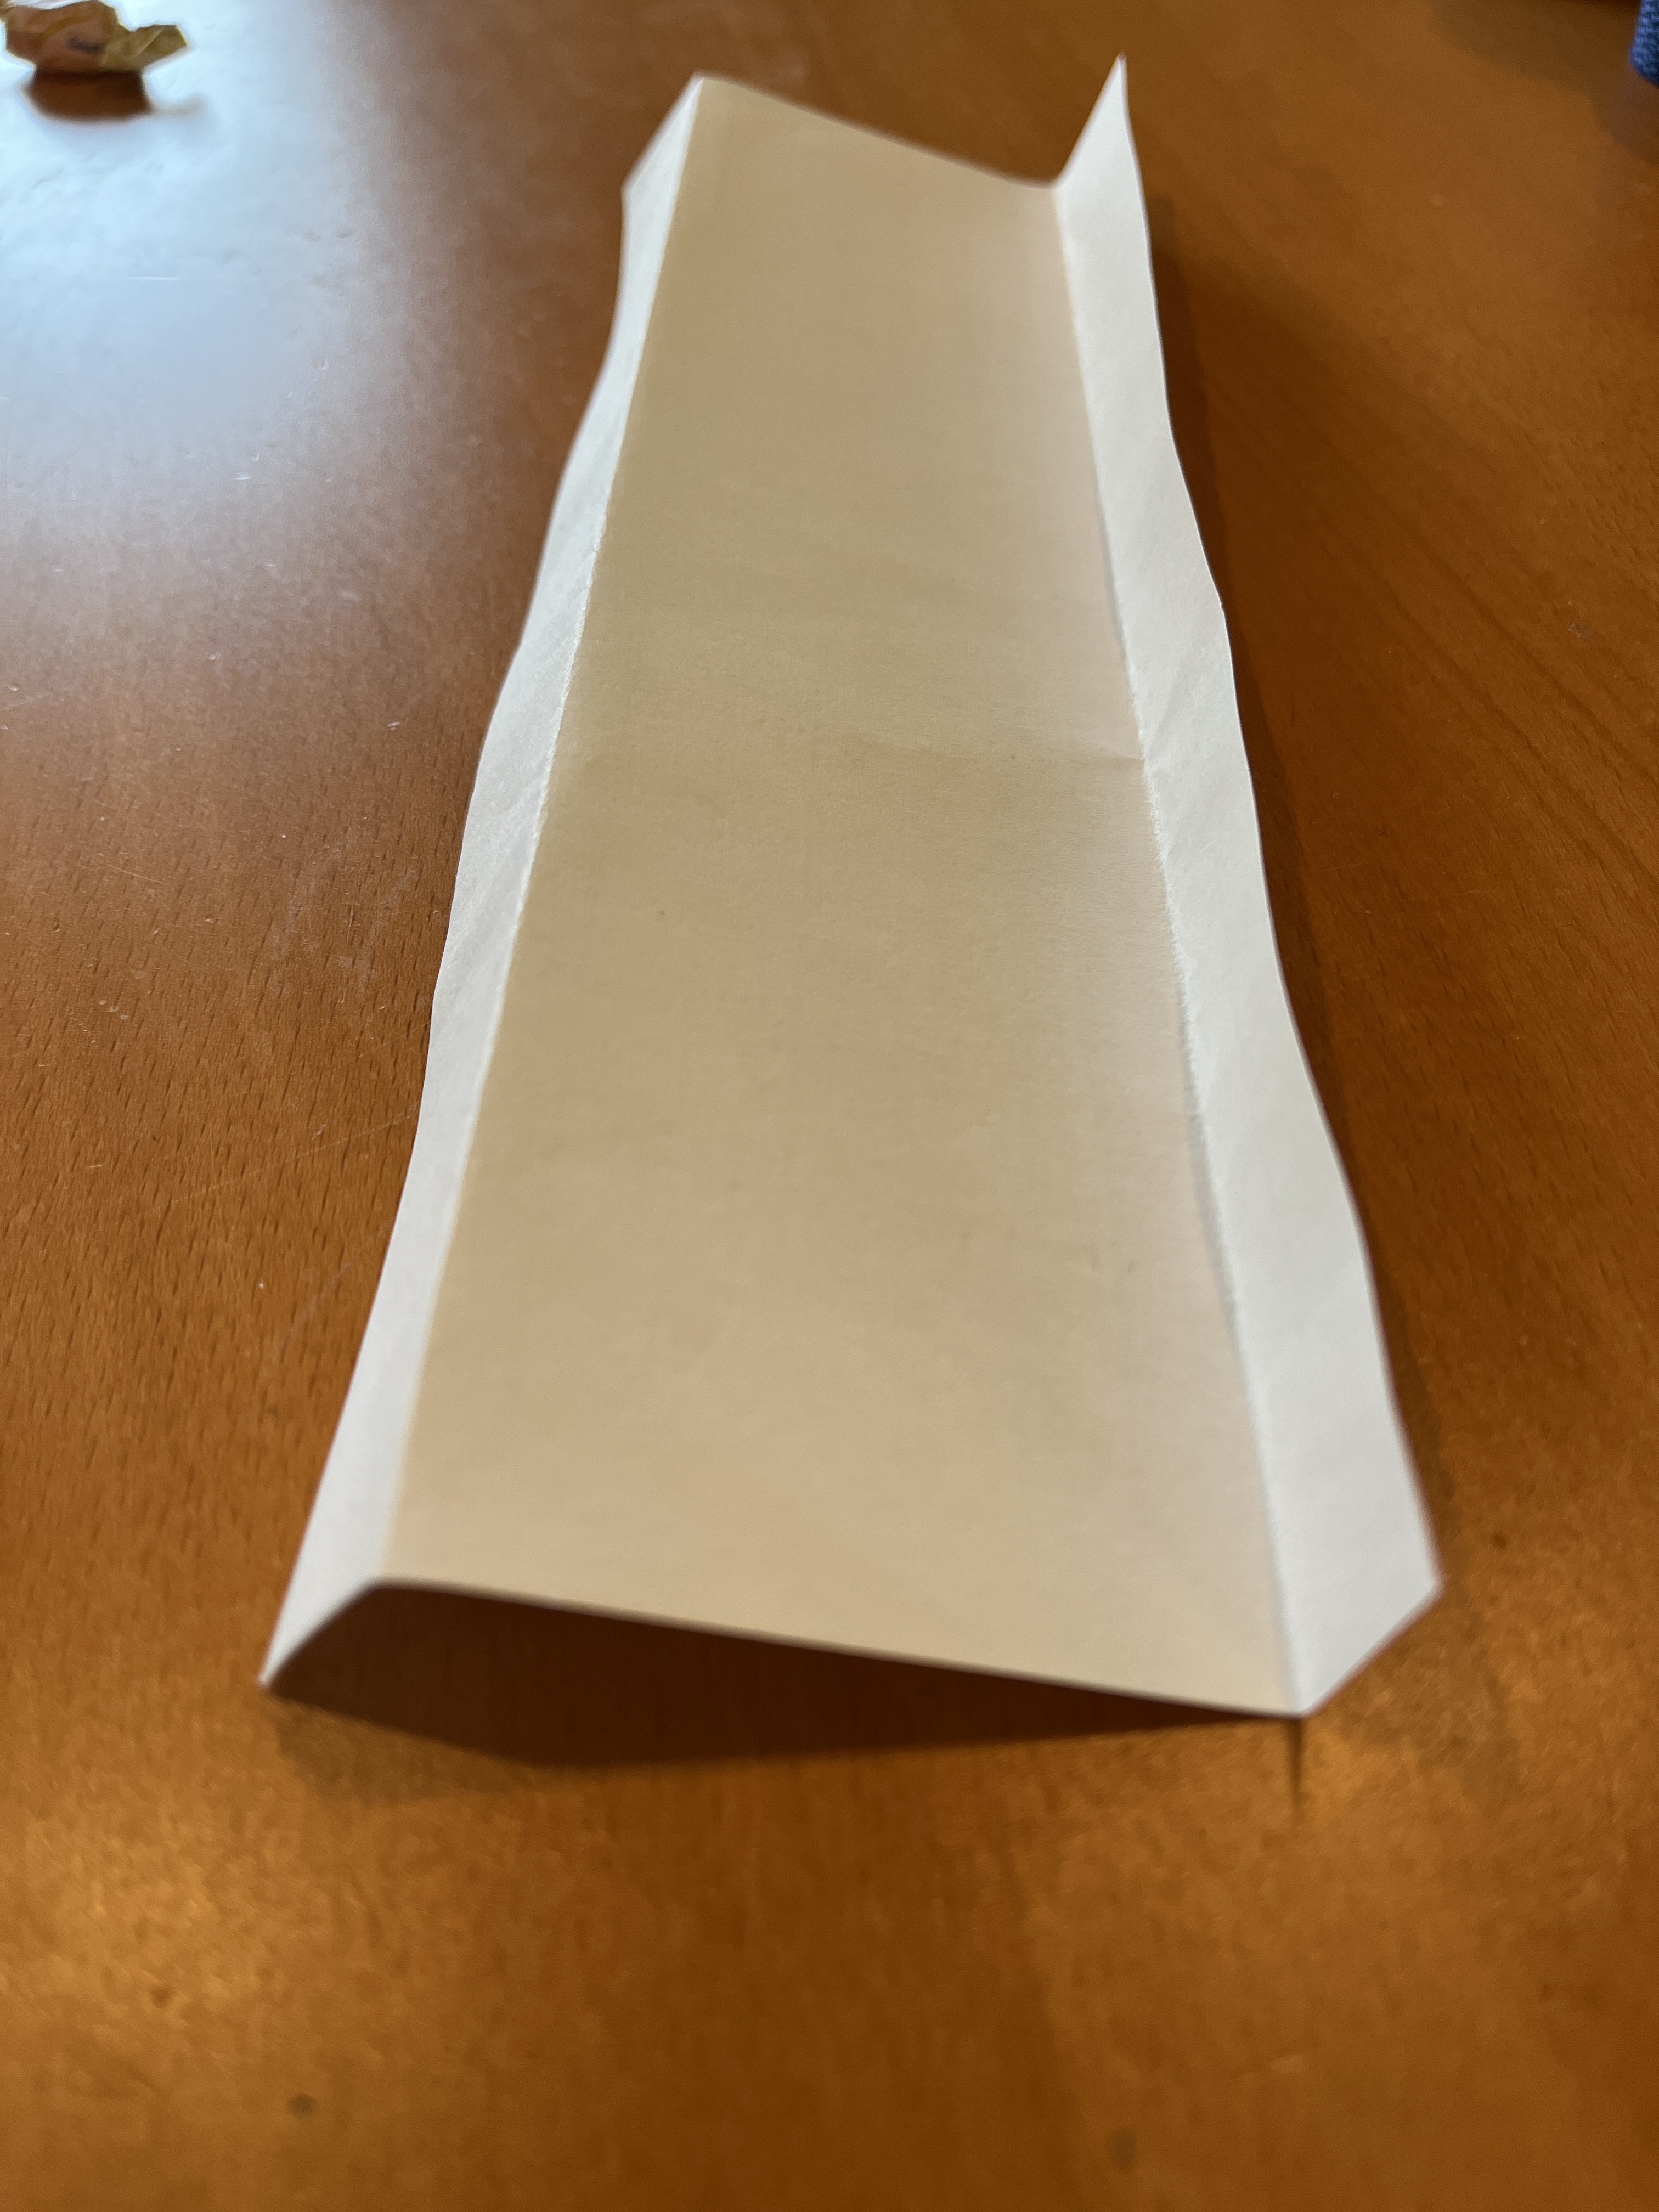
In the original source (Techno Kri Art), they add circles of paper on each end. It might help it spin better, but since I got reasonable results just from the two folds, that’s what we do.
Find more activities related to flying in our Science of Flight theme.
Or check out these options for flyers made from snow cones, from the Cincinnatti Museum Center.
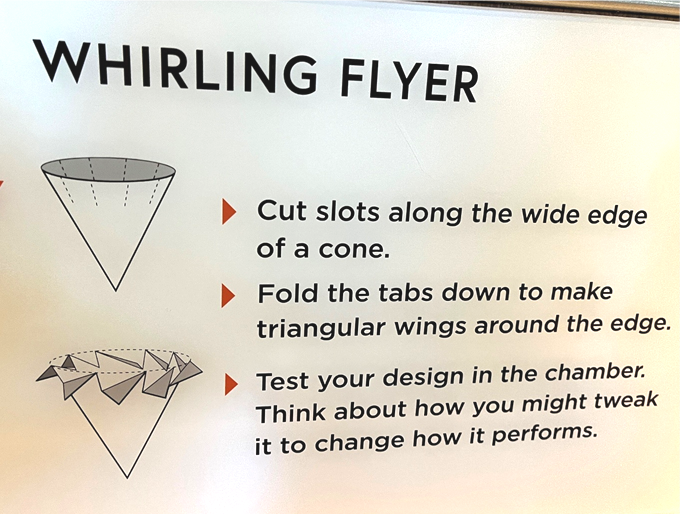
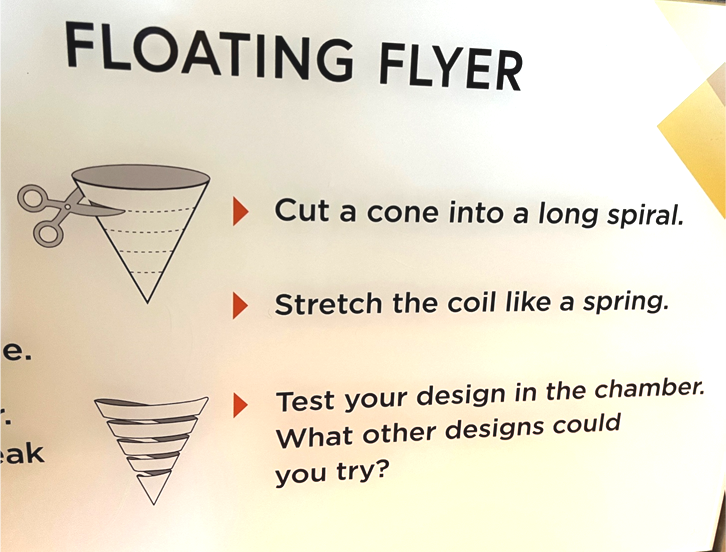

[…] These work great on their own, or with the wind tube. Full instructions. […]
LikeLike